Complete Guide: how to grow green beans from seeds
Green beans are some of our favorite vegetables in the garden! I hope you enjoy them in your garden.
Growing green beans from seeds is simple, fun, and so rewarding. For our family, green beans always make it into the top 3 summer vegetables. What are your favorite vegetables to grow?
Types and varieties of green beans
When you start looking at your options of green beans, you might get surprised at how many varieties there are! The two main types of green beans are
Bush beans: These plants stand on their own. They typically grow about 18-24 inches tall and don't need a trellis.
Pole beans: These are vining plants that need a trellis for support. They grow vertically and often produce a higher yield than bush beans.
As for varieties, it is fun to try new ones every few years. Some varieties are called "stringless," meaning they don't have that string along the pod. It might be worth noting, especially as you consider how you want to process or preserve your green beans.
A few varieties worth mentioning:
Blue Lake Bush beans: Our favorite variety of all time. Even when we try other varieties, we always go back to comparing it to Blue Lake Bush beans. They are stringless, sweet, and crispy- Great for snack raw and amazing when cooked with a little butter.
Royal Burgundy Bush beans: A purple variety. They add a fun pop of color in the raised beds, but lose their purple color when cooked.
Top Crop Yellow bush beans: A good yellow variety. Yellow green beans are often called "yellow wax" beans. The name simply refers to the yellow color of the pod- the growing method is the same as that of green beans.
Top Crop (green) bush beans: A stringless variety that grows 15-18 inches tall.
Provider bush beans: A reliable variety that produces in 50-55 days.
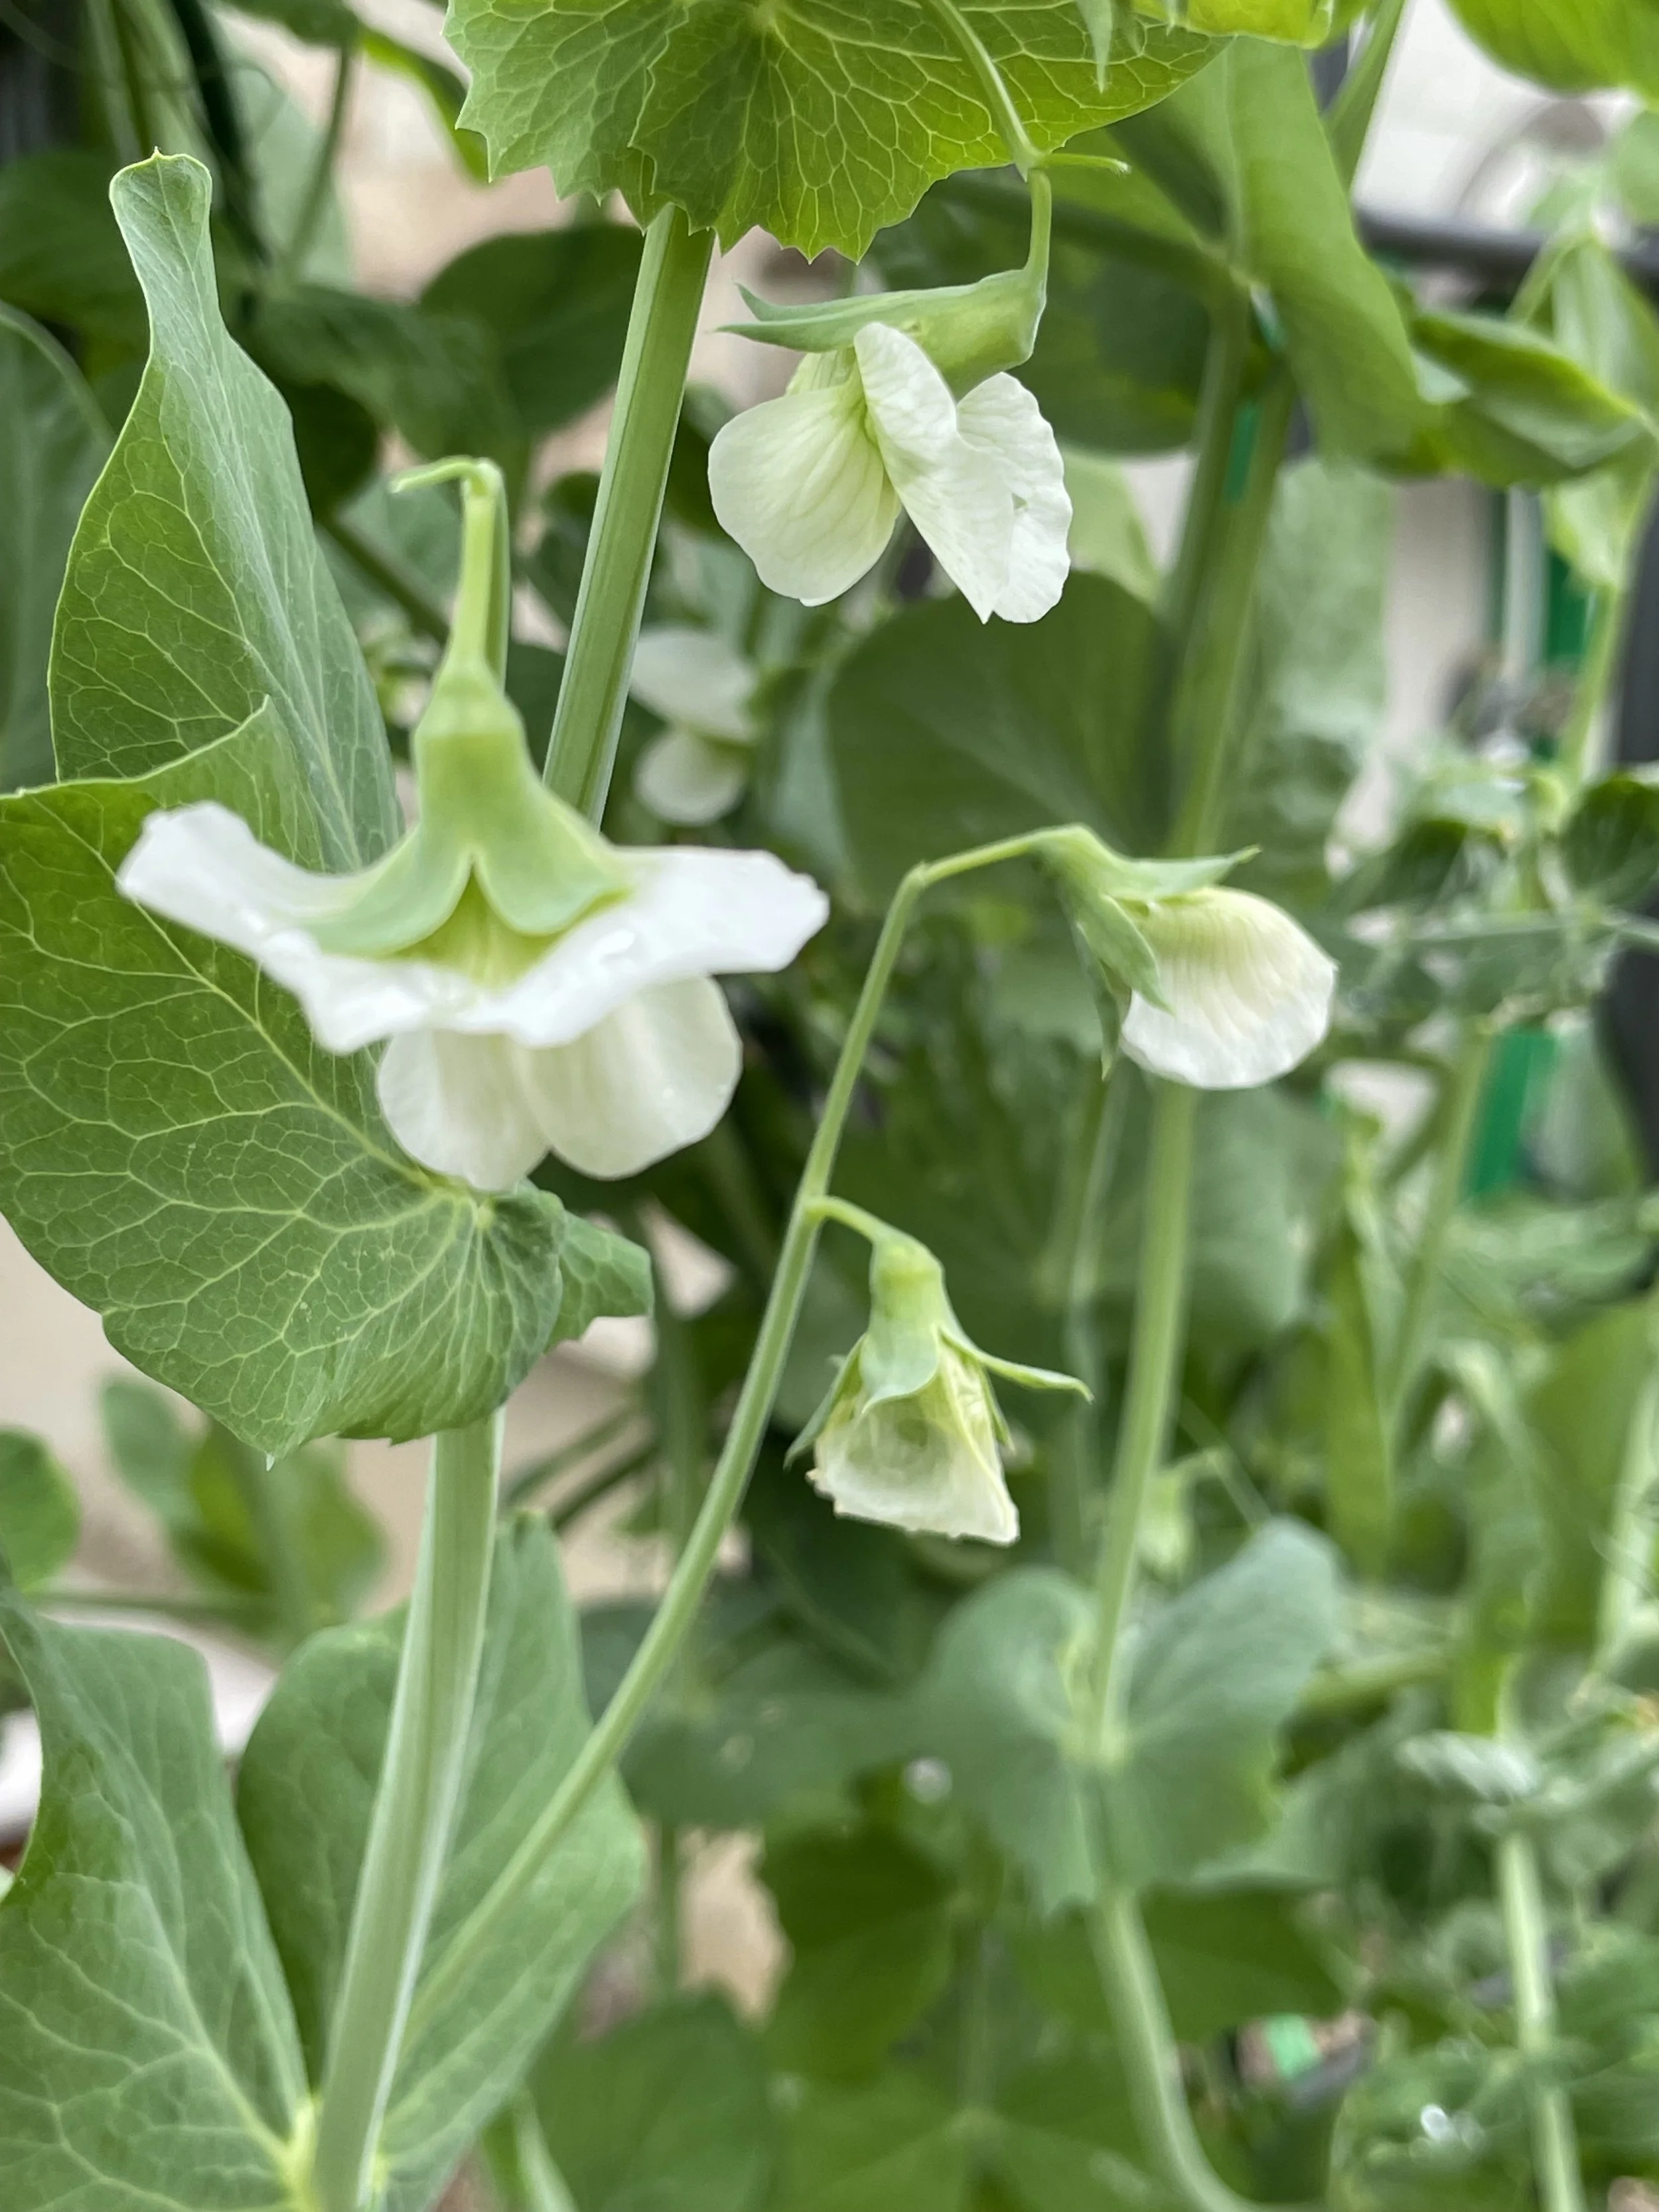
Royal Burgundy blooms
When to plant green beans
Green beans do not like to be cold, but they are not as sensitive as tomatoes. I typically plant my green beans 10-15 days after the last frost. In the Kansas City area, our last frost is usually around April 15, so I plant my green beans around April 25th. Be sure to check your local frost dates and plant accordingly!
How to plant green beans
I'm writing this on yet another snow day at the beginning of March and I CAN'T WAIT to be in the garden planting the beautiful green bean seeds!
You can plant green beans in an in-ground garden, raised beds, or containers. Before planting, prepare your soil by adding a layer of compost and working it into the top few inches.
Once your soil is ready, use a dibber or your finger to make small holes about 1 inch deep and 4 inches apart. Drop a seed into each hole, cover it with soil, and press gently to make sure the soil makes contact with the seed and no air pockets remain.
Once all your seeds are planting, water gently until the soil is evenly moist. Germination happens when temperature and moisture signal the seed that it's time to grow. For the best success, keep the soil from drying out during the 8-10 days of germination.
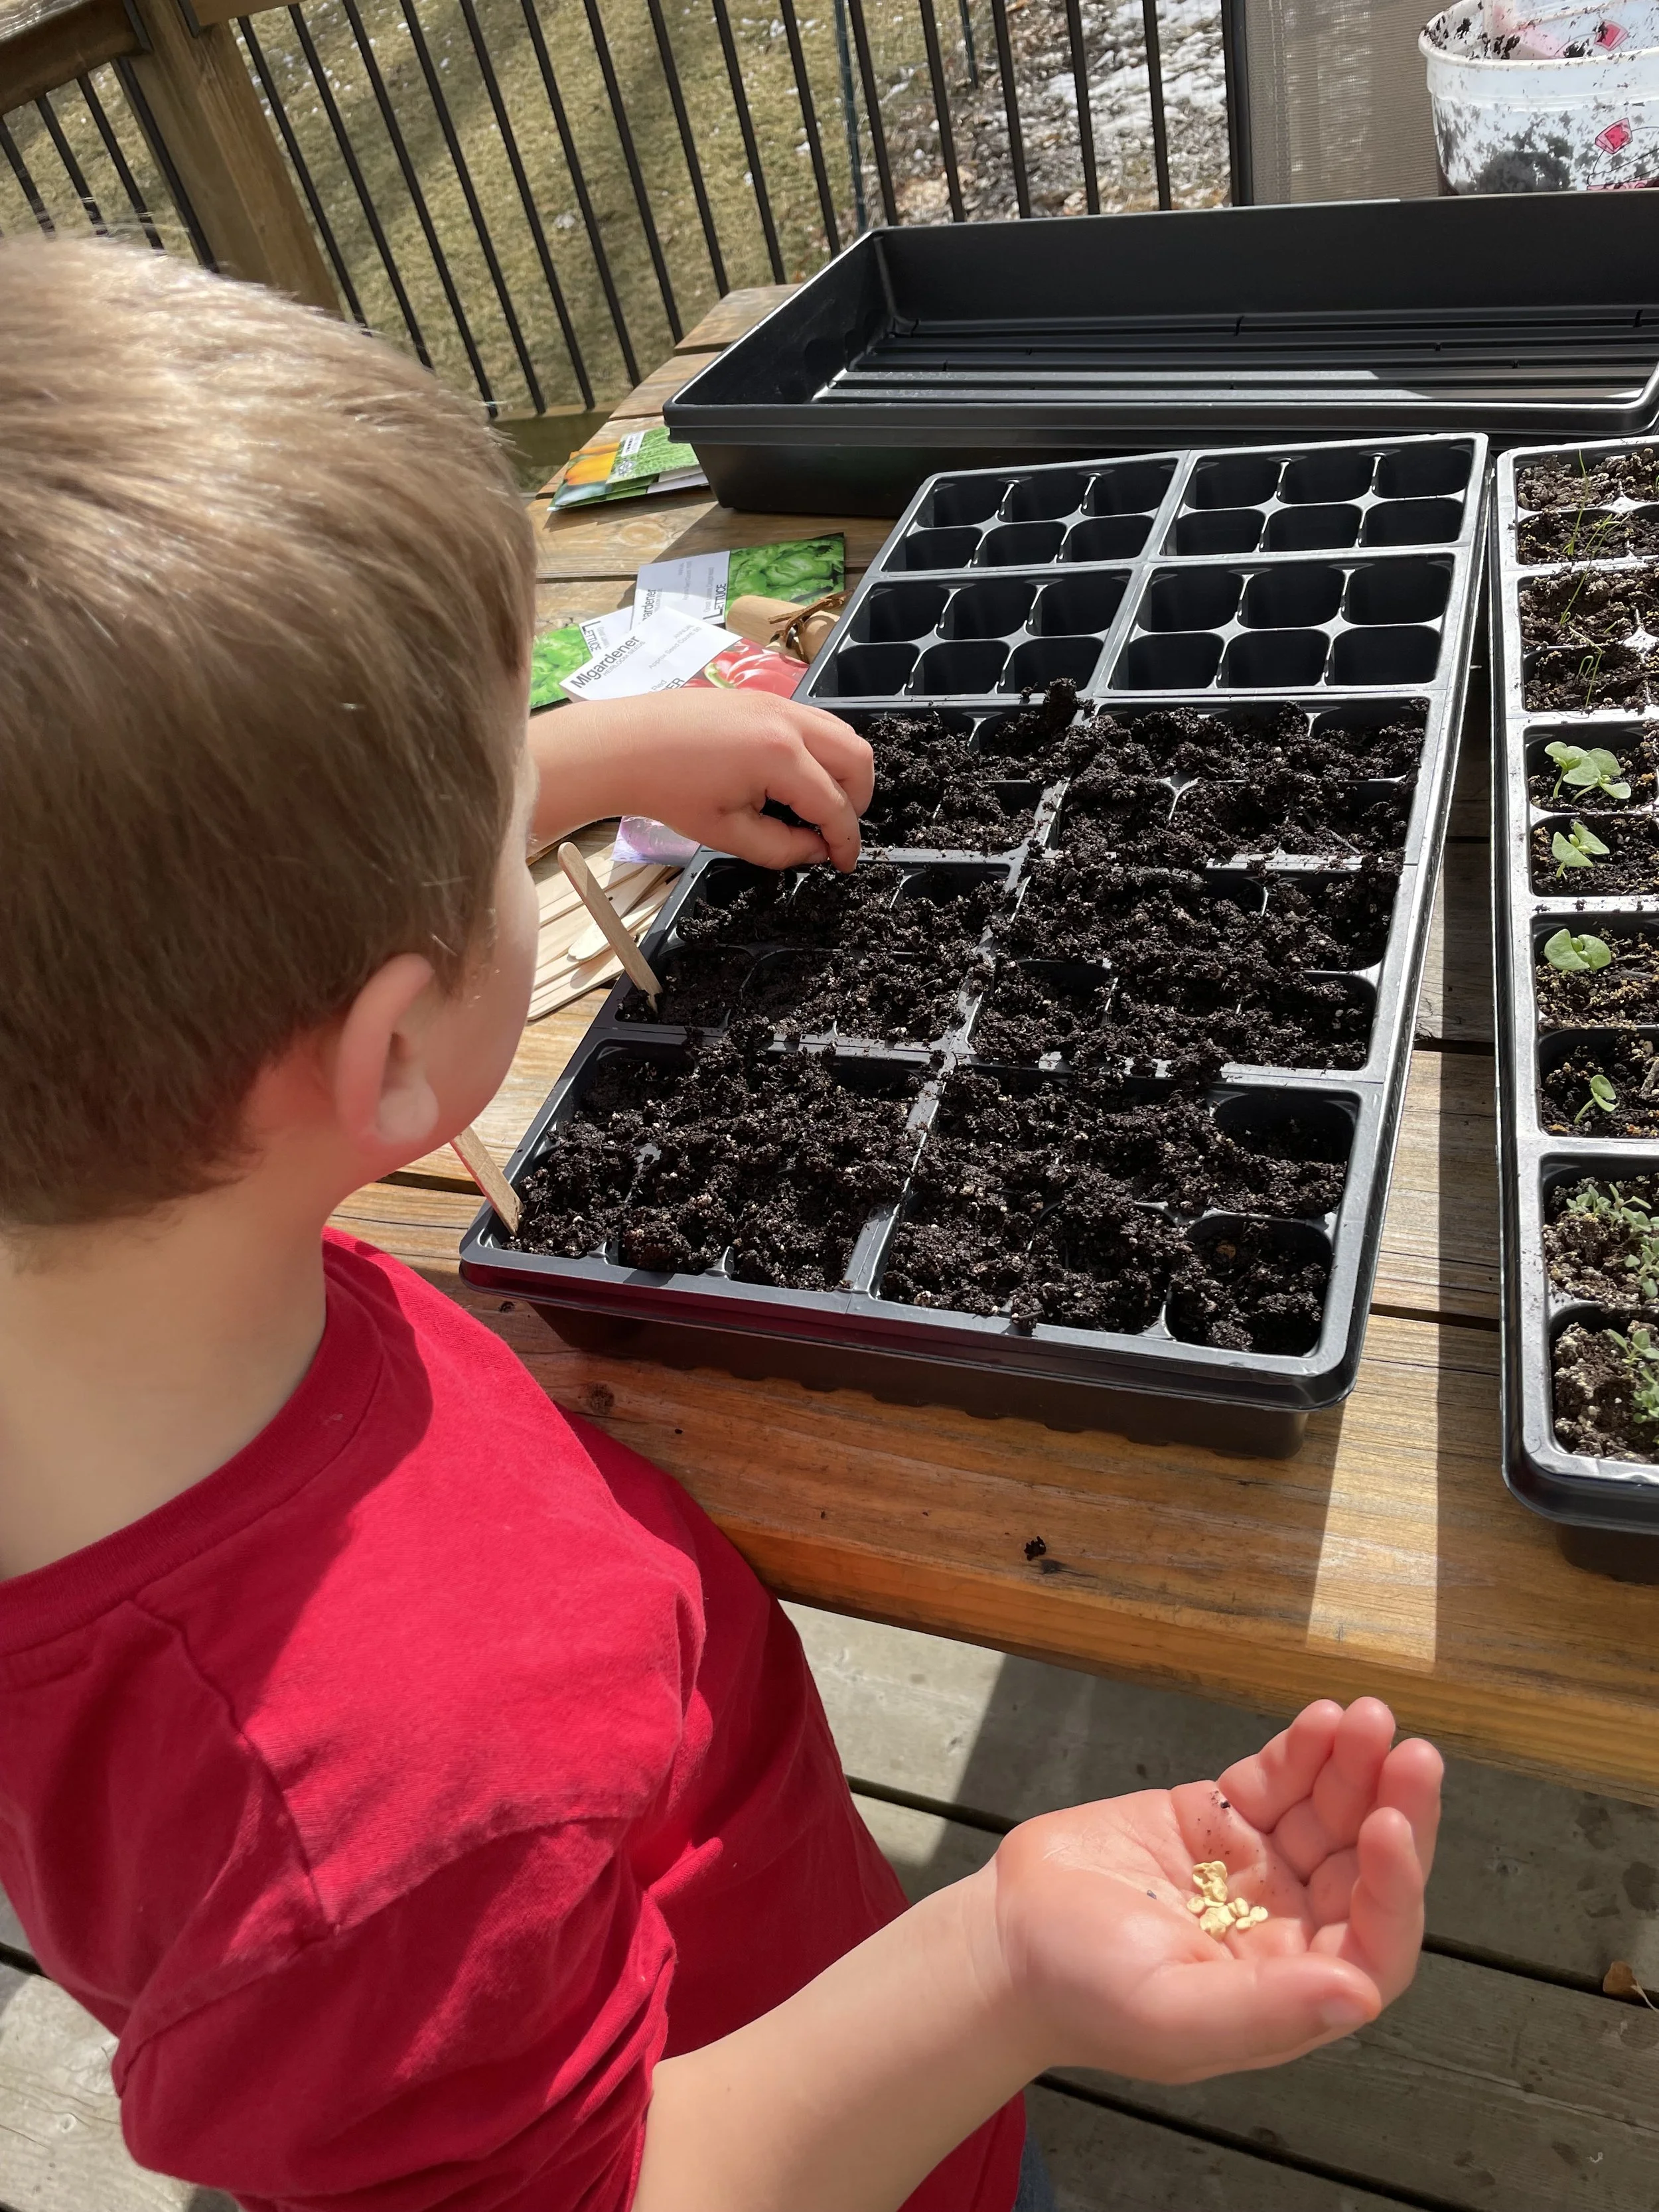
Green beans are a great crop to plant with kids because the seeds are large and easy to handle.
Hilling or trellising
As the plants mature, you can mound soil around the stems to reinforce them- this is called “hilling.” This technique is mainly used for bush beans. For pole beans, start training the vines to climb a trellis.
Watering
As mentioned earlier, maintaining consistent moisture is very important during germination. Whenever possible, water in the morning and focus on the soil rather than the leaves. Wet foliage can lead to leaf burn on sunny days and create an environment for fungus to attack your plants.
Two different varieties- can you tell the difference?
Harvesting
You've made it this far and now comes the funnest part-harvesting! Picking the fresh food you have planted and cultivated is so rewarding.
Green beans are prolific producers and grow very fast. Depending on the temperature, you might need to harvest every 2 days. Pick the beans when they are fully formed but not oversized. Waiting too long results in tougher beans, while the younger ones are more tender.
After your plants have produced green beans for a while, the production will slow down and stop. Don't pull your plants yet! If you continue watering, they will bloom again for a second harvest. If you are patient, bush beans can even produce a third harvest. By then, the plants may start showing signs of disease or fungal issues. If a plant is too weak to produce or poses a risk of spreading disease, I simply remove it.
Cooking and enjoying your harvest
Once I've harvested all the green beans, I typically wash them and steam what we need for a meal. Whatever I don't eat that day, I cook the next. Eating seasonally is definitely a thing during green beans season.
I steam our green beans in a simple stainless steel steamer. Don't over do it- you want them to keep a bit of crunch. Add a little butter and salt, and enjoy!
If you have more than you can eat fresh, you can blanch and freeze them. Canning is also a great option.
For short-term storage, unwashed green beans will keep for about a week in an airtight bag or container.
There is an ongoing debate at our house... Our kids are convinced that green beans are a finger food. My husband and I don't agree. What do you think?
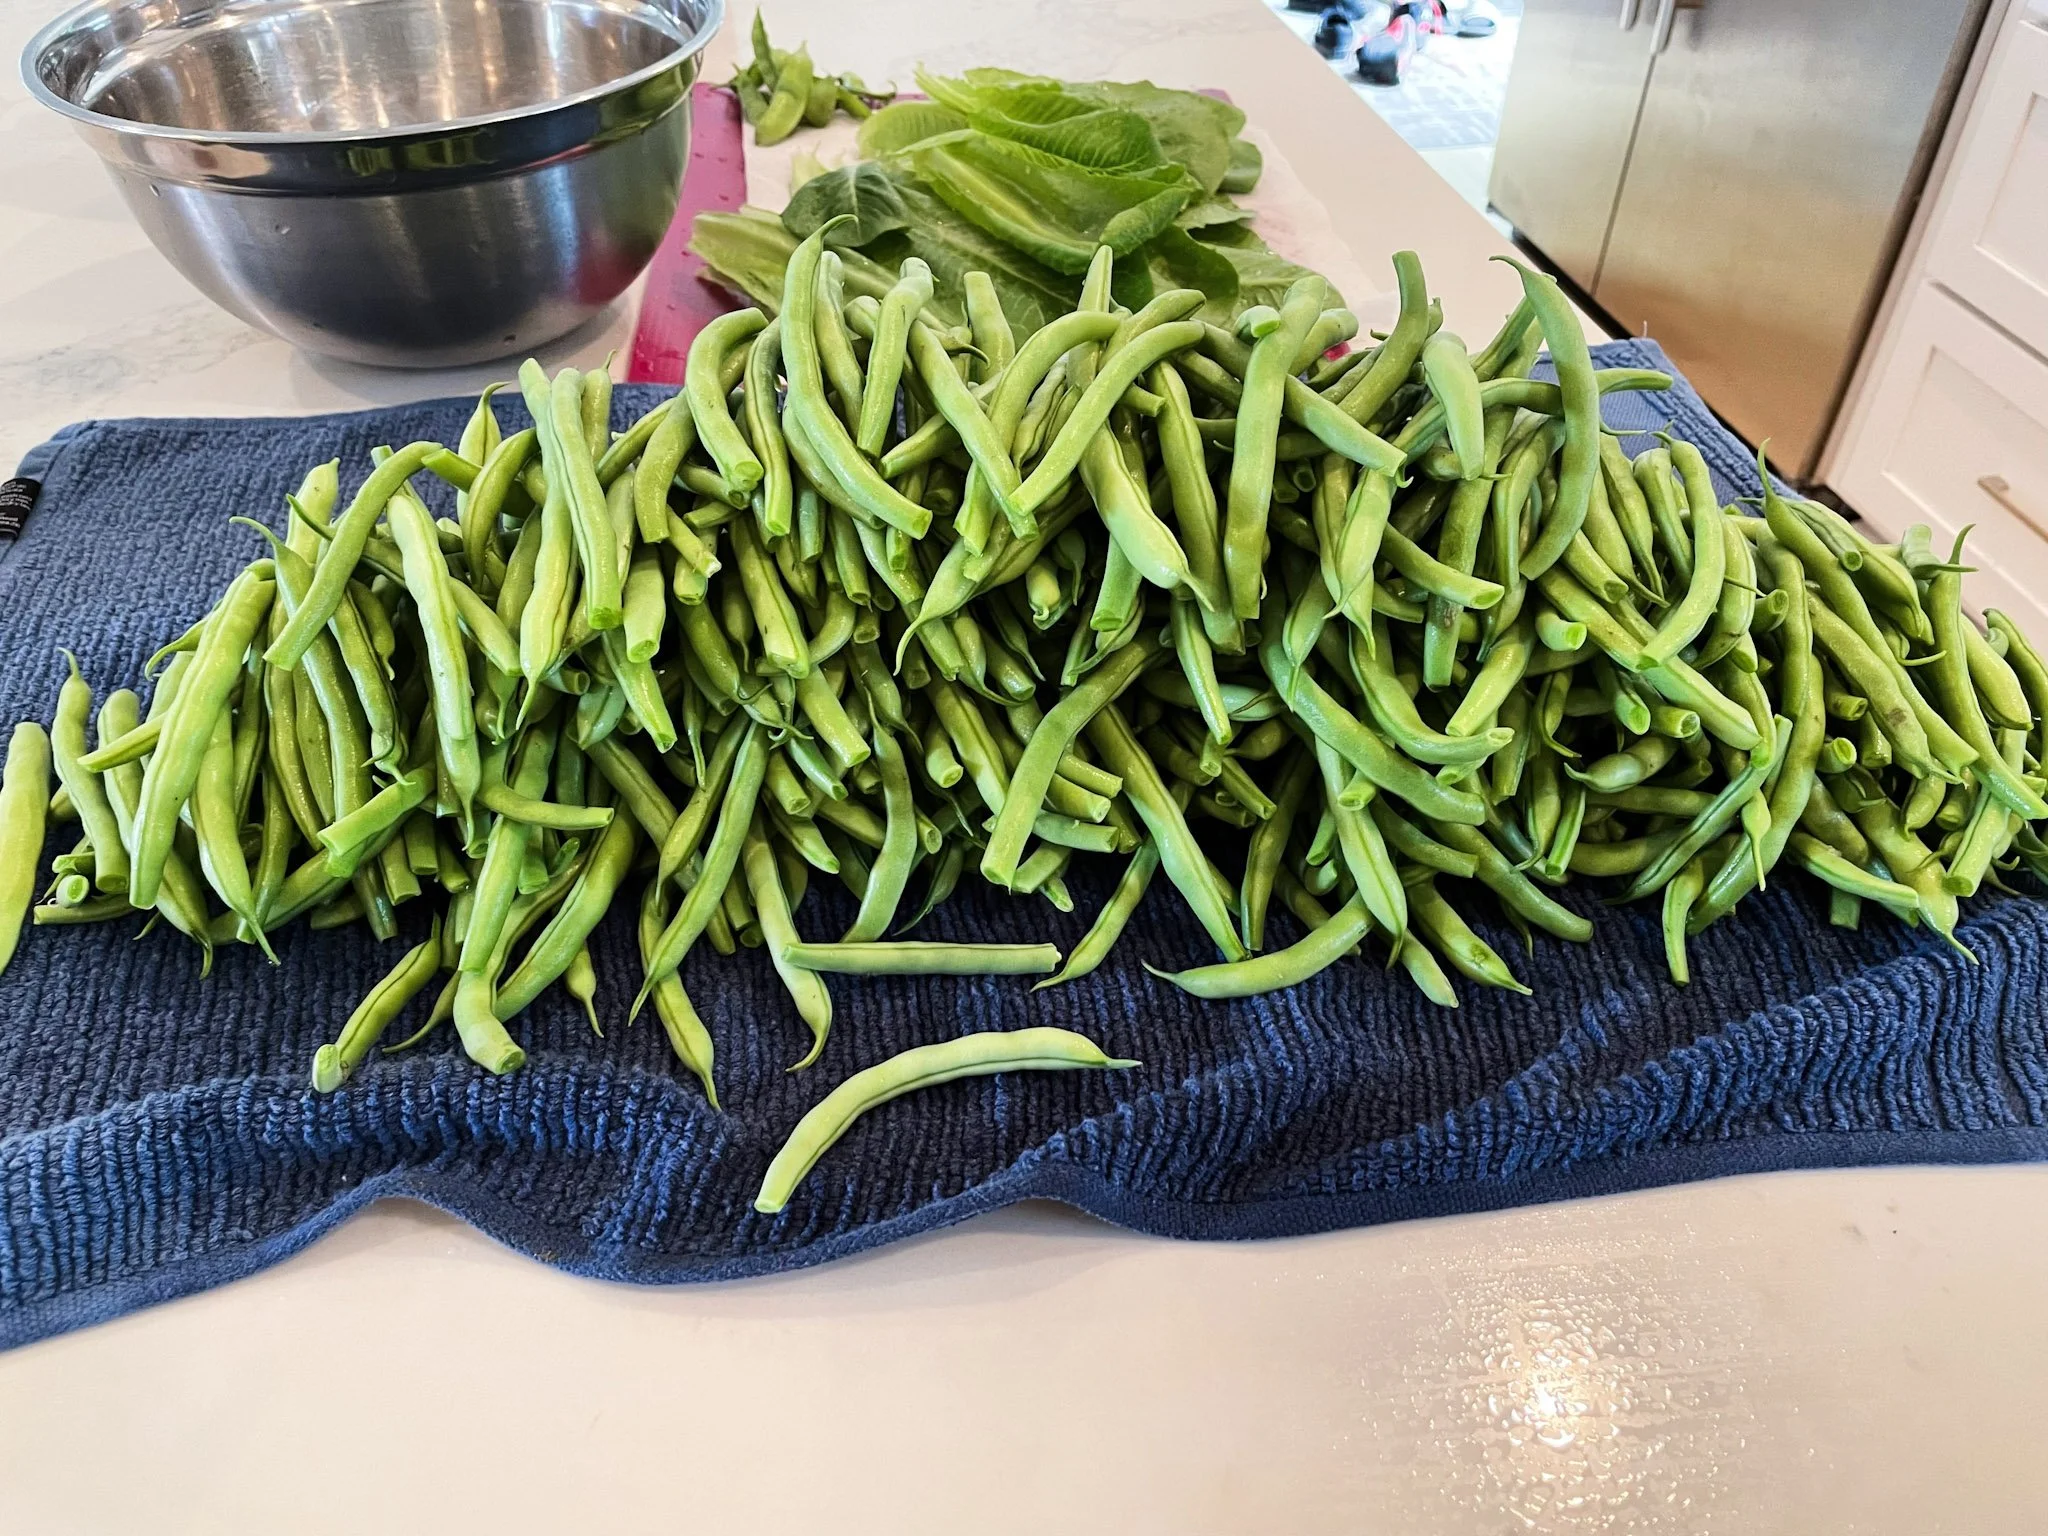
I like to wash all the green beans at once—some for dinner and the rest ready to use for another meal.
Growing Sugar Snap Peas: A Complete Guide from Seed to Harvest
Learn how to grow sweet, crispy sugar snap peas in your garden with this complete guide. From planting to harvest, discover expert tips for growing this beginner-friendly crop.
Grow these in your spring and fall garden!
Learn how to grow sweet, crispy sugar snap peas in your garden with this simple guide. Perfect for beginners and experienced gardeners alike, this crop is beautiful and delicious.
Let’s talk about pea stories
There are so many different varieties of peas out there, but sugar snap peas are our favorite.
When it comes to edible pea pods, which ones should you grow? Snow peas or sugar snap peas?
Peas are beautiful in the spring garden!
When I was about 11 years old, my brother and I grew a variety of peas called "mangetout" (meaning "eat all"). It was a snow pea variety with flat pods. We worked the rows of peas all season and sold them to a local French restaurant. Sugar snap peas are similar to snow peas, as you eat the whole pod, but the pods are big and round. Sugar snap peas are one of my kids' favorite garden snacks, as they have an awesome, sweet, crispy bite.
Speaking of history, Calvin Lamborn is the man who crossed varieties of peas to develop the wonderful sugar snap pea.
Why grow sugar snap peas
In my experience, sugar snap peas are great for beginner gardeners. They grow in about 50-70 days from seed to harvest. I haven't had pest issues when growing them in the garden. The legume family is also great for fixing nitrogen in the soil.
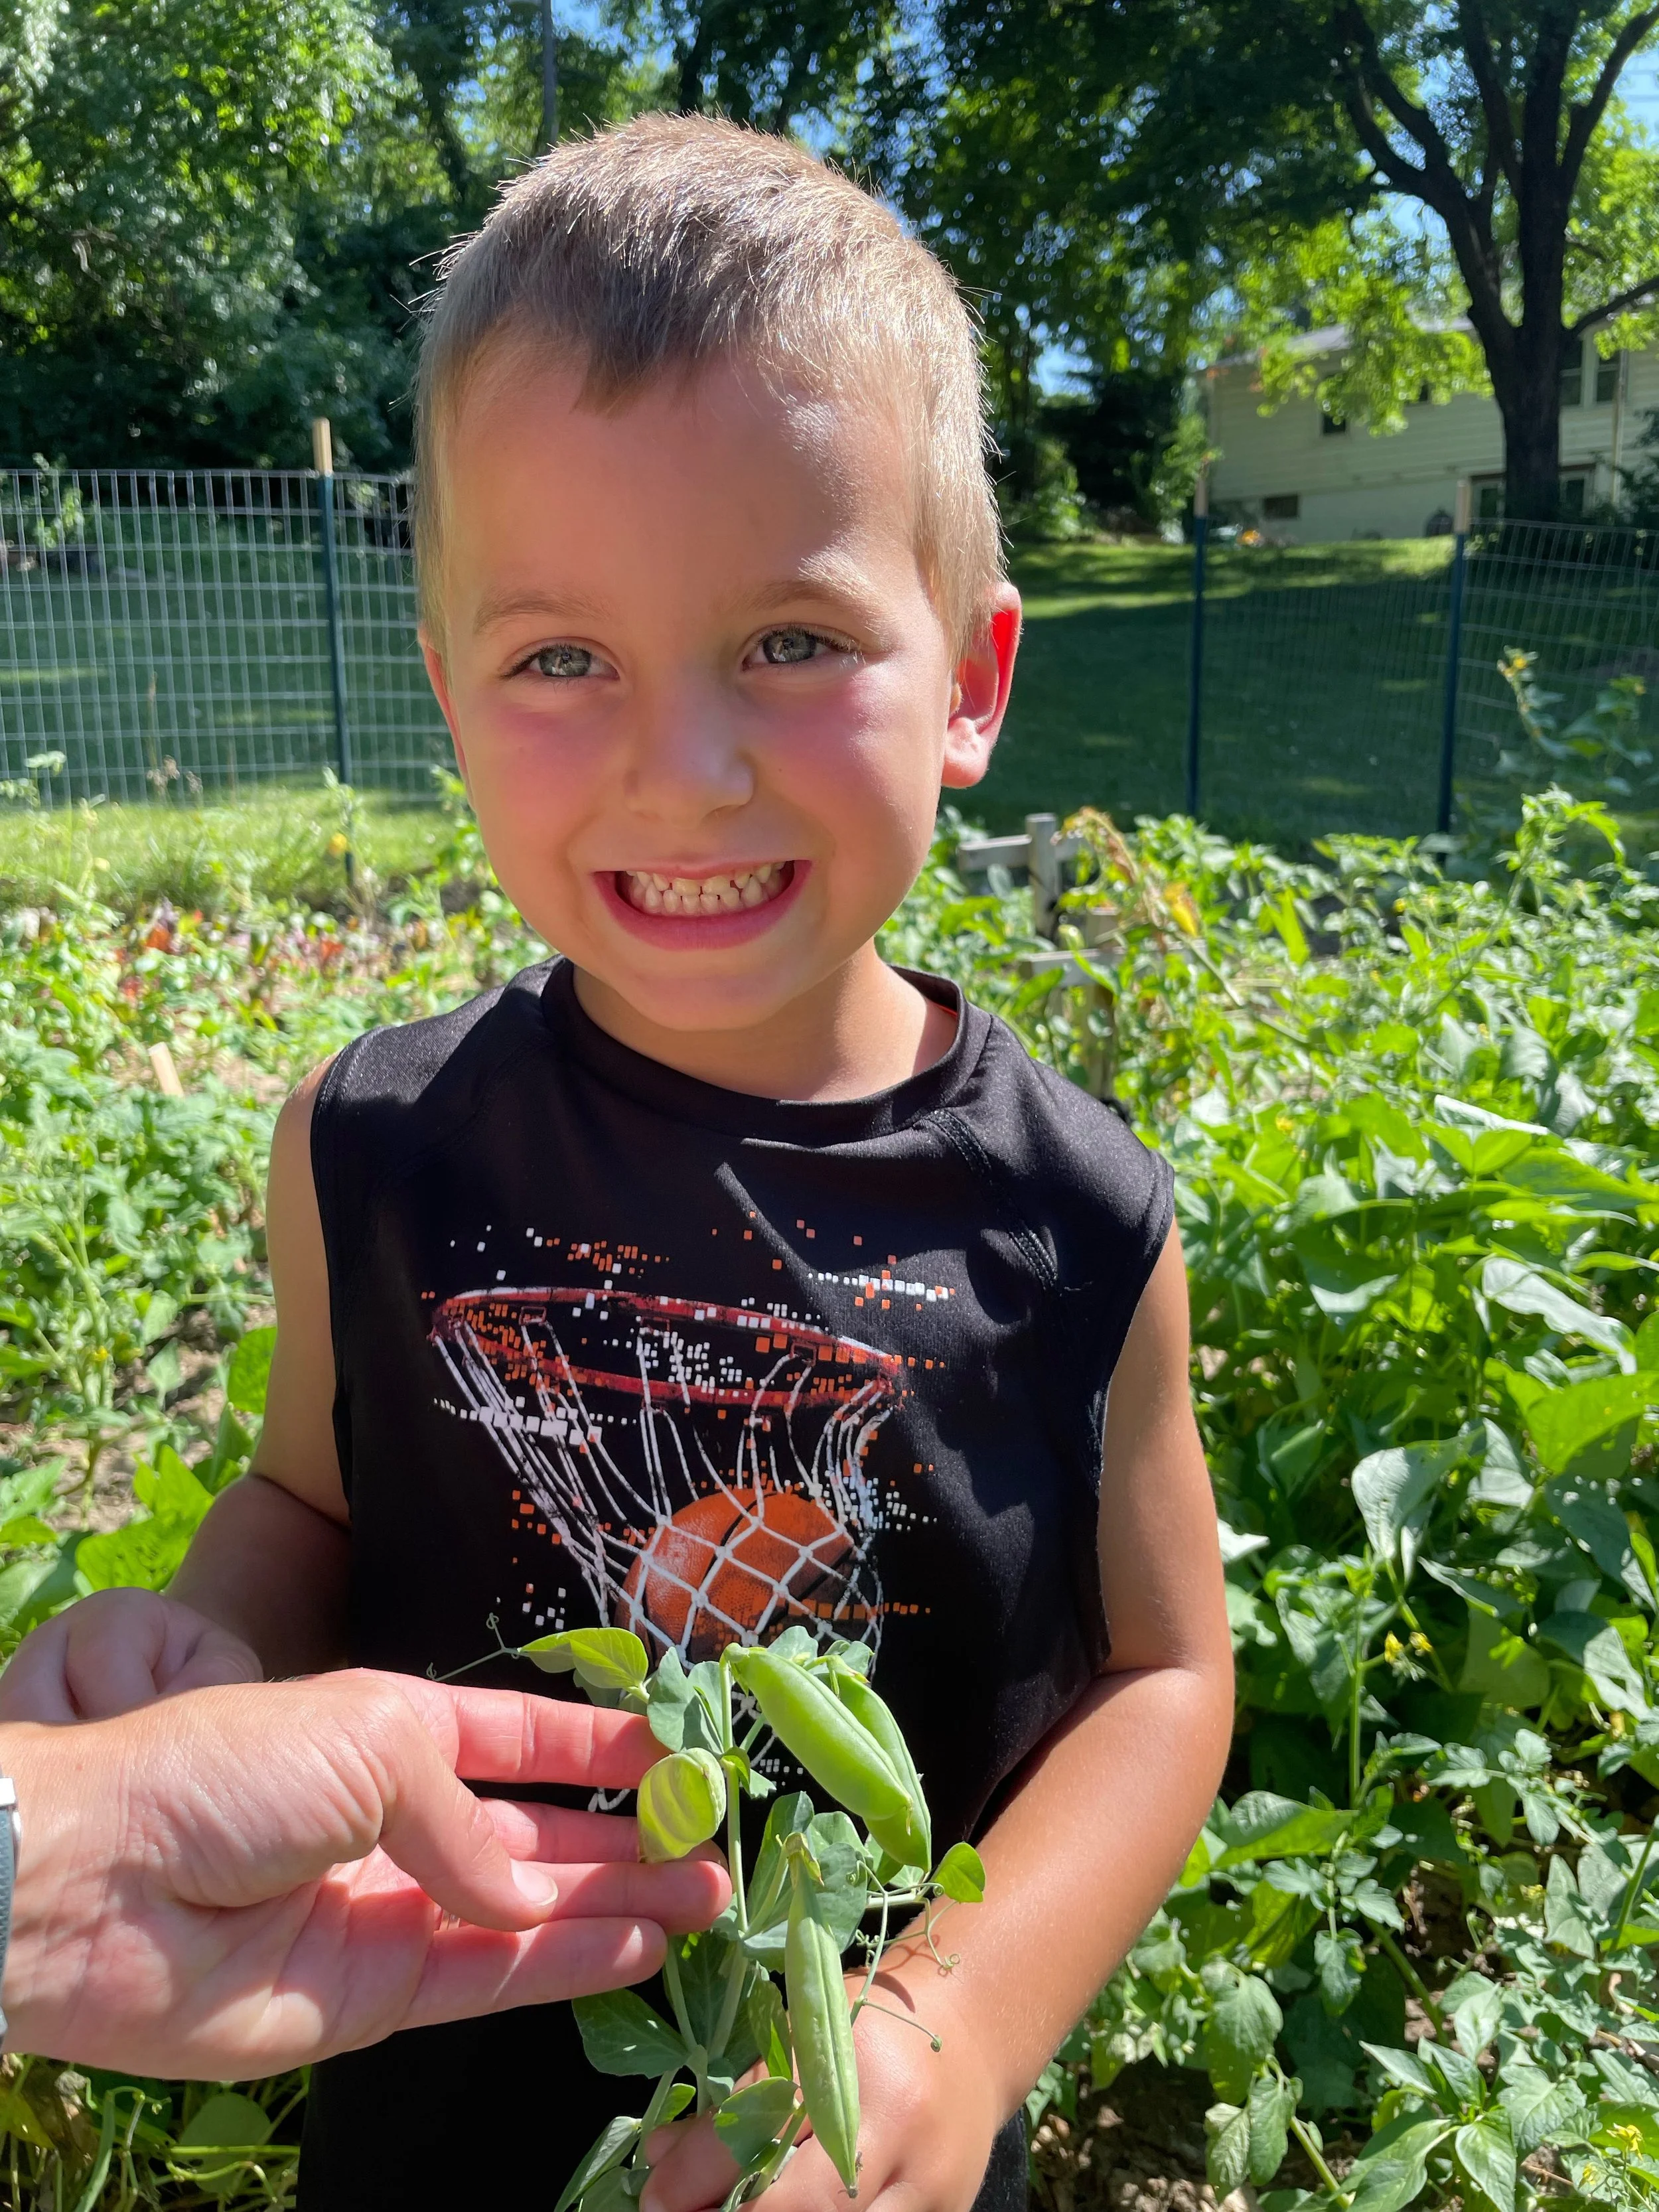
There’s a happy guy showing off the sugar snap peas!
As I mentioned above, our kids love sugar snap peas fresh out of the garden. They rarely make it into the house because we eat them straight from the vine. While many vegetables can be bitter, that's not the case for these peas - they're sweet! They're high in vitamins C and K and rich in fiber. I also love that peas are a protein source.
When to Plant Sugar Snap Peas
Sugar snap peas are cool-weather plants - they thrive in 45-65 degree temperatures. This makes them a great crop for spring and fall. I LOVE planting my peas when the chance of frost has passed (April 15th for Kansas City). You can find your frost dates here. I often put them where I will later plant my tomatoes in the warm season.
If you have the space, I recommend using a succession planting method. After you plant pea seeds and they sprout out of the ground, plant another row, so you can harvest for a longer period of time.
Choosing the Right Location
Choose a spot with good sunlight. Though peas can tolerate some shade, they'll produce more if they have 6-8 hours of sunlight.
Give them a few inches of space to grow and get established.
Peas are climbing plants - so plant them near a trellis. I LOVE growing vertically because it's so beautiful. Since they're a cool-season crop, they start filling the trellis in early spring.
Step-by-Step Planting Guide
1- Start with healthy soil. Like any garden crop, you want to prepare the soil. Make sure your pH levels are good, and you have decomposed organic matter (aka compost) mixed into the soil.
2- Direct sow the peas. Plant your pea seeds 1 inch deep in the soil. (An easy way to remember planting depth: seeds should be planted twice as deep as they are wide—so a ½-inch seed needs a 1-inch-deep hole.) Space the seeds about 2 inches apart, cover with soil, and water well.
3- Keep the soil moist. Water and temperature are what tell a seed that it's "go time," so it's important to make sure the soil doesn't dry out during germination.
Essential Care and Maintenance
When the plants are about 15-18 inches tall, gently weave them onto the trellis. If they're not clinging to it naturally, use a soft plant tie. Peas have these little grips called tendrils—they're modified leaves that will coil around objects for support. Use these to your advantage! Peas are a great vertical crop, making it easier to keep them pest-free and prevent the pea pods from rotting on the ground.
You can mulch at the base of your pea plants to maintain soil moisture content.
I don't typically fertilize my peas besides starting with great, healthy soil.
Peas are part of the legume family, which is great for fixing nitrogen in the soil. When your plant is done producing (when the summer heat has arrived or the fall frost has come), I suggest cutting the plant at the soil level—leaving the roots in the ground. This will encourage good soil bacteria growth.
Peas are a great companion plant and often an excellent preceding crop, especially for corn and the cabbage family. (Coleman, Eliot. The New Organic Grower. Chelsea Green Publishing, 2018, p. 156)
It is ok if the bloom is still attached to the pod.
Simply remove it before eating.
Managing Common Pests and Diseases
It's common to see some powdery mildew on plants when the heat and humidity are high. One way to slow the spread of this fungus is to focus your watering at the roots, not on the leaves.
To deter pests, encourage biodiversity in the garden. That's just a fancy way of saying: plant many different plant families together. This practice not only benefits soil health but also creates natural pest deterrence, as different herbs and plants serve as pest deterrents.
Harvesting Your Sugar Snap Peas
As your plants mature, they will start forming blooms. These little flowers are very sweet and beautiful. After a while, the blooms will produce pea pods. Let them mature to full size, but don't delay in picking them. Pea pods that have passed their prime become tough and lose their sweetness.
To harvest, gently pull on the pod. Be careful not to yank the whole plant out of the ground!
Using Your Harvest
Like I said before, we mostly eat the peas fresh. My kids get excited about them and love sharing this sweet snack with the neighbors. You can use them in stir-fries or rice dishes. They're also perfect additions to salads and veggie platters.
Conclusion
If you want to make your garden beautiful and grow really tasty veggies—I hope you start with peas! Though there are so many varieties, sugar snap peas are our favorite. Plant them, cultivate them, and please let me know how it went!
Happy growing!
October Garden Checklist: Winterize & Plant Garlic
Frost is on the horizon, but there's still time to prep your garden for a successful spring! Winterizing your garden and planting garlic are two key tasks you don’t want to overlook.
Before we dive into winterizing your garden, let’s talk about garlic! It’s one of the easiest crops to grow – plant it now, and it will thrive with little effort.
For a quick guide on how to plant garlic, check out my short blog post here.
In our area, I usually plant my garlic in late October or early November, and it’s typically ready to harvest by early July.
This past week, we planted three garlic varieties in a client’s garden:
Elephant garlic (the HUGE one), Silverskin garlic (a softneck variety), and Music garlic (a hardneck variety that thrives in colder climates).
1. The Importance of Soil Health in Winterizing Your Garden
The main reason to winterize your garden is to protect your soil. Harsh conditions, erosion, leaching, and other factors can be hard on the soil. In nature, it is rare to see bare, exposed soil; plants quickly cover any open patches. Additionally, nature mulches the soil every fall before winter. This not only offers a layer of protection but also adds organic matter that will decompose and enrich the soil.
Winterizing your garden will also protect your perennials and any overwintered crops, like garlic and carrots.
2. Different Steps and Methods for Winterizing Your Garden
First, harvest all the remaining crops on your plants! I leave my tomatoes in the ground until the frost. I pull any fully formed fruit to ripen indoors. While it can take a while and they won’t taste as good as sun-ripened tomatoes, they’re still better than store-bought.
The second step is to decide whether to remove all the old plants or leave them to benefit the beneficial insects. Personally, I remove all dead plants from my front garden, but in my backyard, I cut back the old plants and leave them on the ground to slowly decompose over the winter. This lazy method of composting is called “cut and drop.”
Third, choose a cover crop or mulch.
A cover crop, also known as green manure, can significantly benefit your soil by protecting it and adding organic matter when turned under. There are many cover crops available, so rotating them is a good idea, as different crops contribute different nutrients.
Mulch is my preferred way to protect my gardens!
There are many options available:
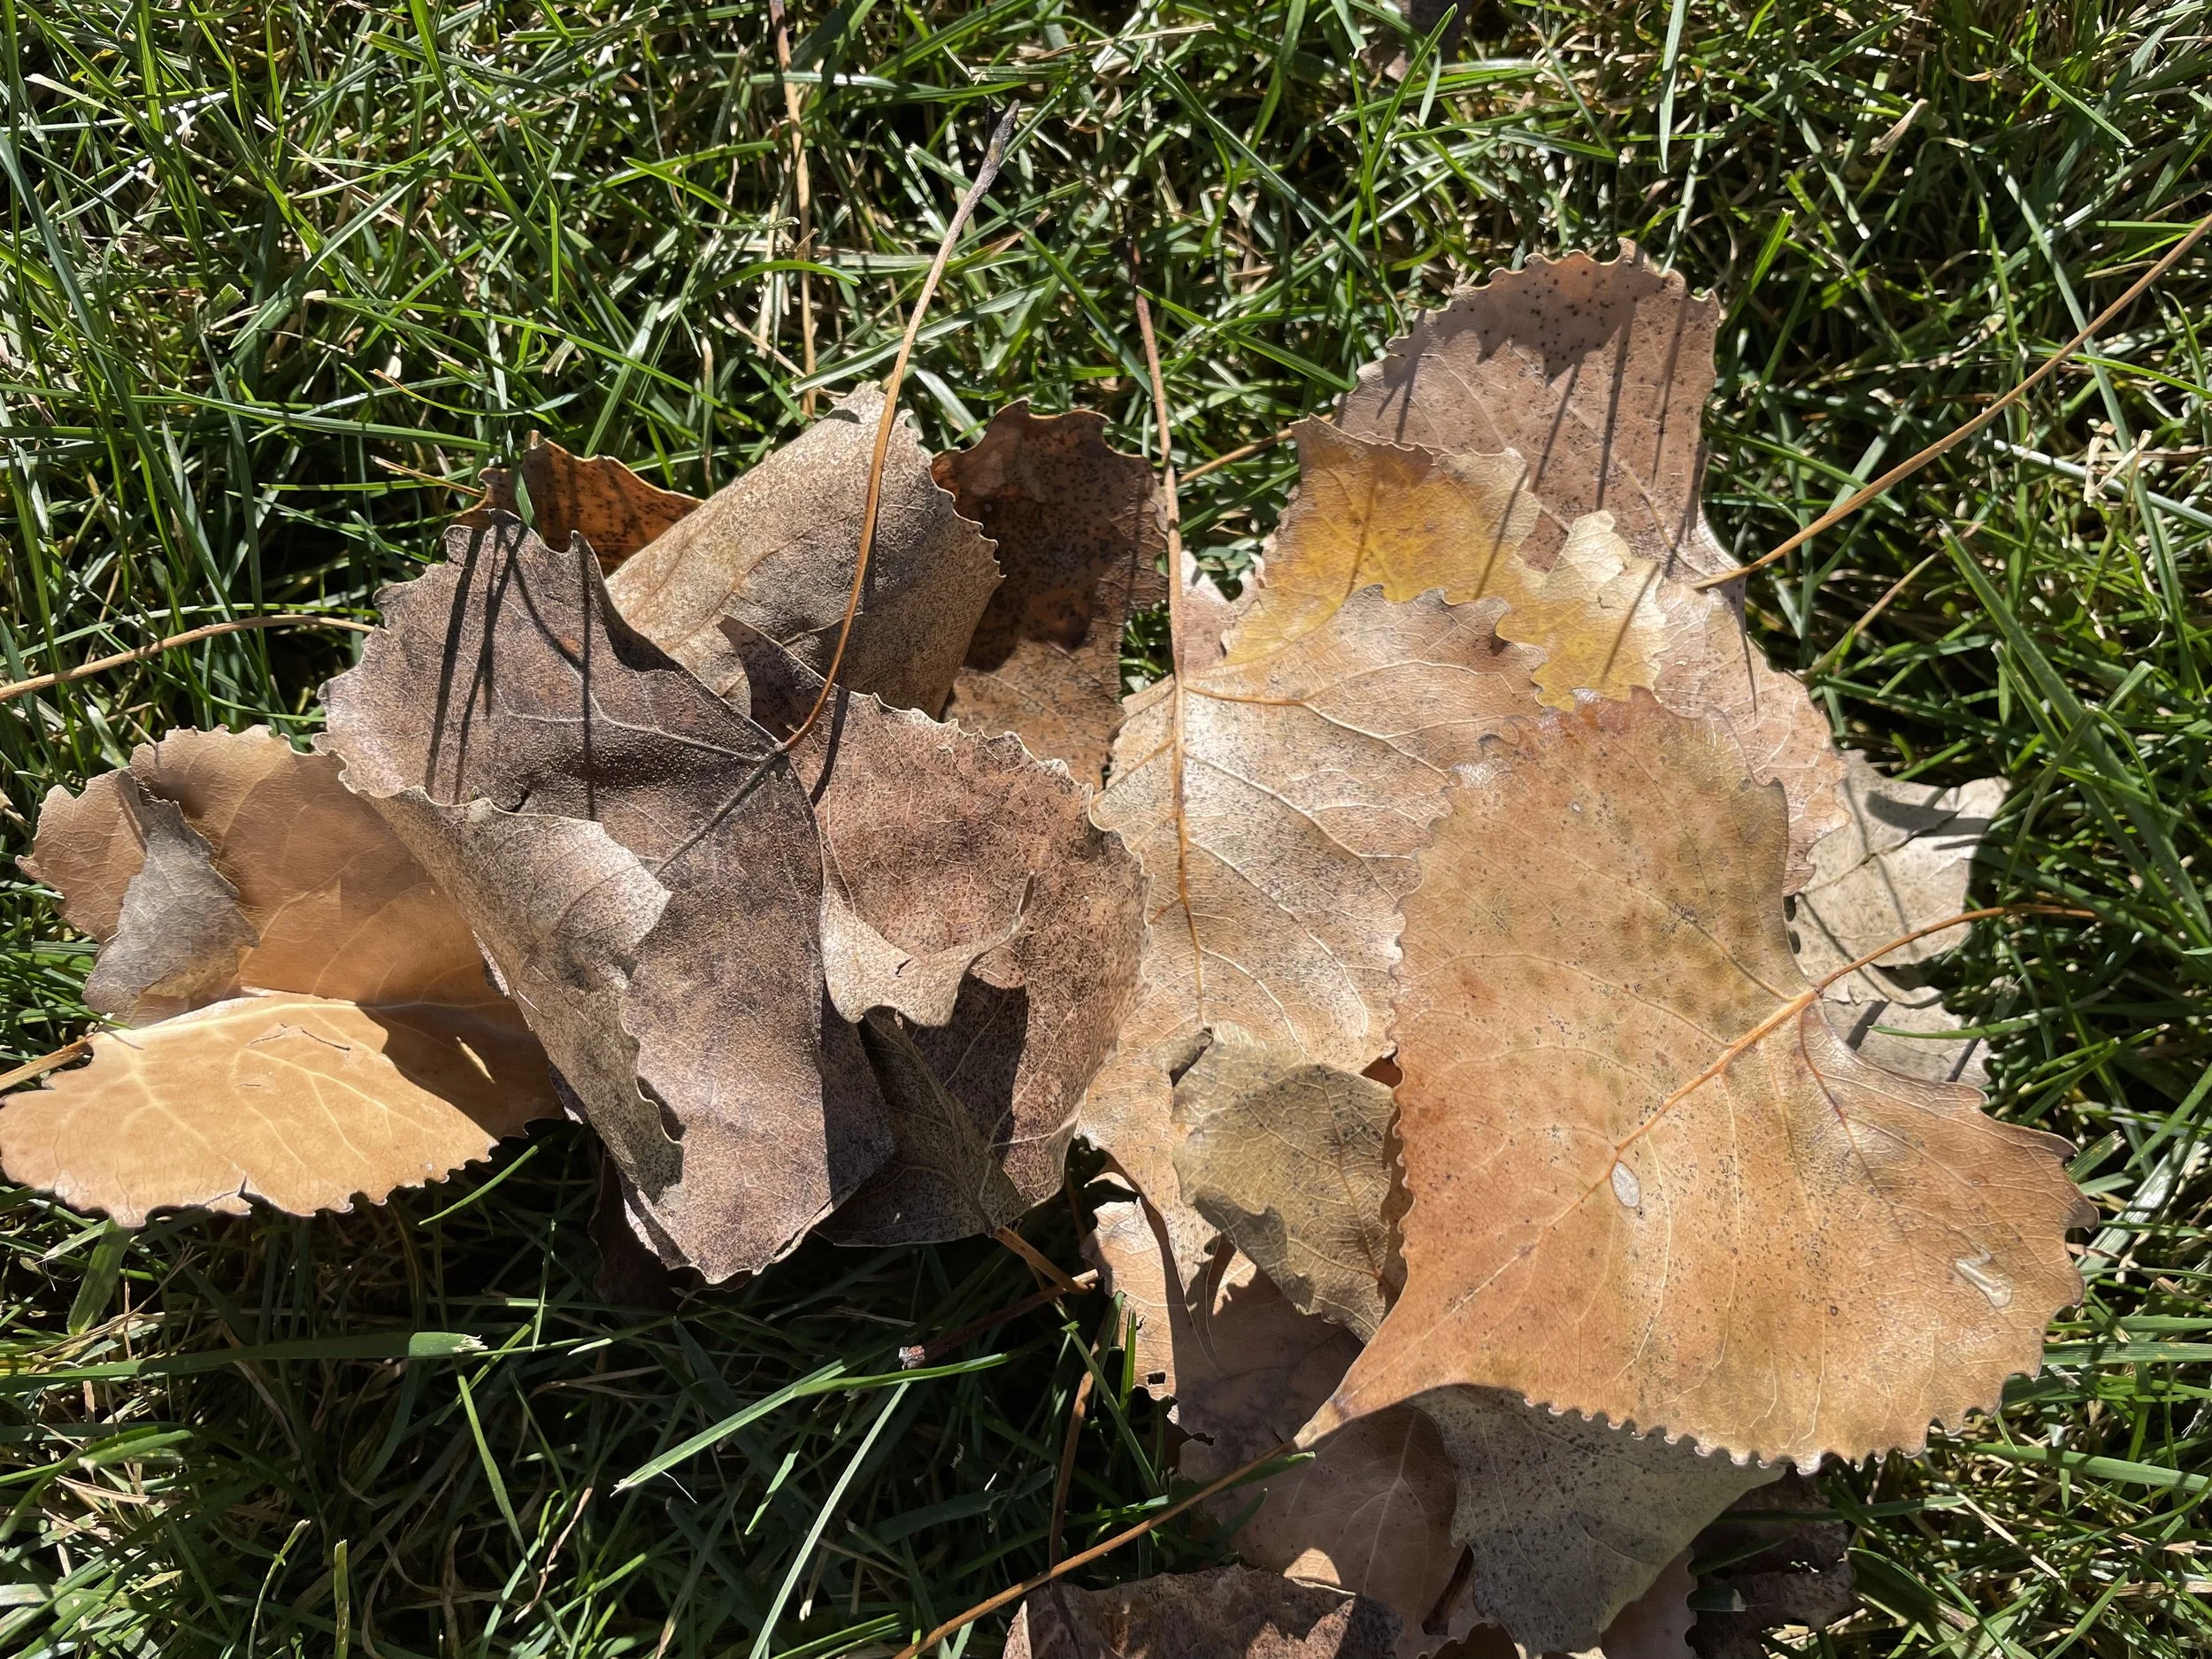
Leaves: Gather and shred your leaves to create a fantastic organic mulch! They are typically free from pesticides, herbicides, and other weed seeds, and best of all, they’re free! It doesn’t get much better than that!
Grass Clippings: This is another excellent option for mulch, and it’s a resource right at your fingertips. Just make sure your grass hasn’t been sprayed with harsh chemicals, as this could add unwanted substances to your garden soil.
Straw: Straw is versatile and useful in the garden, provided it’s free from weed seeds or chemicals. I use straw on garden pathways because I love the color and clean look it provides.
Hay: If you decide to use hay as mulch, ensure it’s free from herbicides, other chemicals, and seeds.
Wood Chips: When using wood chips, be cautious to choose non-diseased wood. It’s best to use the entire tree—branches and leaves shredded—not just sawdust. Keep the wood chips on the surface; mixing them deep into the soil isn’t recommended. This topic might deserve a future blog post!
Leaves make excellent mulch, and most of us have plenty of them in the fall!
3. Now that you’ve winterized your garden, what’s next?
Rest: Take a moment to enjoy the end of the season. Rest is part of growth, both for you and your garden. So, take the time to recharge!
Plan for Next Season: Once you’ve rested, start thinking about your spring garden! Consider any changes you want to make to your garden space. Look over your notes from previous years to see which plants and seeds you want to grow this year. Now is also a good time to order seeds and plan your seedlings. You can check out any new varieties you might want to try in the upcoming season.
Composting: Don’t forget about composting during the cold months! You can continually add organic matter to your compost bin, which will enrich your soil come spring. This is an excellent way to ensure your garden is healthy and thriving when the growing season returns.
And now a few pictures from this month:
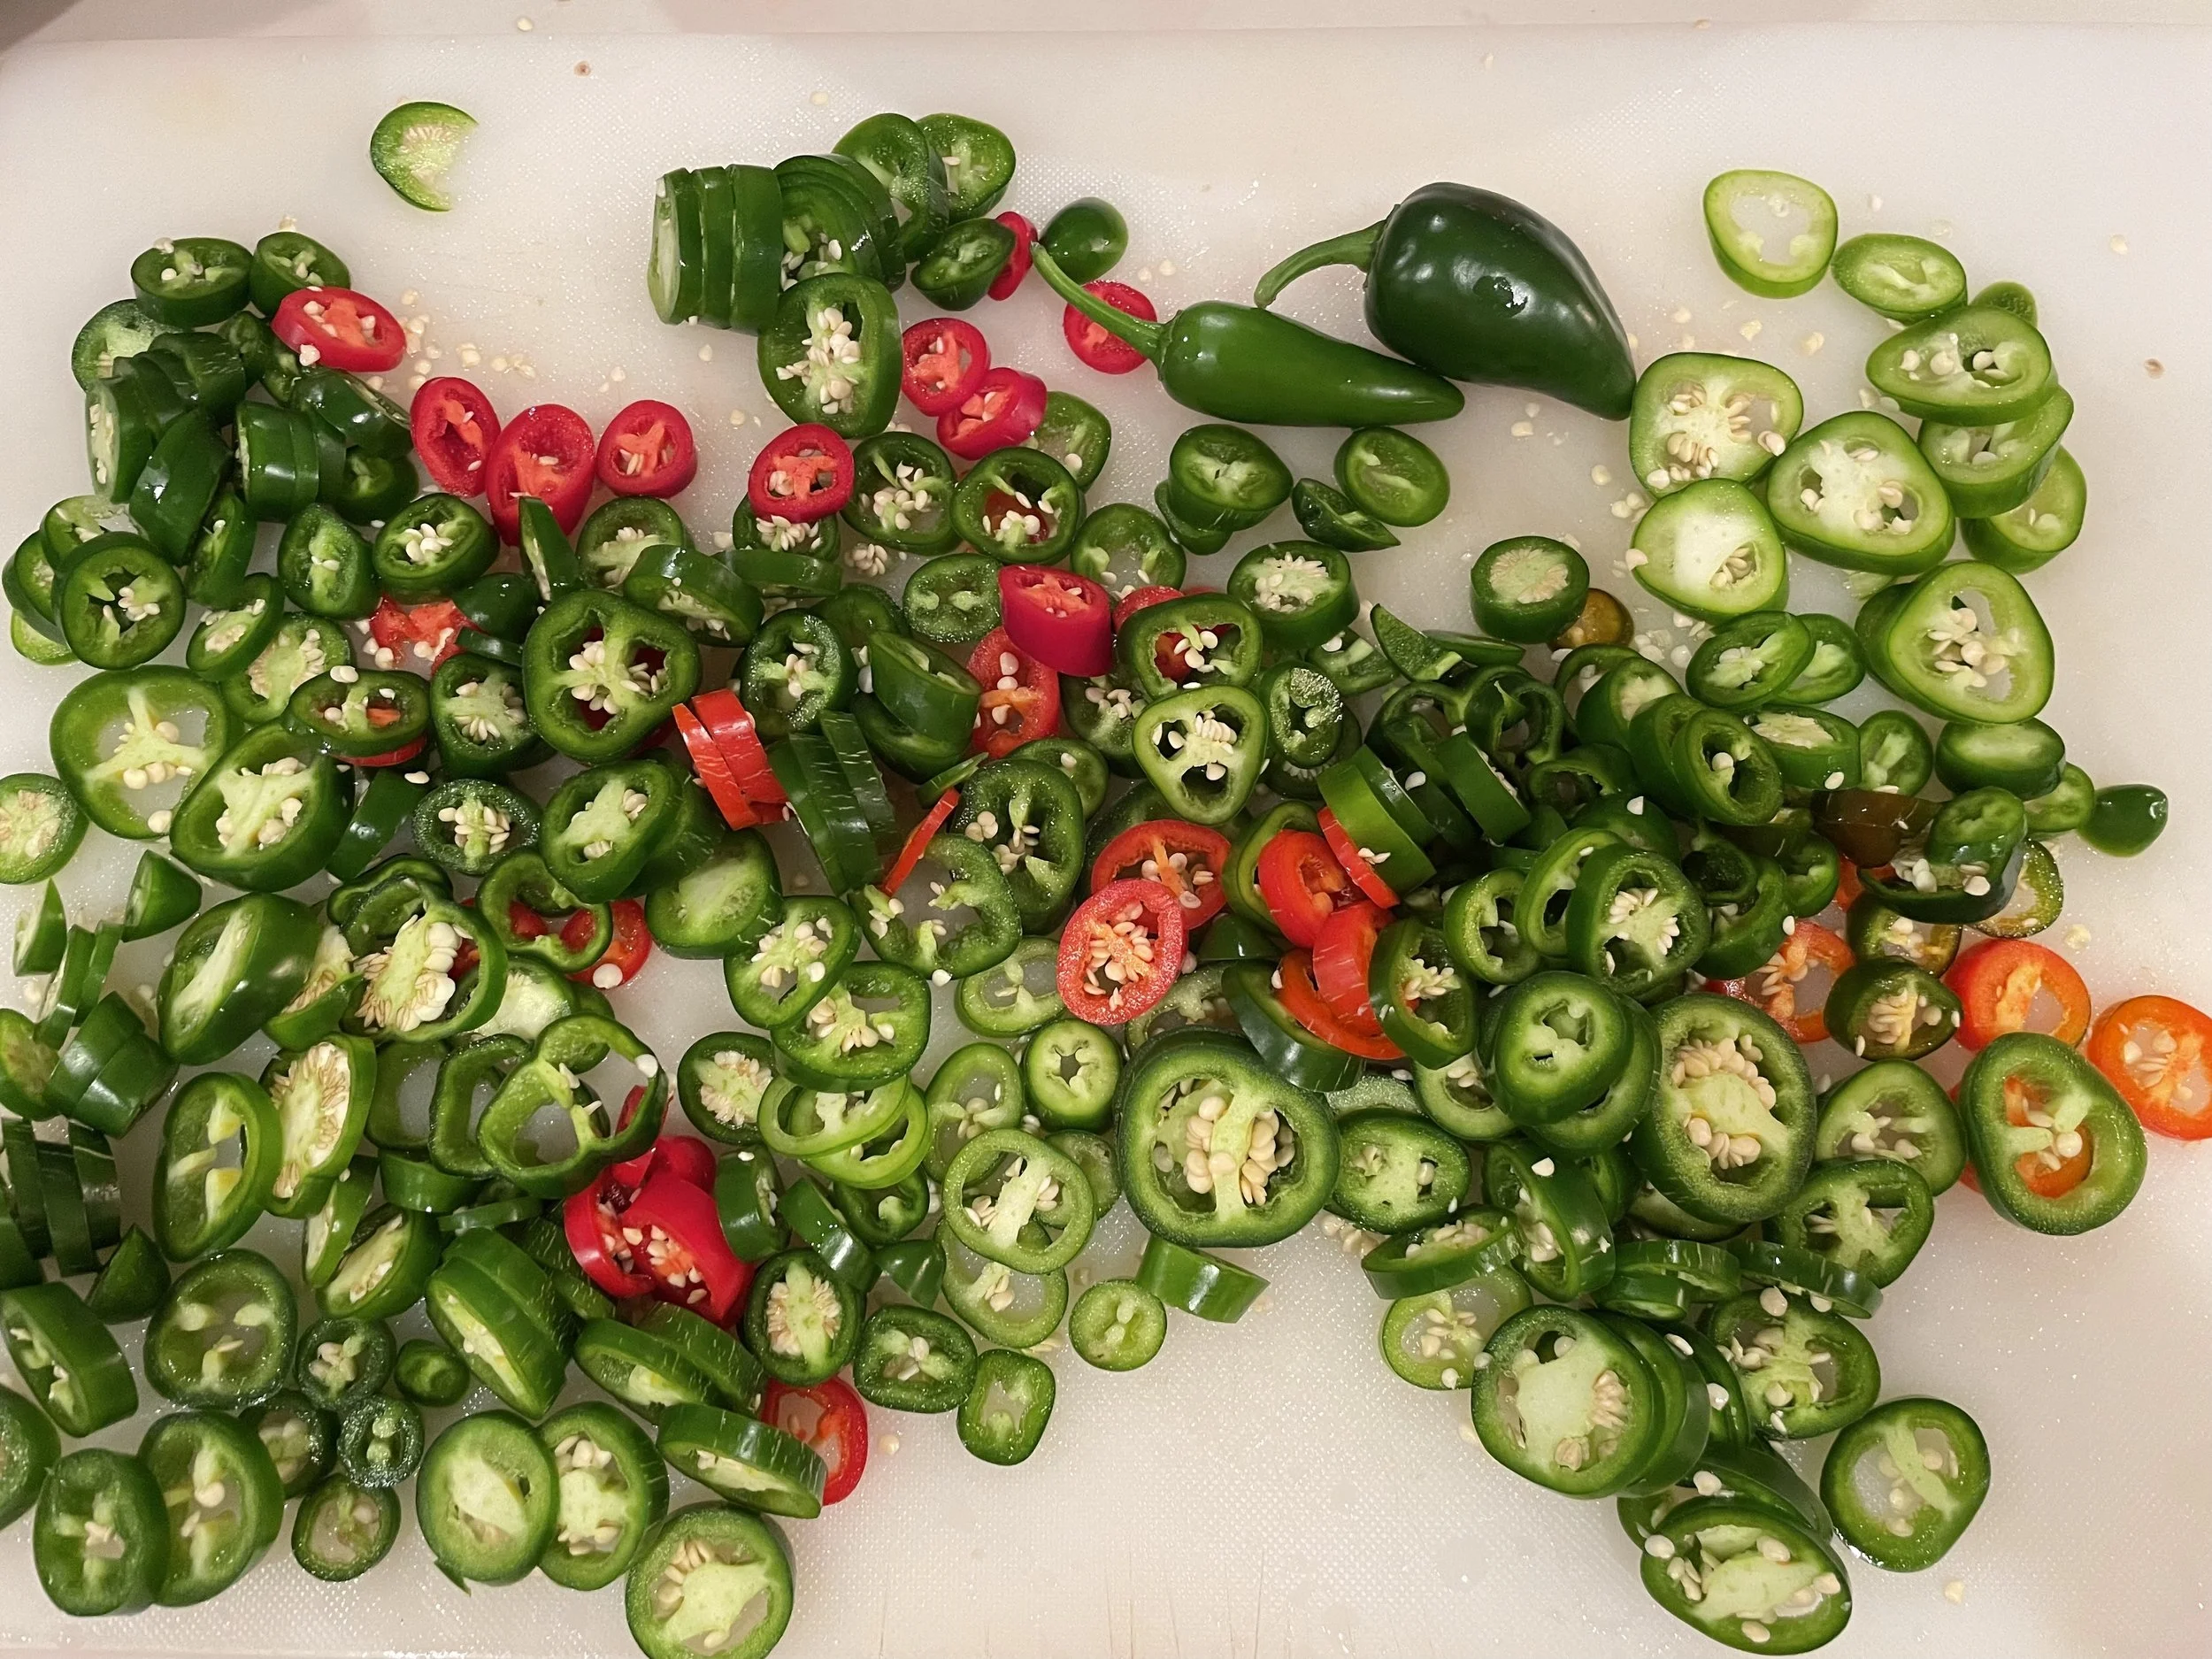
Lots of jalapeño and poblano peppers this season
I pickled them, and they’re soooo good in sandwiches and Mexican meals!
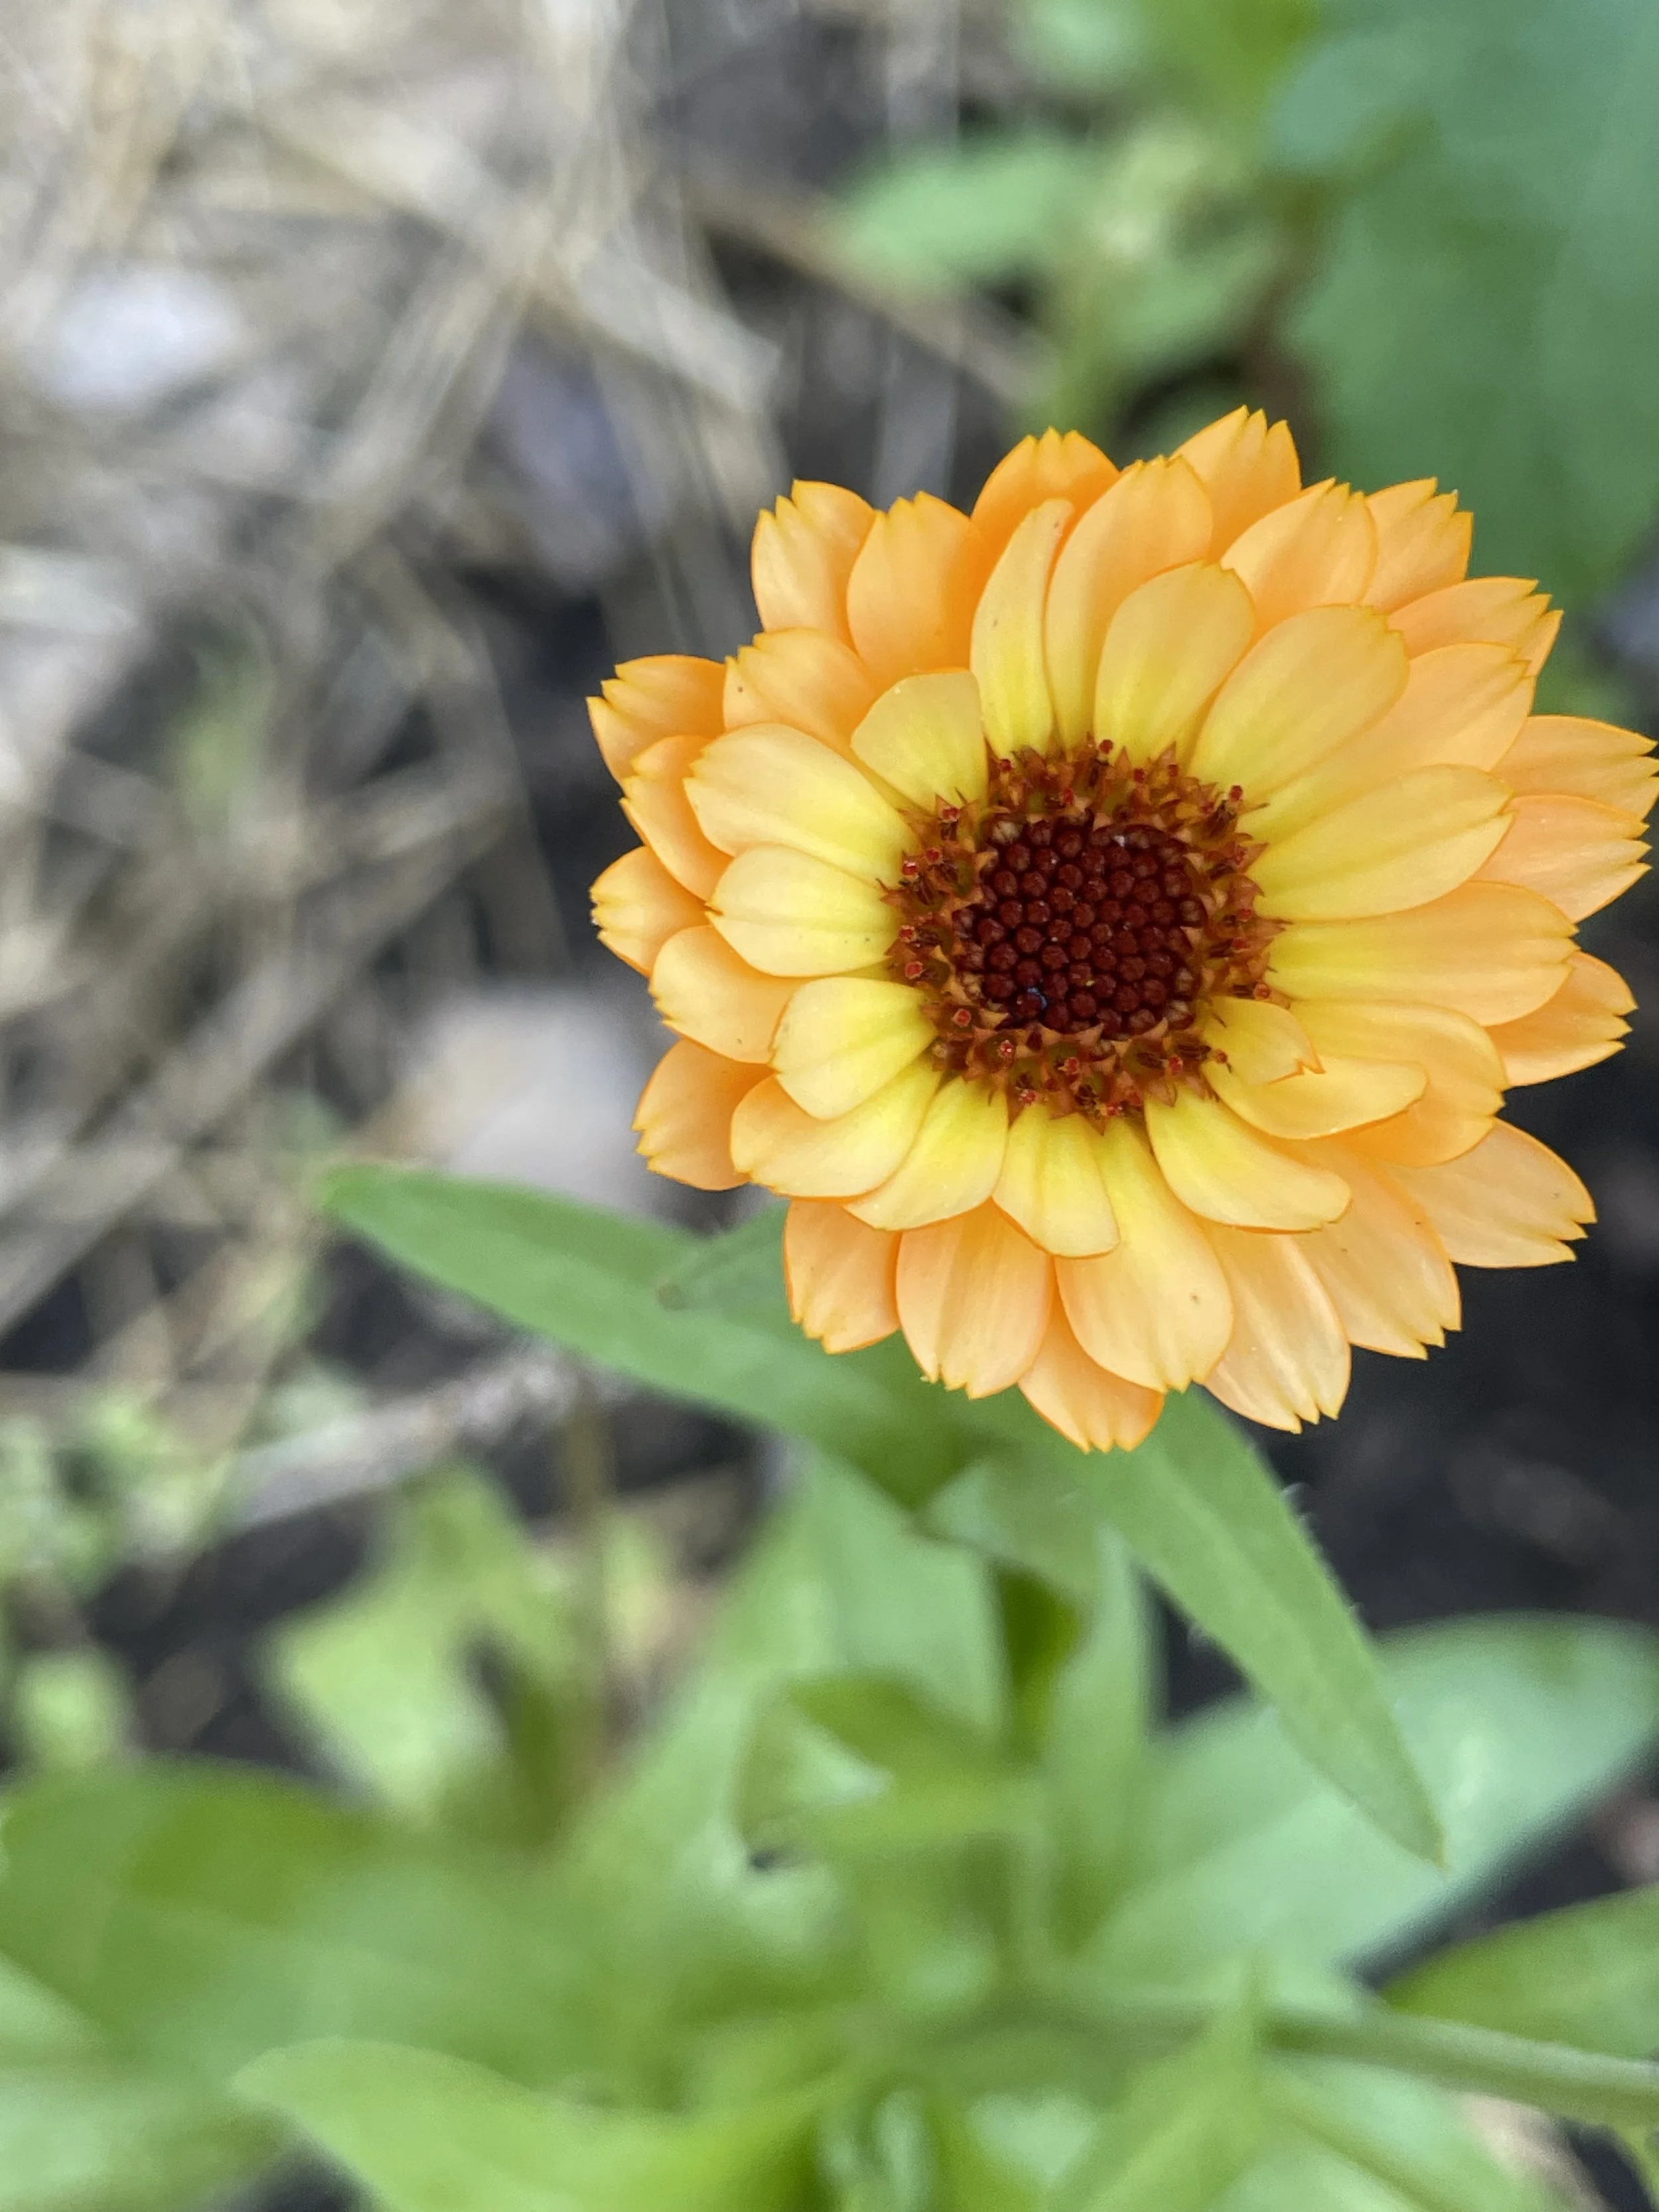
Hi there, beautiful Calendula!
These flowers are such a bright spot in the garden. I haven’t explored their medicinal uses much, but they’ve definitely been a lovely addition to the space.
I love heading out to the garden and coming back with bowls full of fresh, homegrown food.
There's nothing quite like it!
Figs are an amazing addition to any yard!
We’ve been enjoying fresh figs for weeks, and they’re absolutely worth the wait. While they can take their time to ripen, the payoff is incredible – there’s truly nothing like the sweet, rich flavor of homegrown figs.
I've been presenting a sprouts and microgreens class around the Northland area this fall.
They're such a great crop to grow indoors during the winter months, especially if you have limited space!
Wishing you a wonderful fall! Keep growing and keep enjoying your homegrown food!
Gardening in the Fall
This week will be extremely hot in Kansas City. The forecast shows temperatures reaching 105°F (40°C) before factoring in humidity. That’s really hot. Despite the intense heat, it’s also time to start thinking about the fall garden.
Let’s explore the why, the how, and the what of fall gardening.
Why start a fall garden?
The smart answer is: why not!?! A fall garden is an excellent opportunity to grow another big harvest of cool-weather vegetables. It extends your gardening season, allowing you to grow until the first frost and beyond. The cooler temperatures make it very pleasant to be outside and garden. Pest pressure is often reduced in the fall, and so are the weeds! Plus, the variety of cool-weather vegetables you can grow is truly fun and rewarding. I love growing our own lettuce, and the fall is the perfect time for that! The plants in the Brassica family (cabbage family) thrive in cooler weather as well. Feeding my family as much organic food as I can produce is important to me, and the fall garden helps with that!
How do we start a fall garden?
First, consider what you and your family enjoy eating. It’s also a great opportunity to experiment with some garden novelties. For example, I grew kohlrabi for the first time this year, and I will definitely grow it again in the fall! This sweet and crunchy vegetable was a delightful addition to my cool-weather crops. If there are certain vegetables you don’t enjoy eating, don’t plant them—unless they serve as a pest deterrent in the garden.
Second, prepare the garden for the next crop. Once you know what you want to grow, plan your space and prepare the soil. I leave long-lasting plants like tomatoes as long as I can because I want to keep harvesting from them until the frost. I harvest other vegetables that are ready or too diseased to continue producing well. Today, I harvested some beets and removed dying cucumber plants that had succumbed to cucumber beetles. I amended the soil, and now it is ready for planting.
Finally, work with your frost dates. In addition to choosing cool-weather crops, it’s crucial to know how long your plants will take to mature. Check your seed packets to determine if you have enough days until the first frost. If not, consider using seedlings to ensure you can still grow that crop. Remember, some plants don’t like being transplanted. For example, I’ll direct sow my beets and carrots, but I’ll buy Brussels sprout seedlings this year. Supporting local growers is a great way to save time and ensure success with crops that need a longer growing period. Here in Kansas City, our average first frost is October 17th, and the last frost is April 15th. Since these are average dates, it's important to monitor the weather and be ready to cover your crops if an early frost is predicted.
What can we plant in a fall garden?
There are so many exciting things to plant in the fall garden! For our family, our fall garden includes curly Scotch and Tuscan kale, carrots, beets, a variety of lettuces, sugar snap peas, kohlrabi, broccoli, Chinese cabbage, Brussels sprouts, cilantro, dill, and Swiss chard. This year, I’m also looking forward to trying Bok Choy.
I’ll use the succession planting method for cilantro and lettuce to ensure a steady harvest throughout the season rather than all at once. The fall garden can be incredibly productive and nutritious!
This beautiful kohlrabi thrives in the cooler weather.
Need guidance for your fall garden? Schedule a coaching session below!
80/20 in the Garden?!
Today, I want to share with you a simple yet effective approach to gardening that has been good for my growing experience: the 80/20 mindset. This method involves dedicating 80% of your garden to reliable, tried-and-true plants, while reserving the remaining 20% for experimenting with exciting new varieties. By balancing familiarity with creativity, you can enjoy the best of both worlds—steady success and the thrill of discovery. Let’s dive into how this mindset works and how you can apply it to your own garden!
Beautiful Miner’s lettuce!
It is my first time growing it. It is in the more shaded part of my garden and is doing great!
Every gardener is on a journey of learning and growing their skills, and adopting the 80/20 mindset can be a valuable part of that journey.
About 80% of what I grow every year are my “go-to” plants. These are the plants that I have grown before and had good success with. I feel confident about how to deal with these plants. I know their optimal growing seasons, water and sunlight needs, and the pests that might be a nuisance to them.
The other 20% consists of exciting novelties. This part is creative, risky, and so much fun! I often keep my expectations lower for these new crops. If it works out, great! If not, then I have learned something, and the compost might benefit. :)
Last year, some of my novelties included ginger, peanuts, and even a date palm tree that grew from a date pit! (I didn’t really expect the date pit to sprout, so that was a happy surprise.) I also planted different varieties of tomatoes, like champagne bubble cherry tomatoes (now my favorite). Additionally, I grew poblano and shishito peppers, which were fun and different.
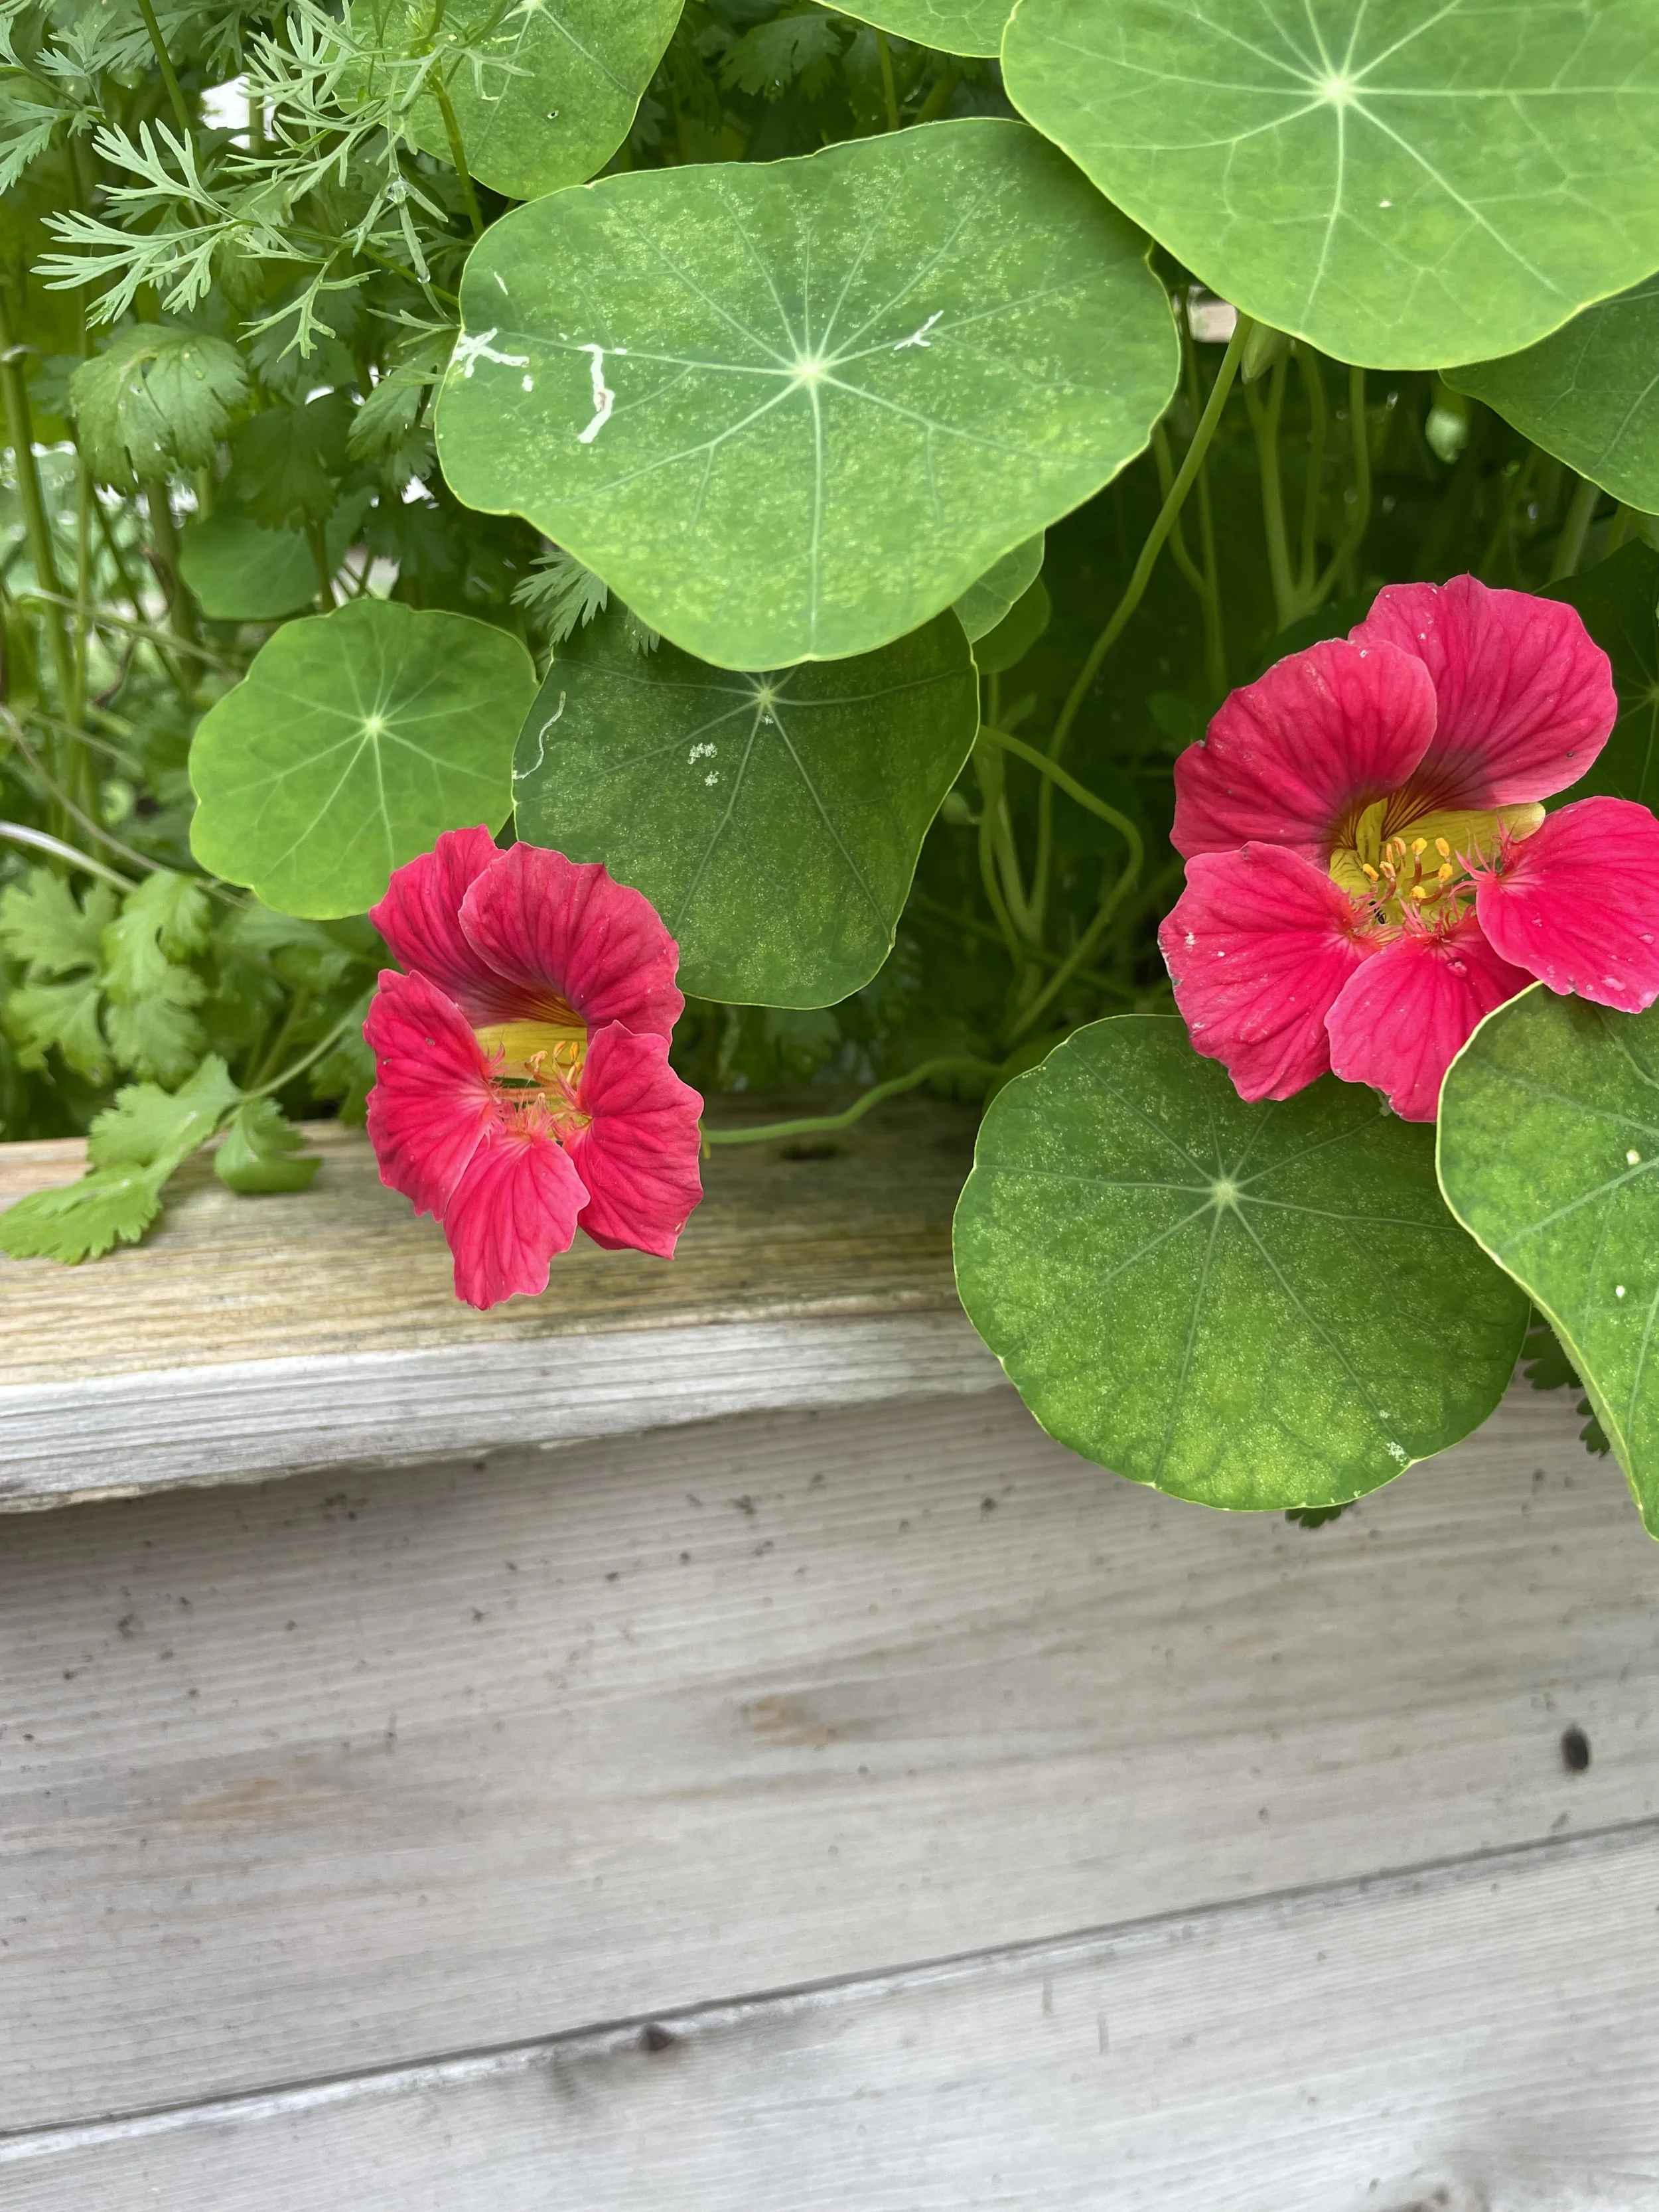
Nasturtium not only adds beauty to the garden, but also helps with pest control! The leaves and flowers are both edible.
This year, my 80% includes green beans, Swiss chard, kale, spinach, lettuce, nasturtium, and more. My 20% of different crops includes purple green beans, kohlrabi, many different varieties of tomatoes, and gypsy peppers. I am also trying a few different varieties of cucumbers.
How cute is this kohlrabi!? Kohlrabi tastes like a sweeter version of broccoli.
What if you have never gardened before? You have several options! You can start small, which is great! Another option is to fill your garden with lots of different plants but really focus on just two or three each season. Herbs are a great place to start. They are hardy, and many of them are also pest-repellent, which makes them great around other plants.
What about flowers? I love flowers in the garden! I used to only grow zinnias, but now I have several types of flowers growing. They add beauty, and we love the fresh-cut flowers (either for ourselves or to give away).
Remember that the garden is yours and for you—so grow what you enjoy!
Gardening is a fun learning journey where even setbacks offer valuable lessons. Embracing the 80/20 growing mindset keeps my gardening experience both fun and interesting!
Navigate Seed Starting: Pros and Cons.
It’s March! Can you smell the fresh spring air? Actually, my spring allergies are about to kick in, so I might not be smelling it for much longer. Haha!
I want to share a few thoughts on seed starting in this blog post. I love starting my seedlings, and I hope you do too. However, it is not for everyone, and there are a few things to evaluate before you dive in! Here are some pros and cons of seed starting:
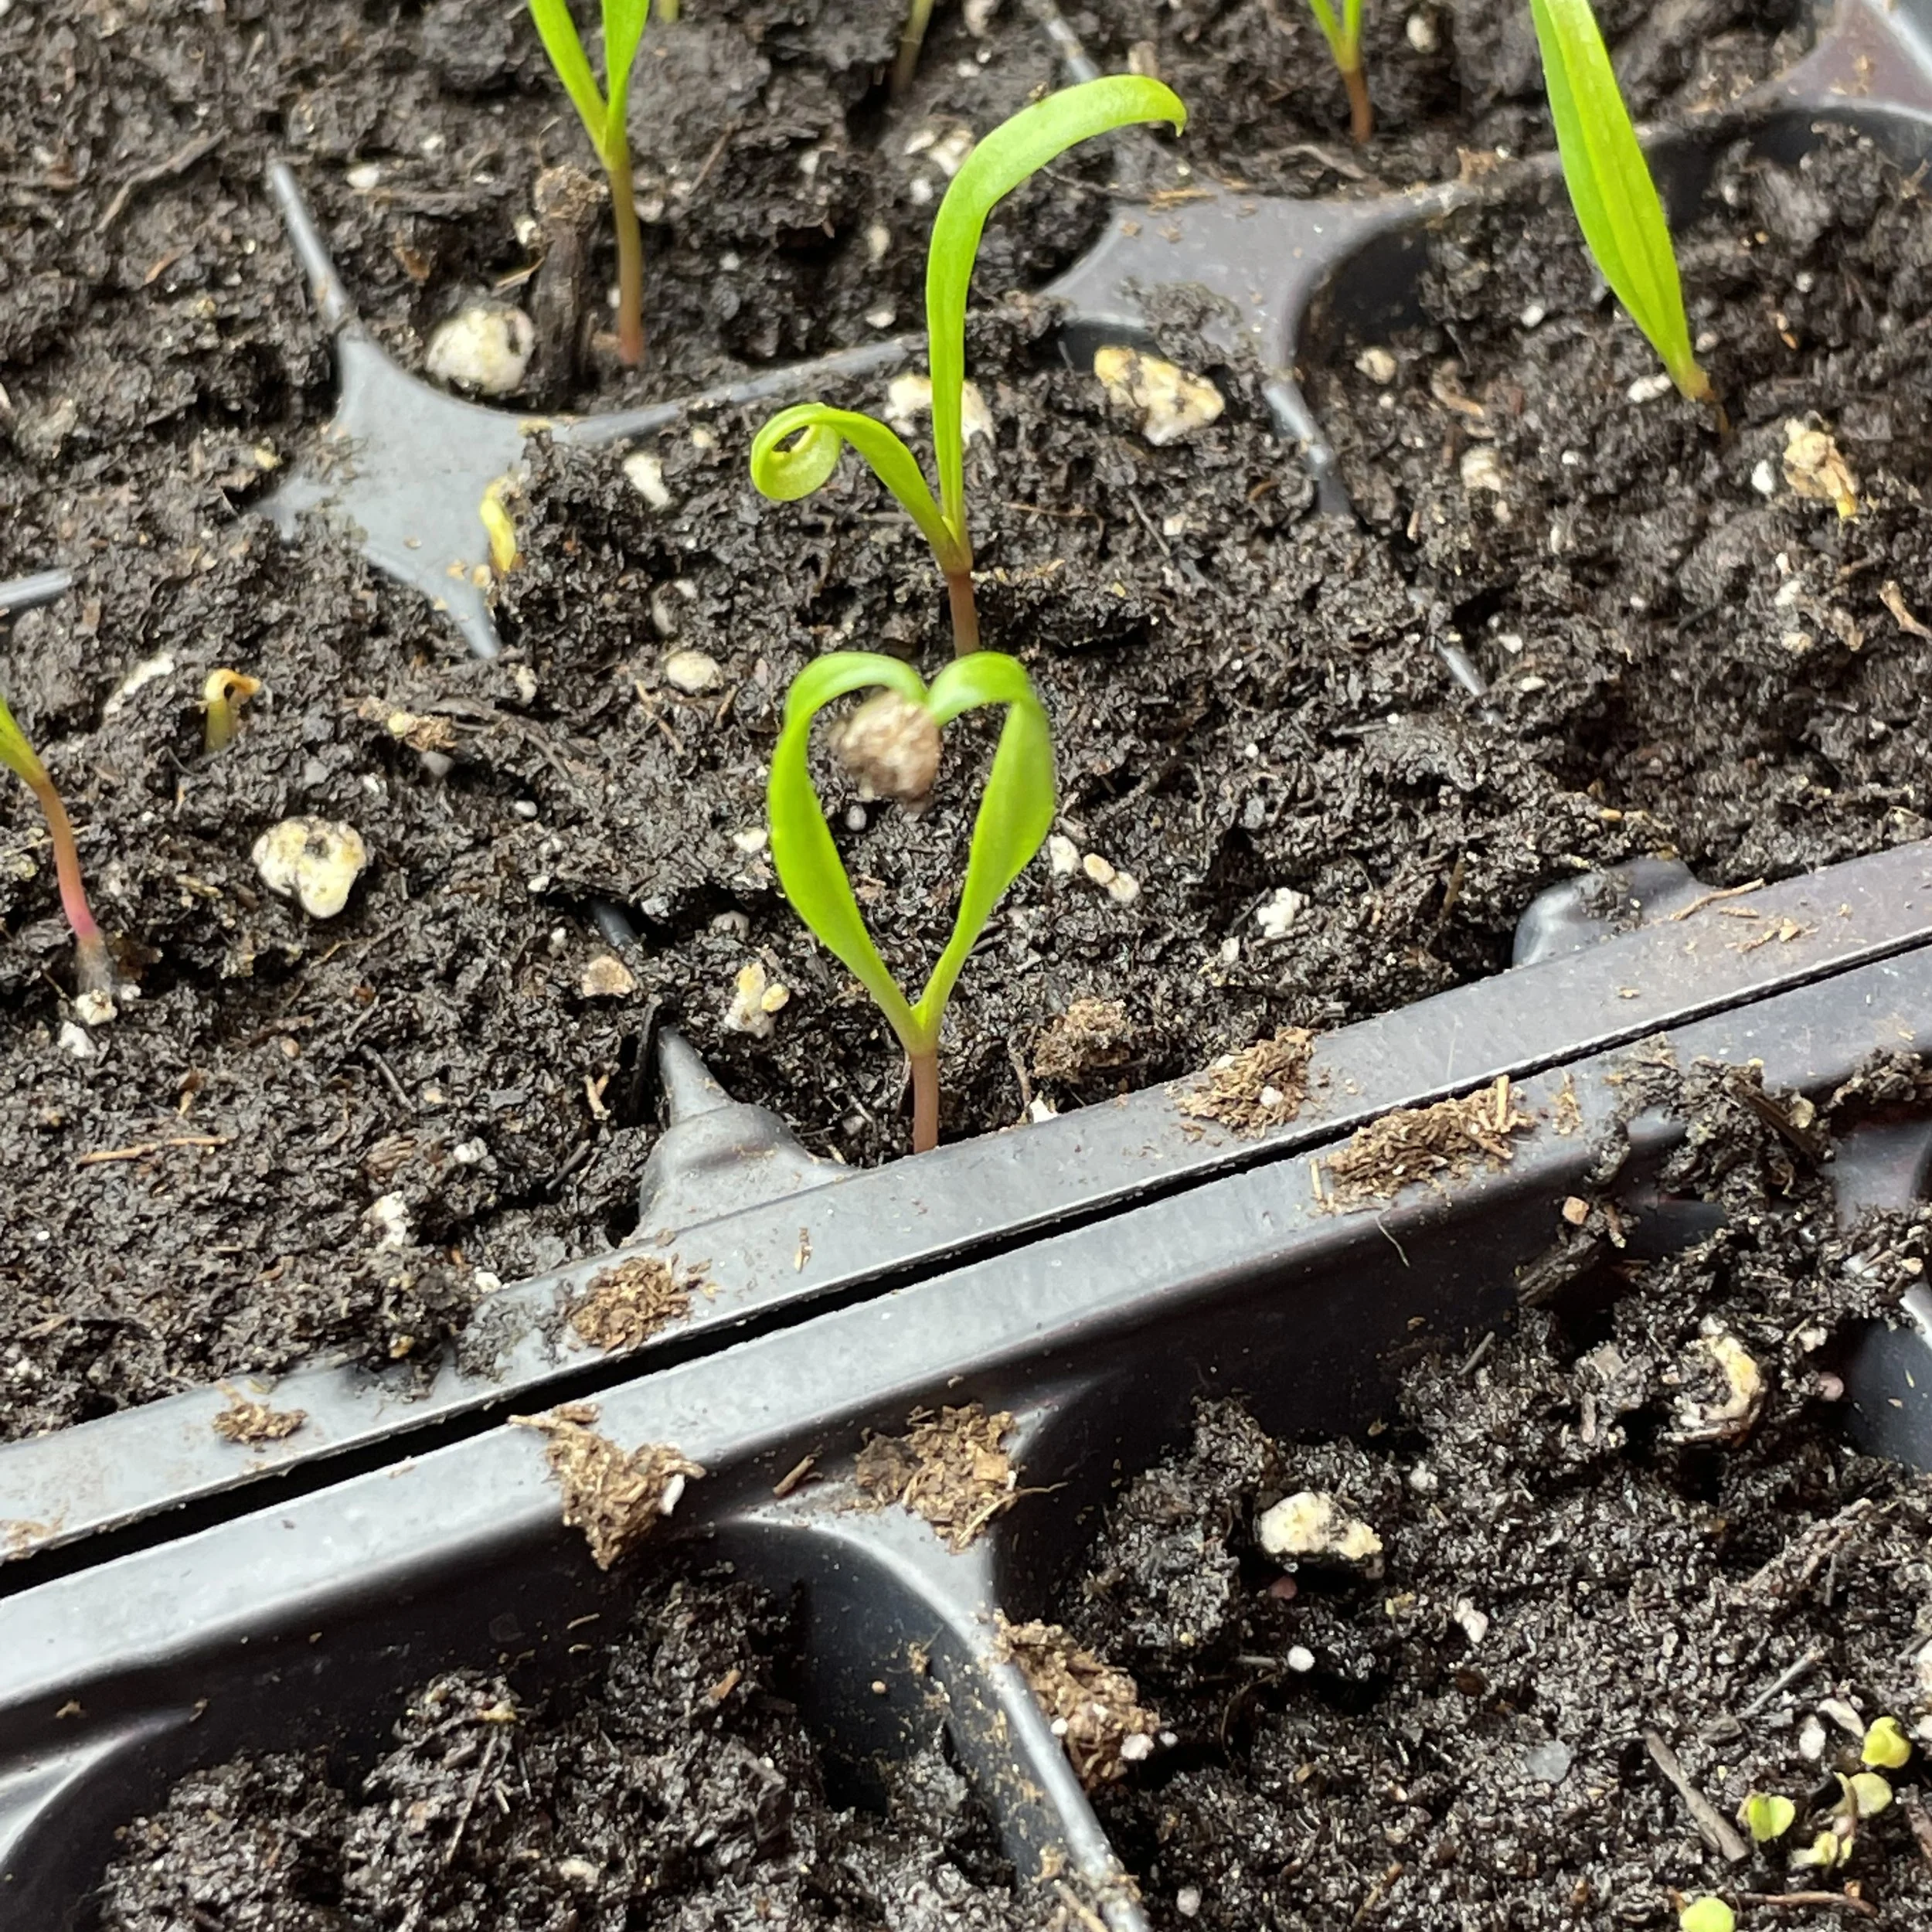
Can you feel the love?!
Check out my spinach seedling that I started a few weeks ago. I can’t wait to transplant it in the garden!
Advantages of Seed Starting
1. You get to garden when it’s too early or too cold to garden outside! I know I'm not the only one who itches to garden in February or early March. Seeing a tiny seed burst open to glorious life NEVER gets old. It simply brings me joy
2. Get a head start on growth: Since certain plants require numerous days to mature, initiating seed growth indoors can trim down weeks of waiting compared to directly sowing them in the garden. Now, keep in mind that not every plant loves to be transplanted.
3. You get to plant hard-to-find varieties. Last year, I started Champagne Bubble cherry tomatoes, and they are now my favorite cherry tomato variety. They are light yellow with a very sweet taste and low acidity. I have never seen that variety in a plant nursery, but because I bought and started the seeds myself, I was able to grow this new-to-me variety.
4. You can save money on plants. This point comes with a caveat. We’ll talk more about it in the cons. It can save you money, but it is not guaranteed if you just do it one year. Maybe I should phrase it like this: you can grow a lot of plants for a reasonable price.
5. You grow all-natural plants. If you value growing organic food, you will love starting seedlings because you know exactly how the plant was grown and what was NOT sprayed on it.
Look at the sweet little onions!
Downsides of starting your own seedlings:
1. Learning curve: As with most things in the garden, you grow by experience. Sometimes it’s success, and sometimes it’s failure. It might take a few attempts to find your sweet spot with seed starting.
2. Upfront setup costs: For your seedlings to be healthy and strong, there are a few things you will need to get started, such as some sort of tray and cells or soil blocks, grow lights, shelves, or a table, etc. Some will also buy heating mats to start their seedlings. In the first year of starting seeds indoors, there will be higher costs, but I reuse the materials year after year.
3. Space and time: Depending on how many plants you are starting, you need the space to adequately tend to them, and you need to be able to use that space for many weeks. My seed starting setup stays put from February to the beginning of May. I tend to my seedlings every day. While you can automate many things like the grow lights and possibly the water, I personally go check on my plants morning and night. It doesn’t take much time at all, but it is still a daily commitment.
4. Seedling necessity: Do you actually need to start seedlings for everything? So, you might be super excited to start 85 kale plants (ahem, I’m slowly raising my hand), but in reality, your family might just need 2 plants. Take a look at your growing space, too, and find that sweet spot between what you're starting and what you'll actually be using. I'm all for sharing the extra, but keep in mind this is daily work you're putting in – just find that balance.
I hope this was helpful as you navigate through starting your seeds indoors! Plan, plant, and enjoy the process!
With a good set up, soil, water, and seeds, the possibilities are *almost* unlimited. :)
It’s Cold Outside, Let’s Grow Sprouts!
Greetings!
Phew, this is the first day of February! Last month felt long, with lots of frigid temps. Even when the weather doesn’t allow for growing food outside, you can still garden! With just a glass jar and a bit of counter space, you can witness a miniature garden unfold before your eyes, resembling a fascinating science experiment.
Why?
Growing sprouts is something you can do so easily at home, particularly during the cold months.
For us, it’s about the nutrition of it. There are lots of veggies that we like better, especially straight out of the garden. (I’m looking at you, sun-kissed tomatoes). I’m still experimenting with all the different varieties of seeds.
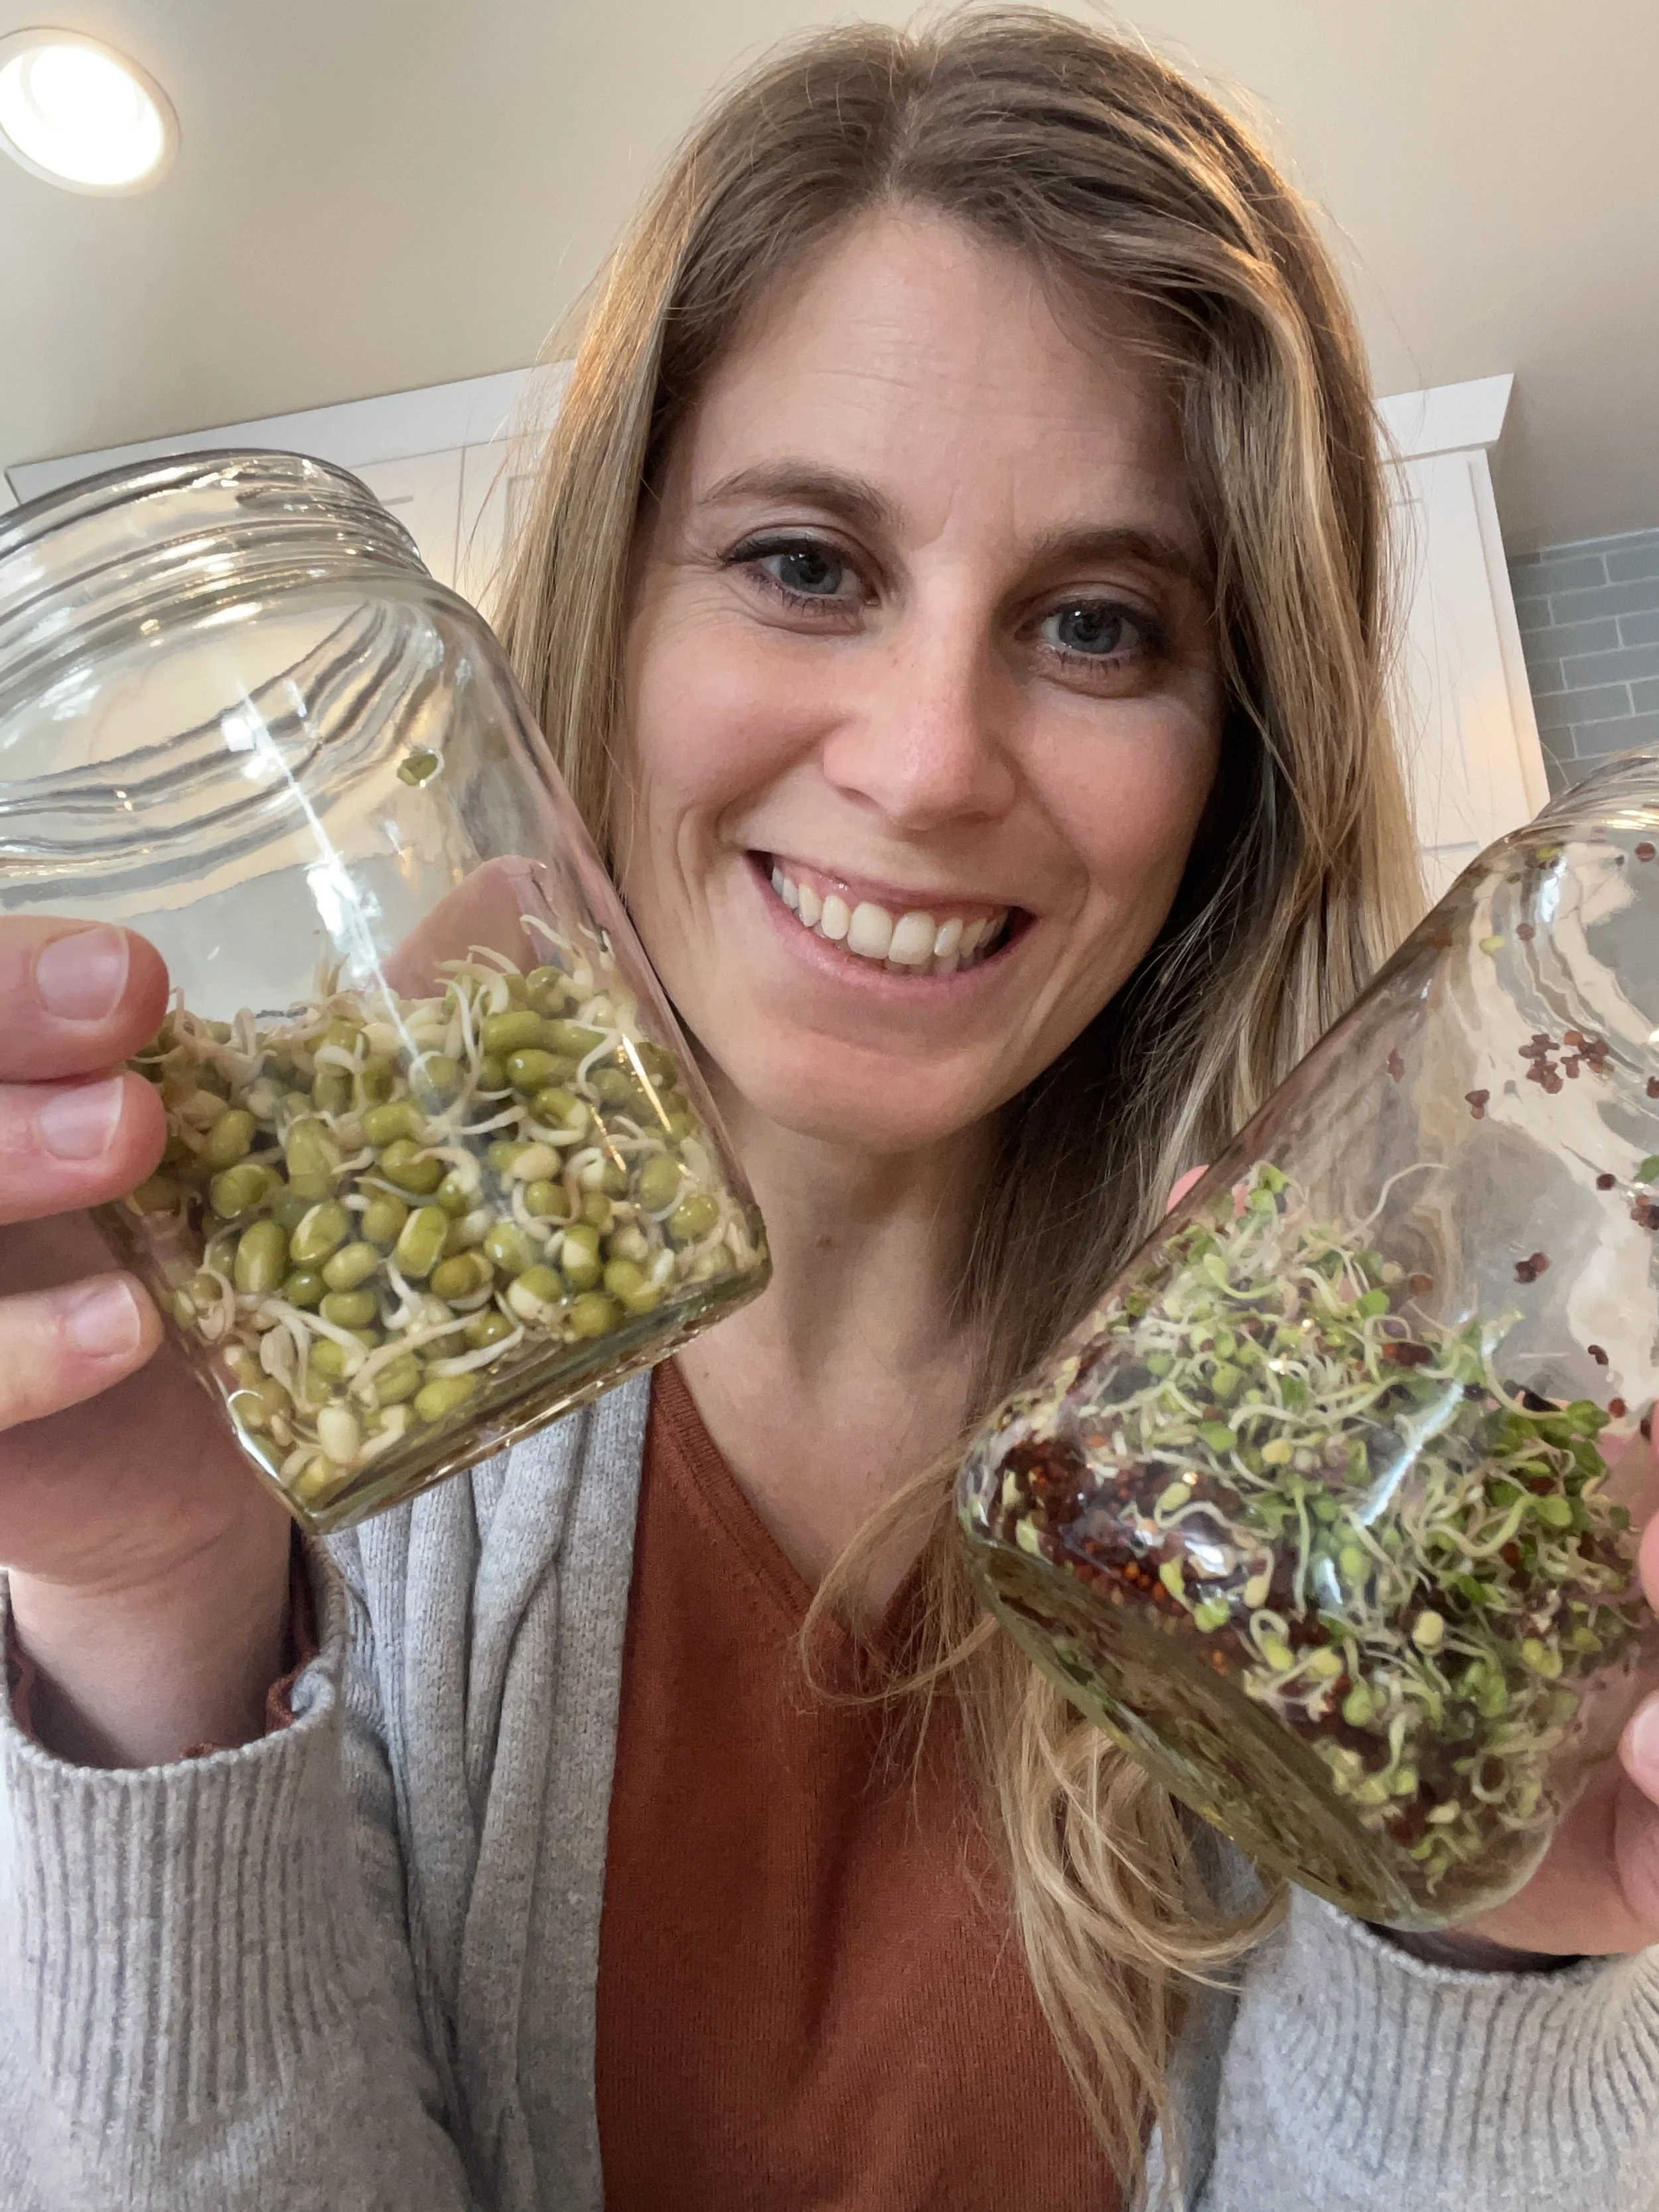
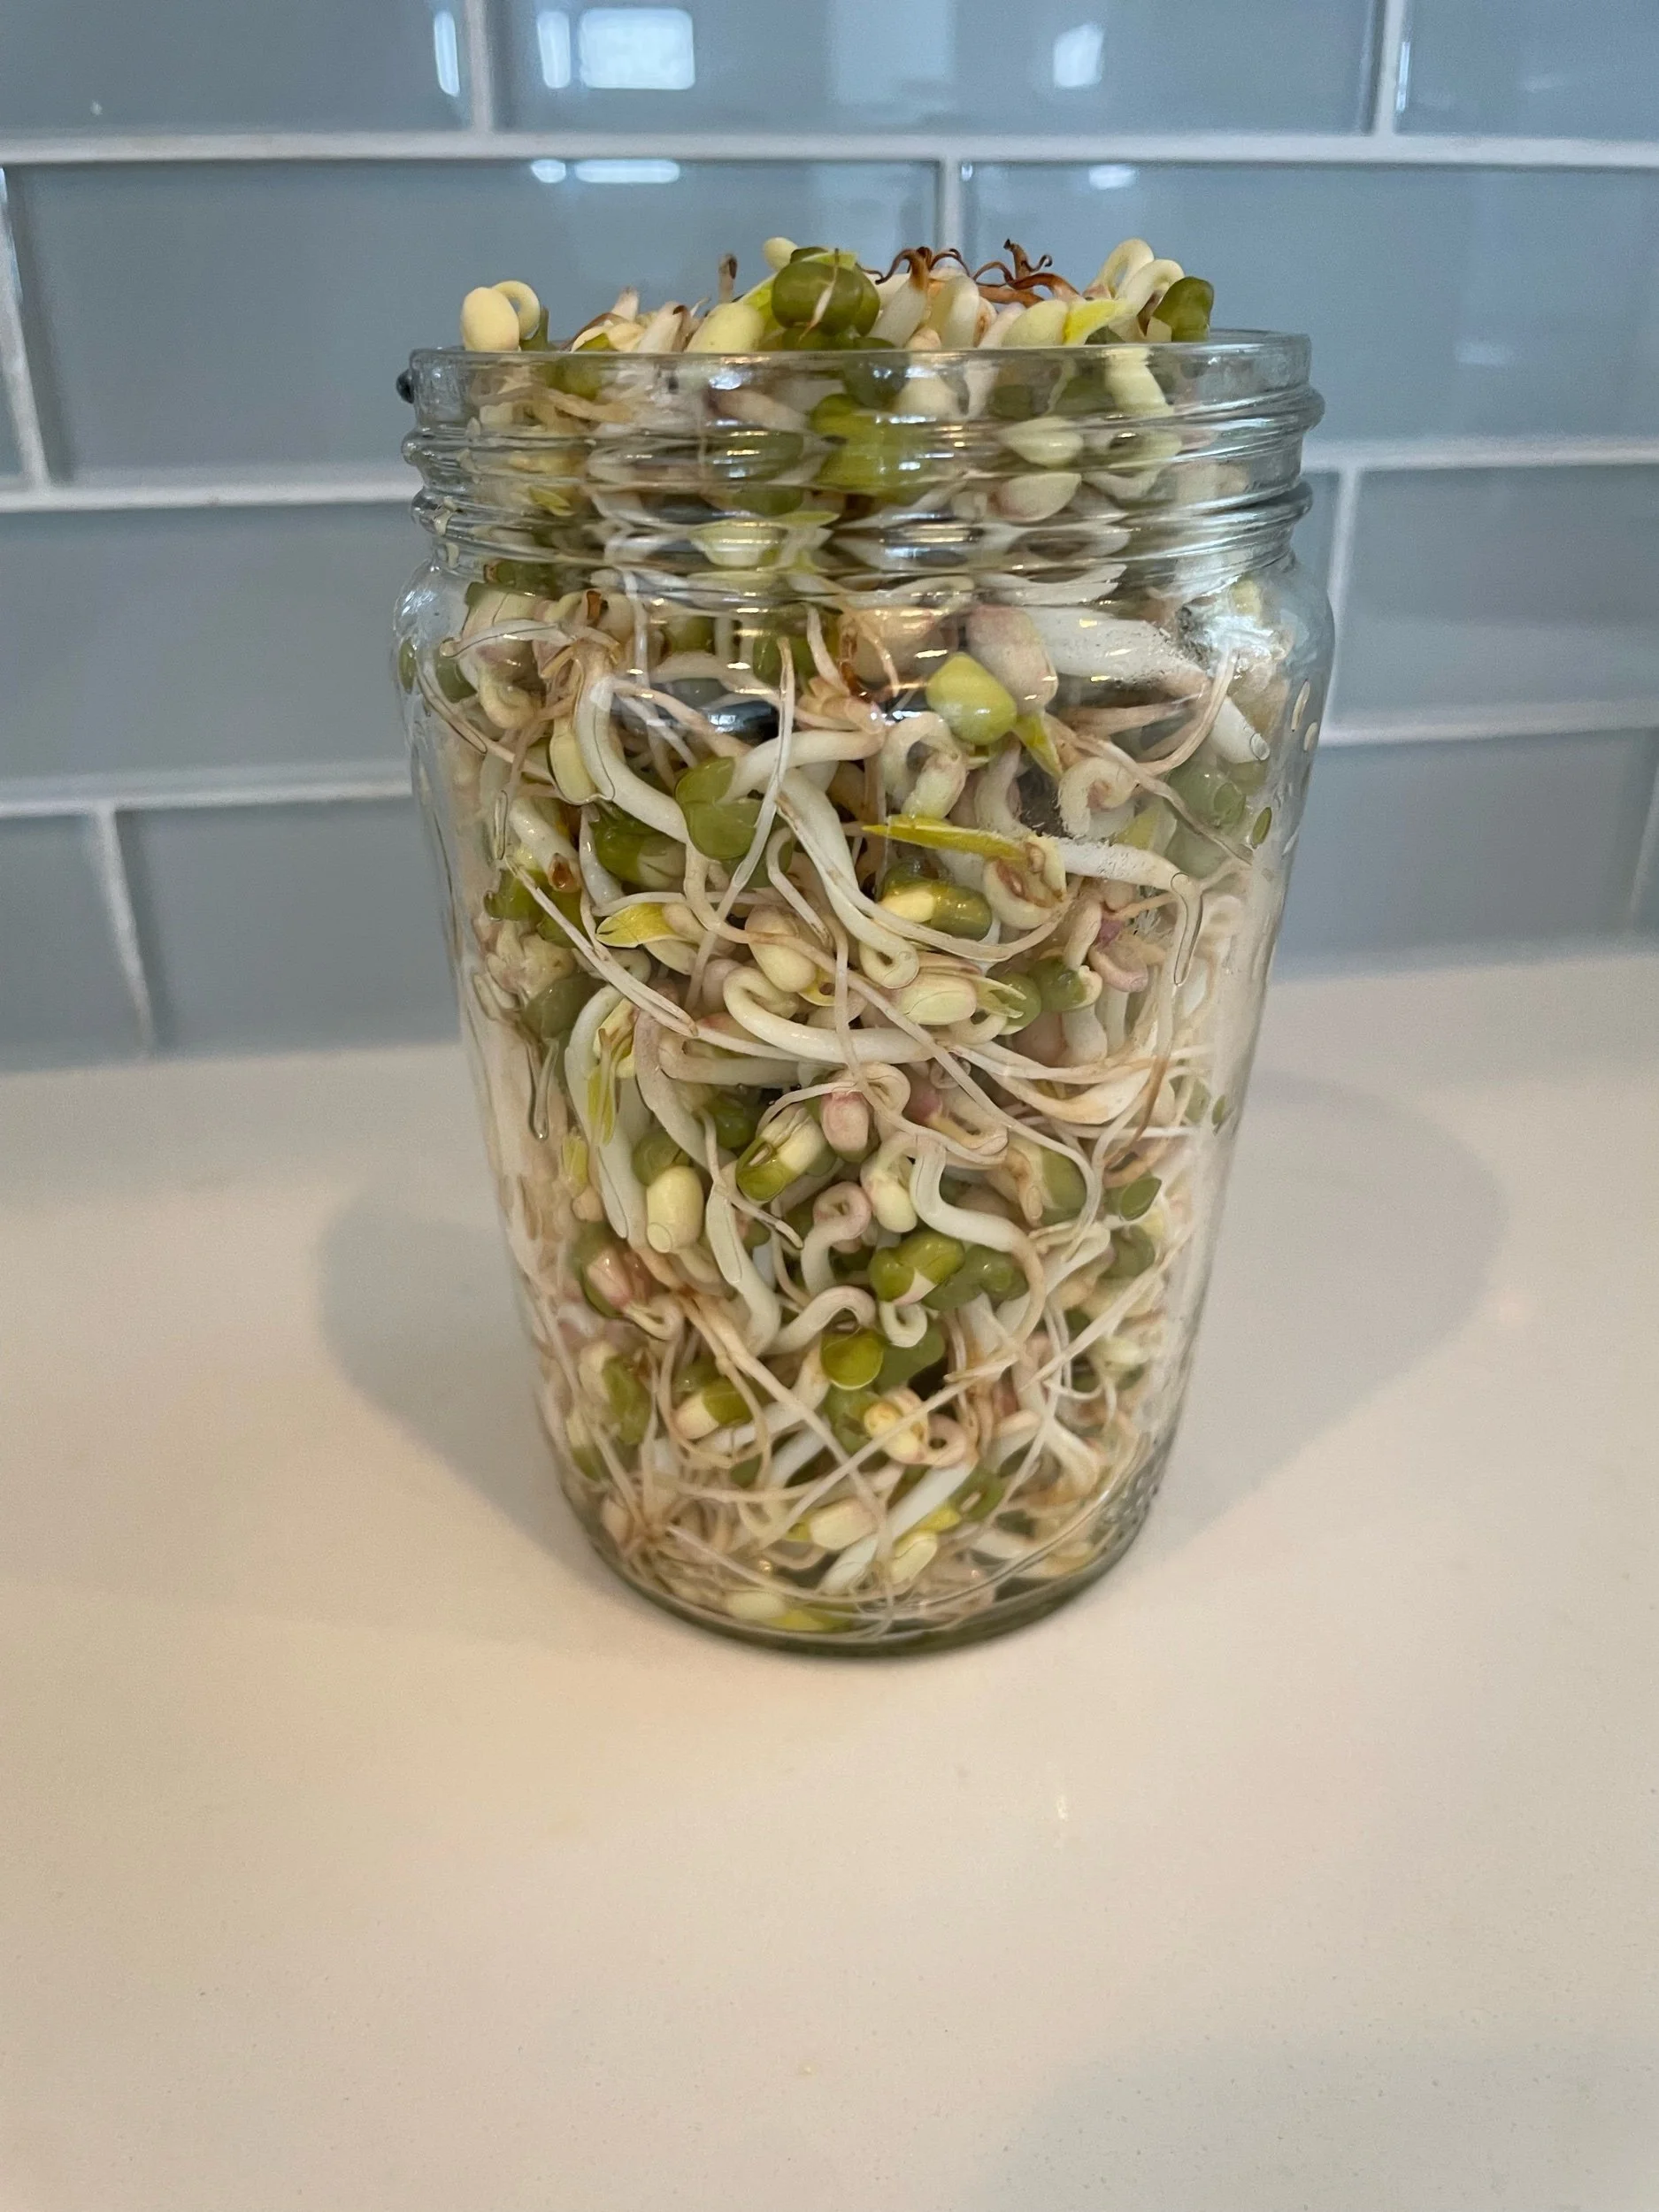
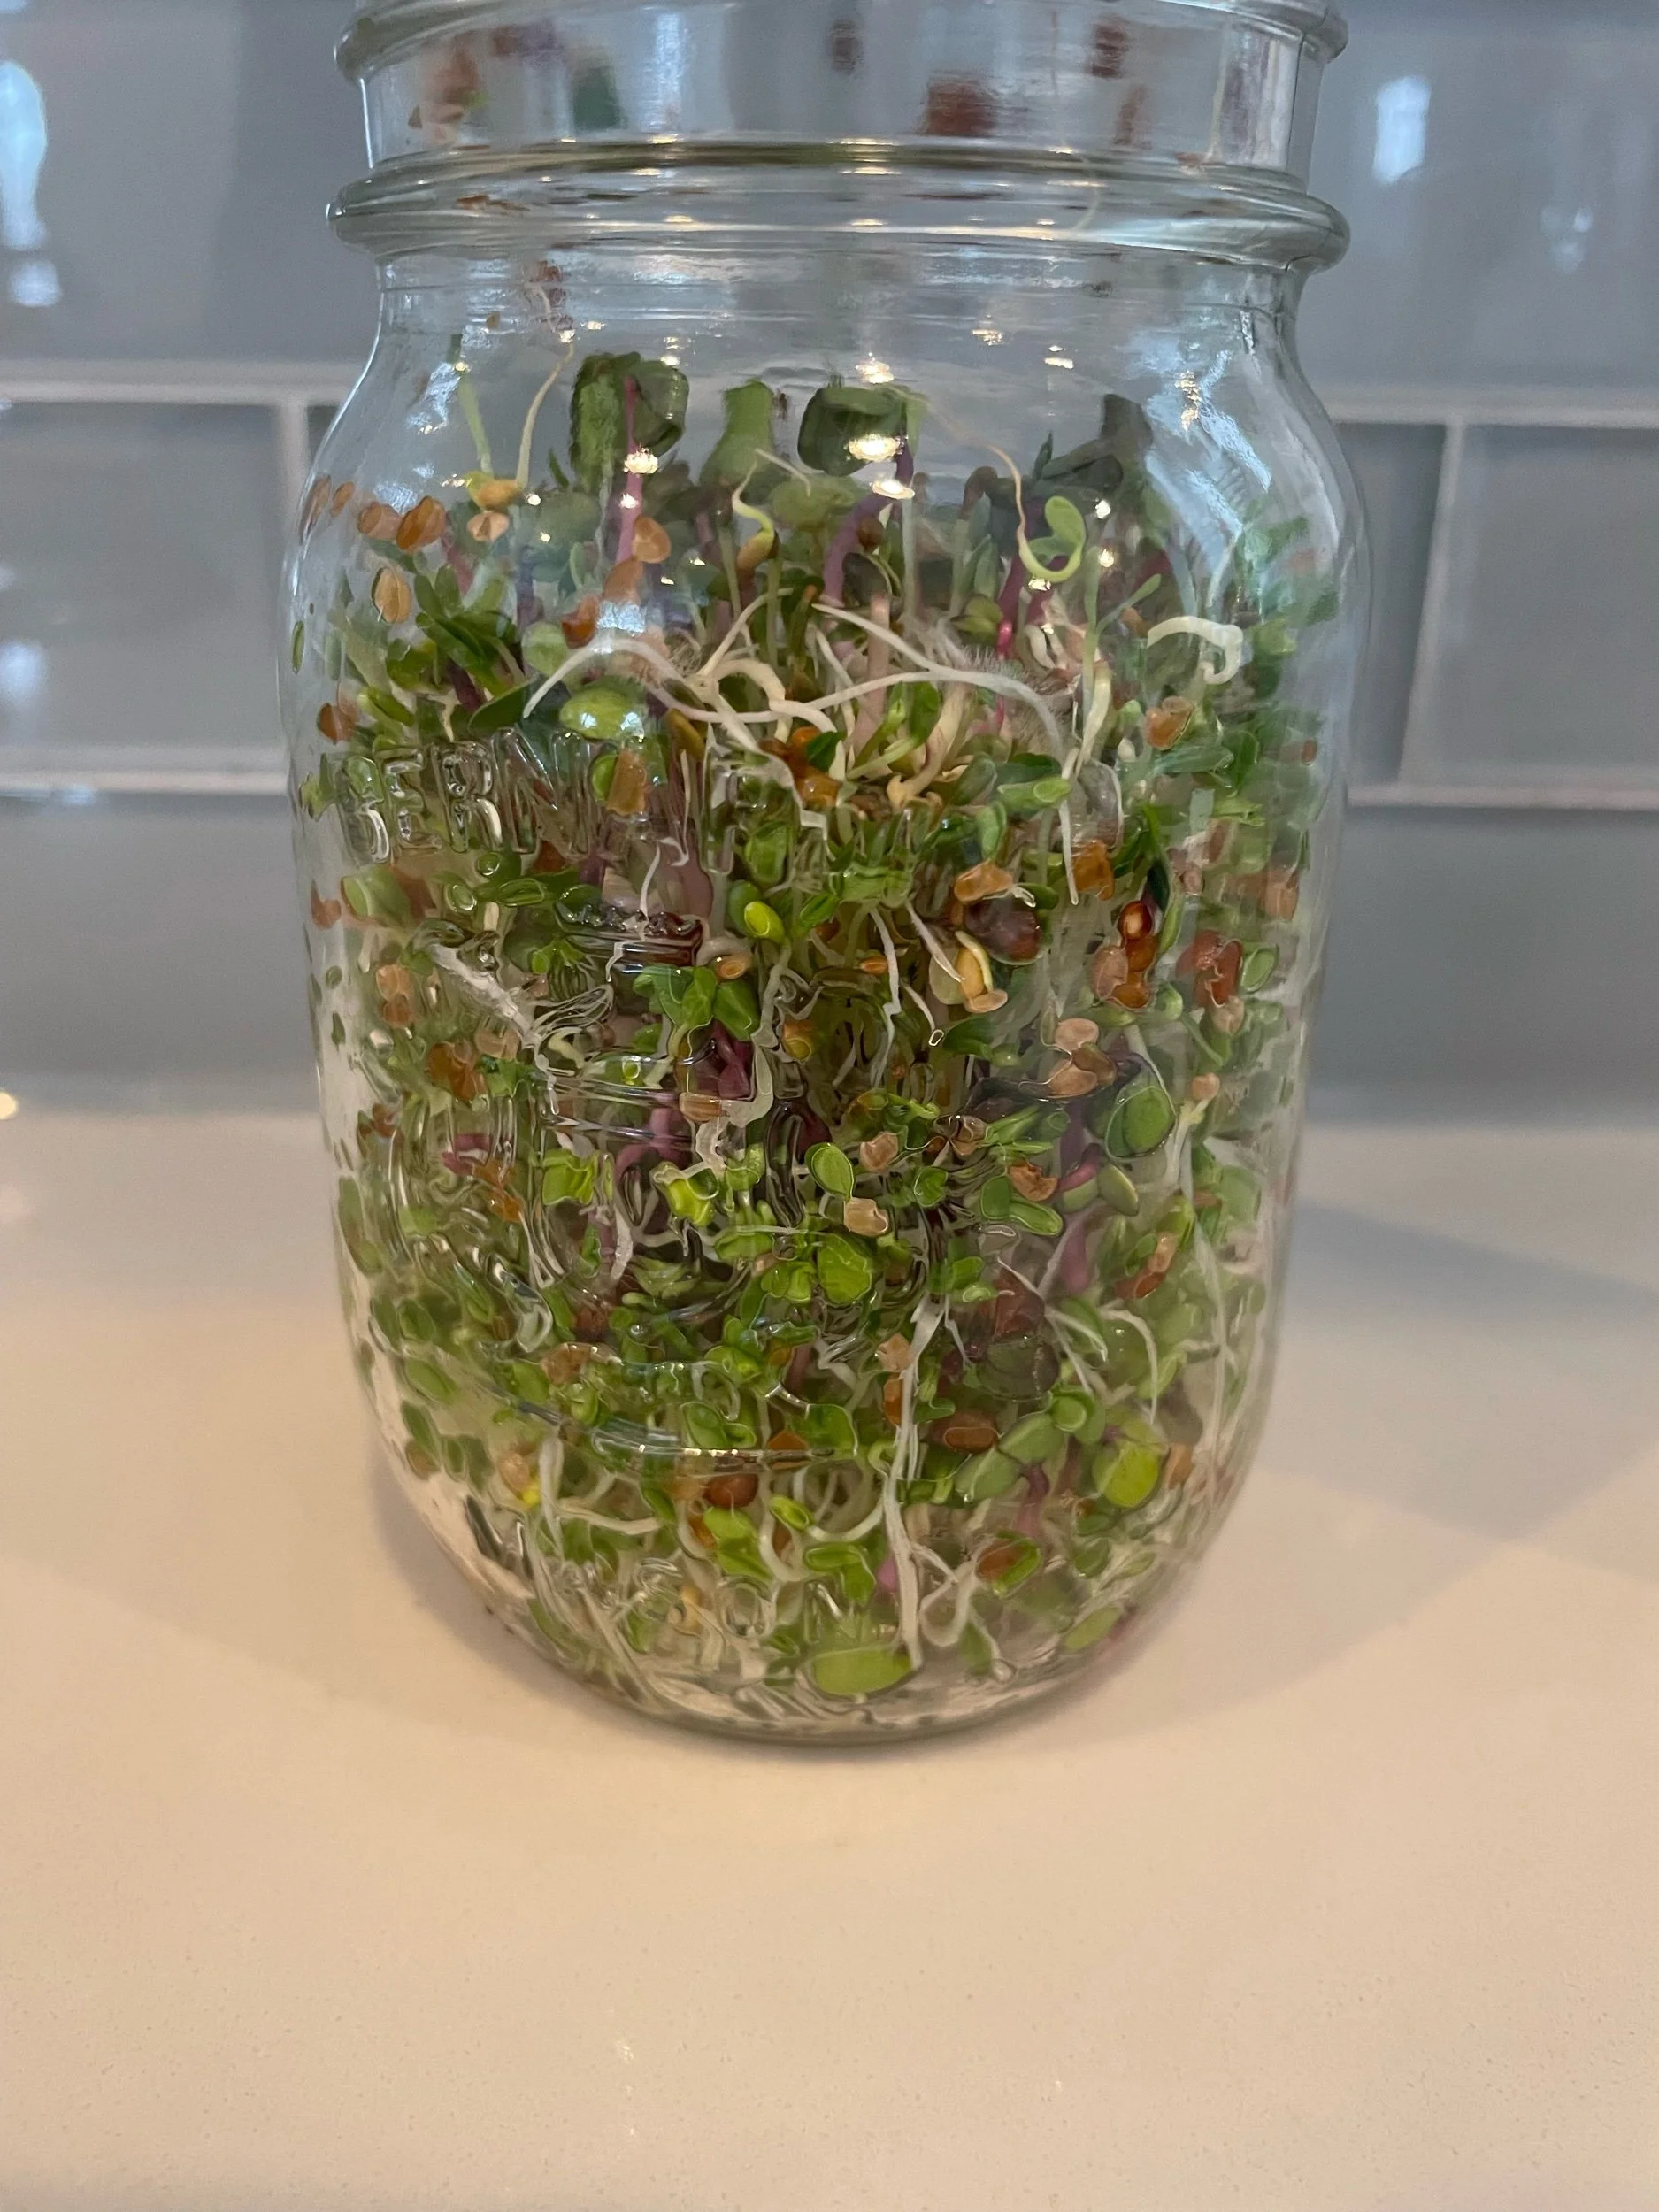
Look at these beautiful sprouts! Aren’t they just gorgeous?!
How?
Few simple steps:
1- Choose your sprouting equipment. You can get a fancy stainless steel sprouting kit, a sprouting jar, or you can recycle a glass jar that is sitting lonely in your pantry. Any of these options will work, but my current favorite is a wide-mouth Mason jar with a sprouting lid. It makes the process seamless.
2- Select your seeds wisely. I recommend opting for seeds explicitly designated for sprouting, as they undergo laboratory testing to mitigate the potential risk of foodborne illnesses.
3- Soak the seeds 8-12 hrs. That’s it. Just cover your seeds with water and forget about them overnight.
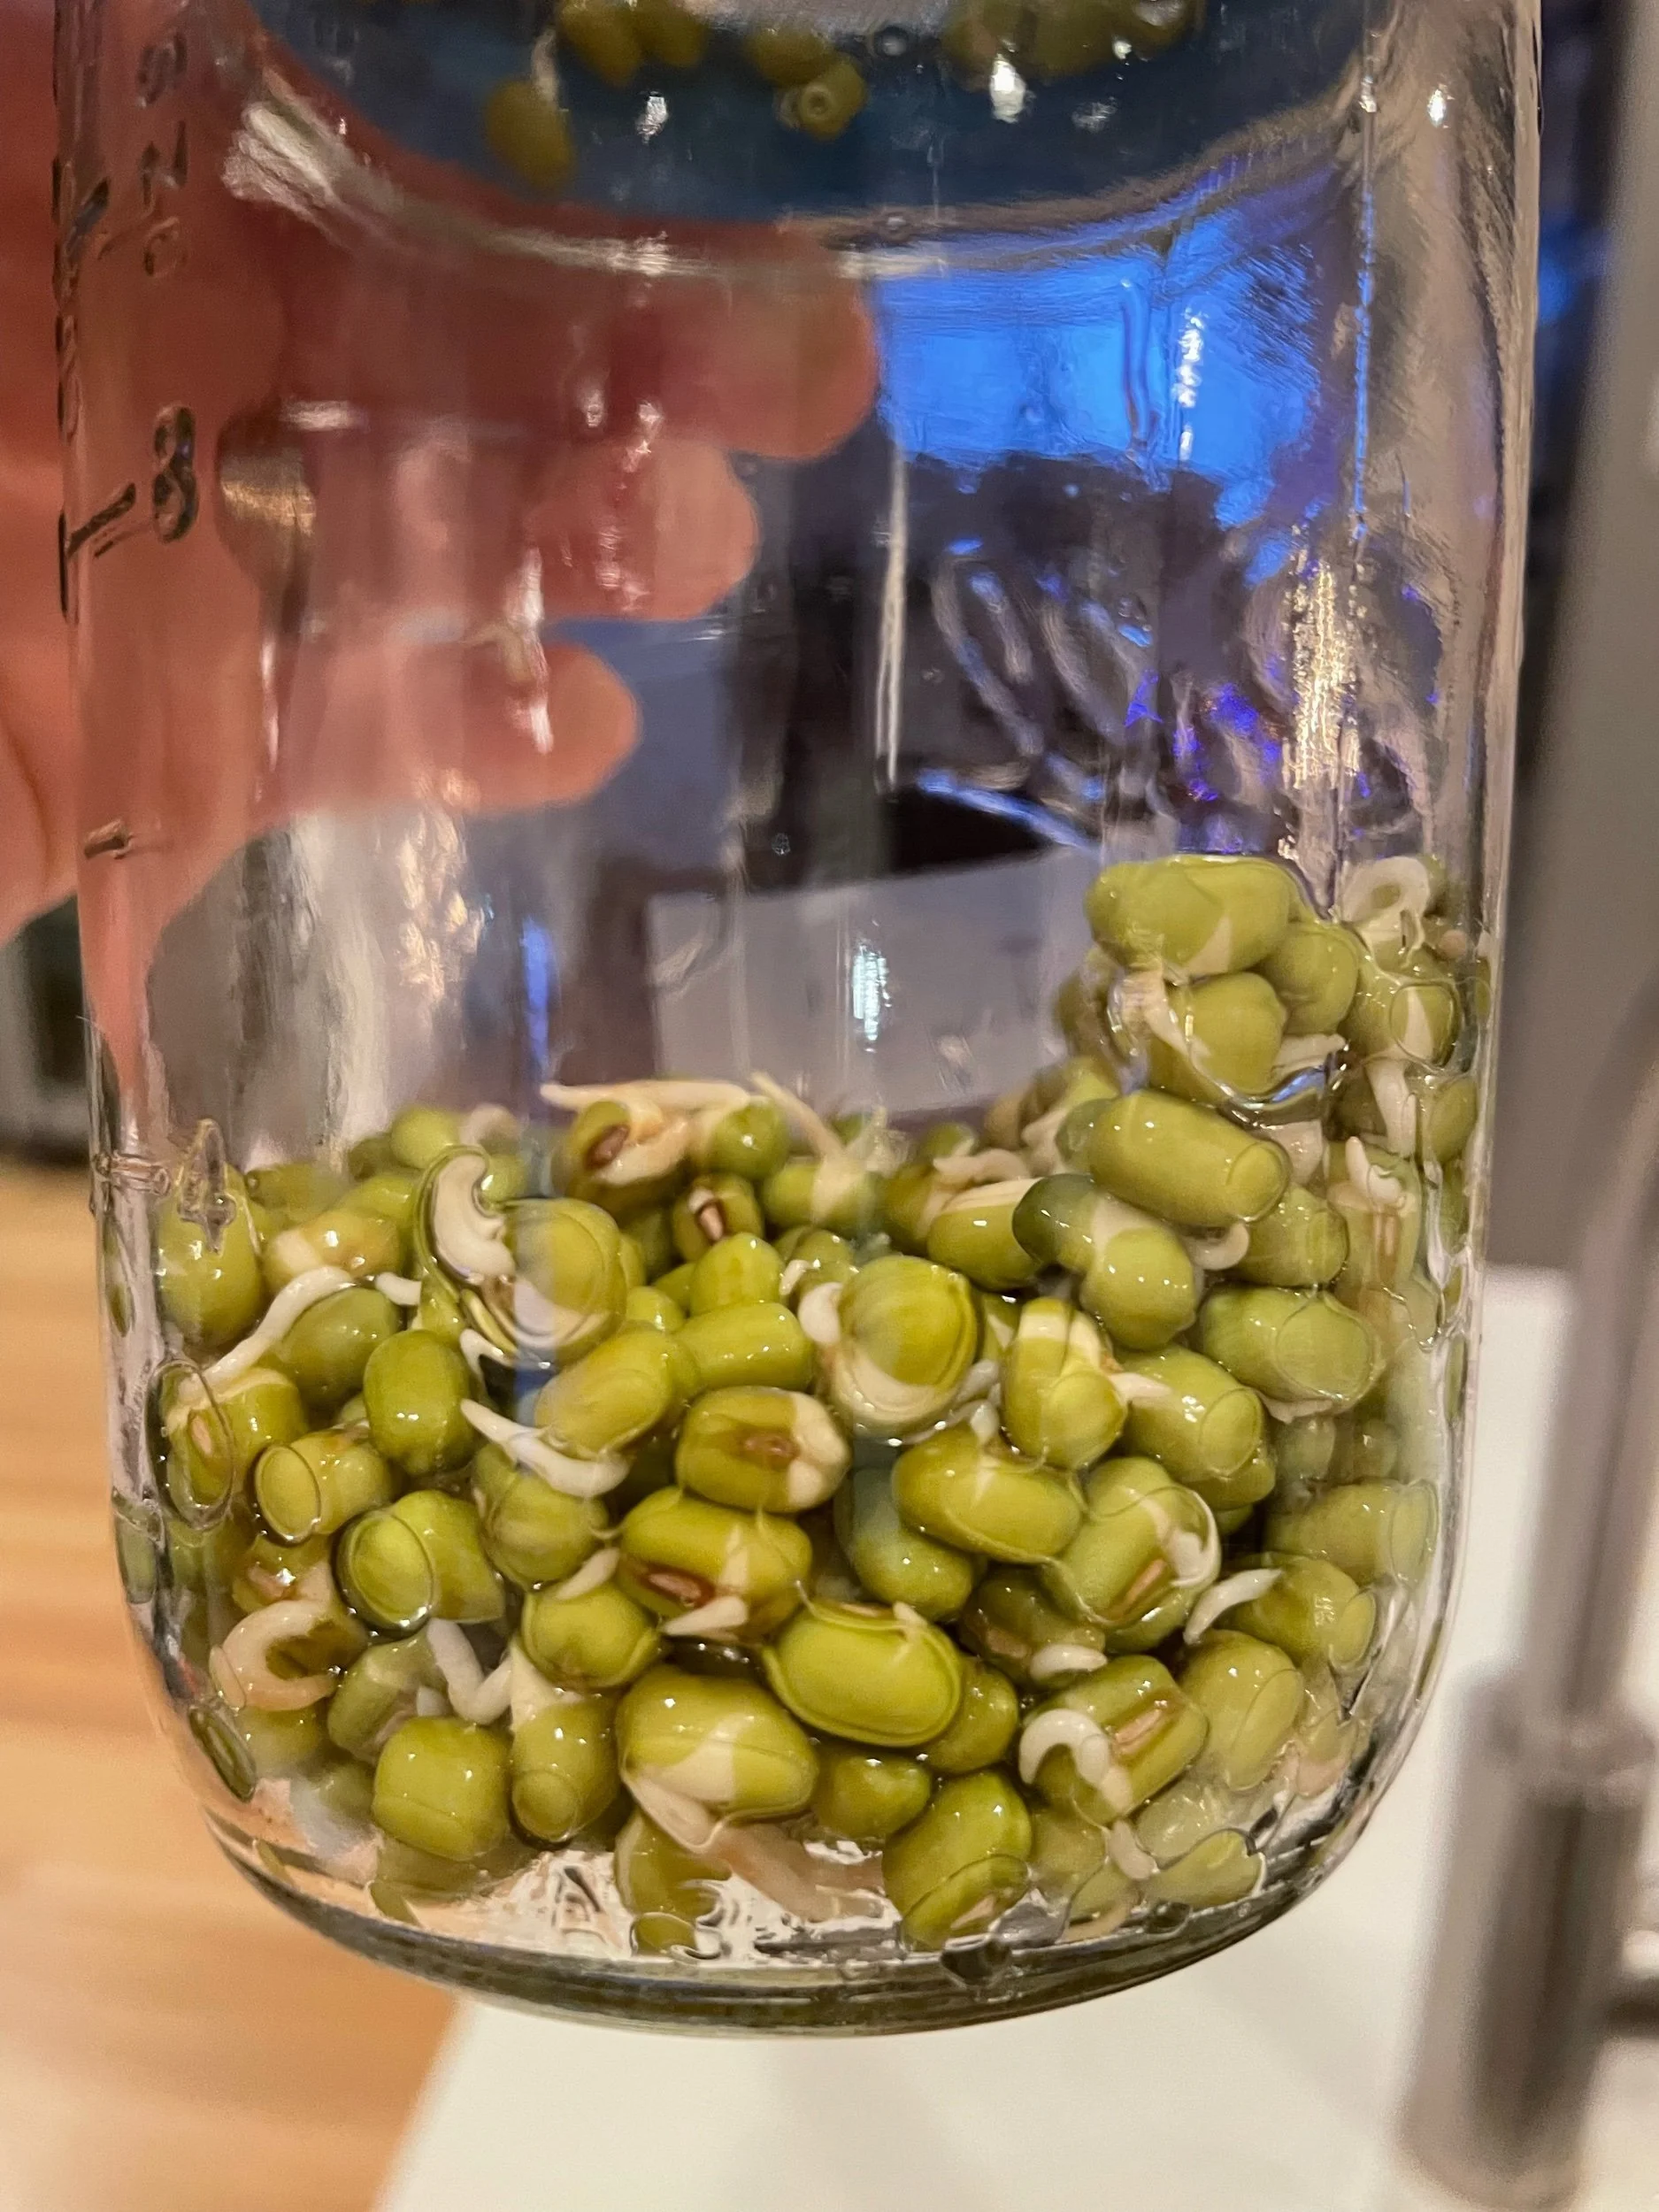
4- Twice daily, give your seeds a thorough rinse and drain. Growing sprouts is as simple as rinsing a cup; there's no need for any "I don't have a green thumb" self-doubt. Perform morning and evening rinses, and then allow the seeds to rest. Note that specific seeds, such as Mung Beans, tend to thrive in darkness. Ensure proper airflow by placing the jars upside down after rinsing. This helps facilitate drainage, preventing excess water and contributing to your success.
Now What?
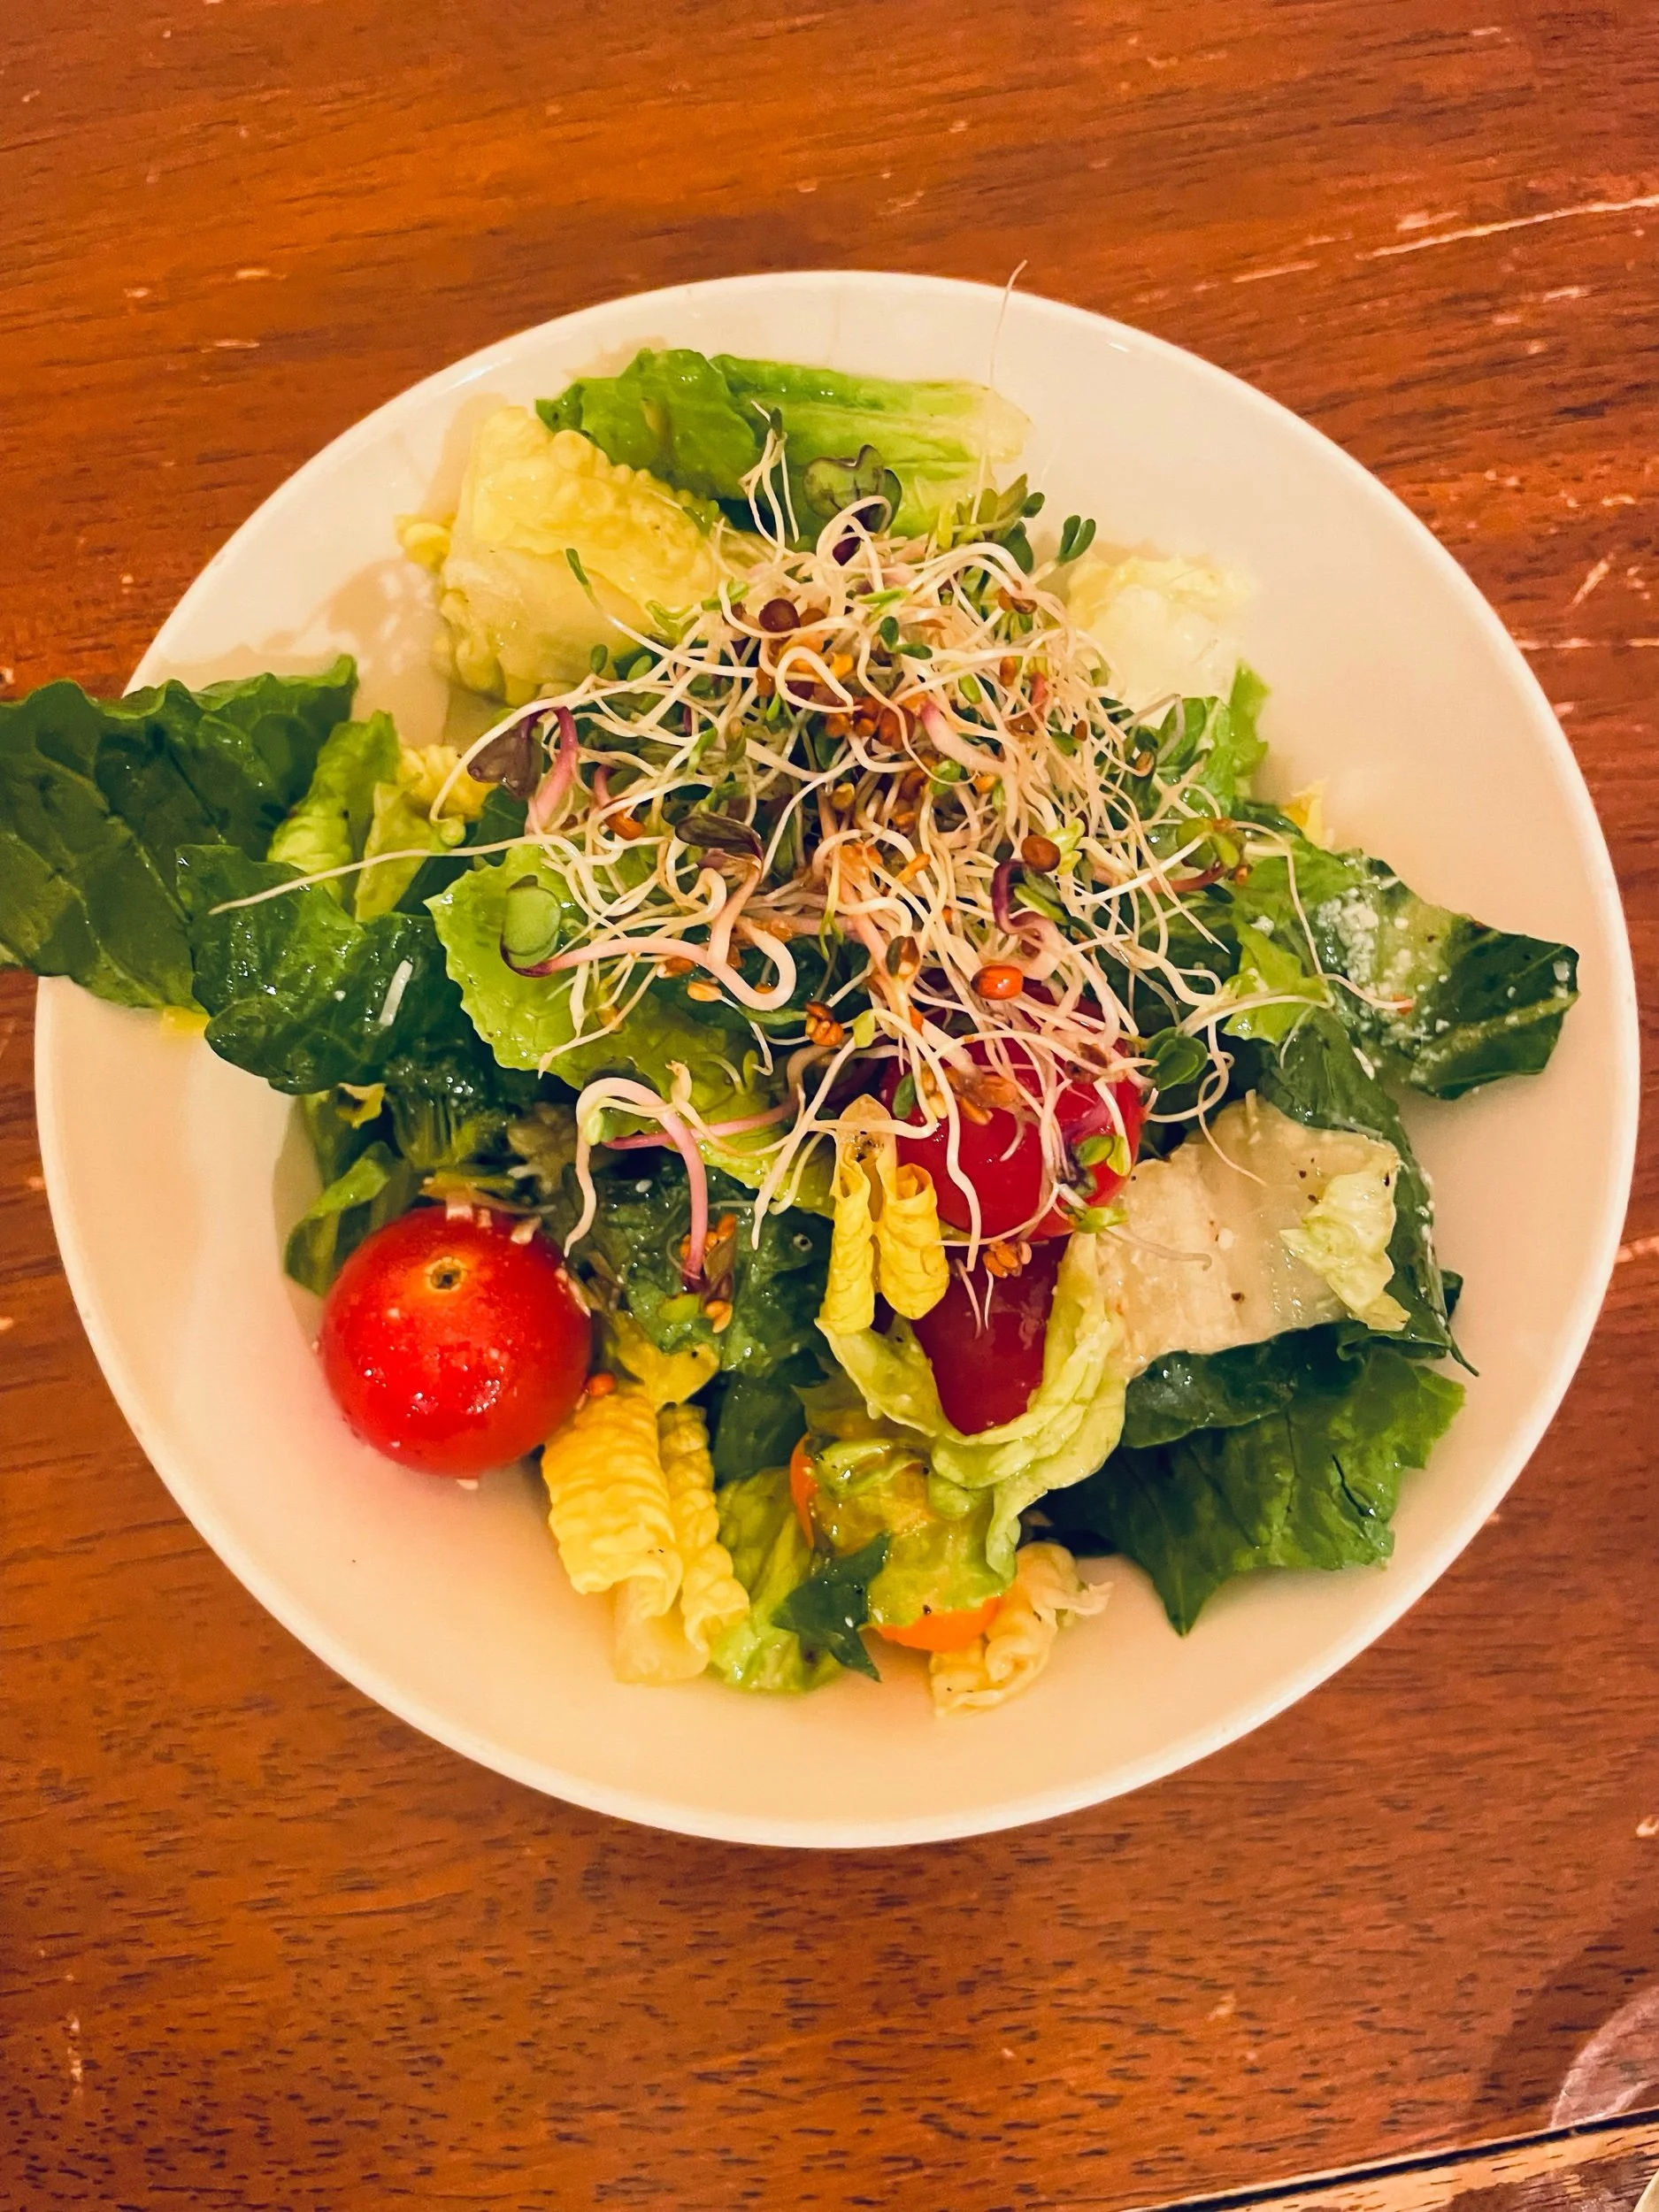
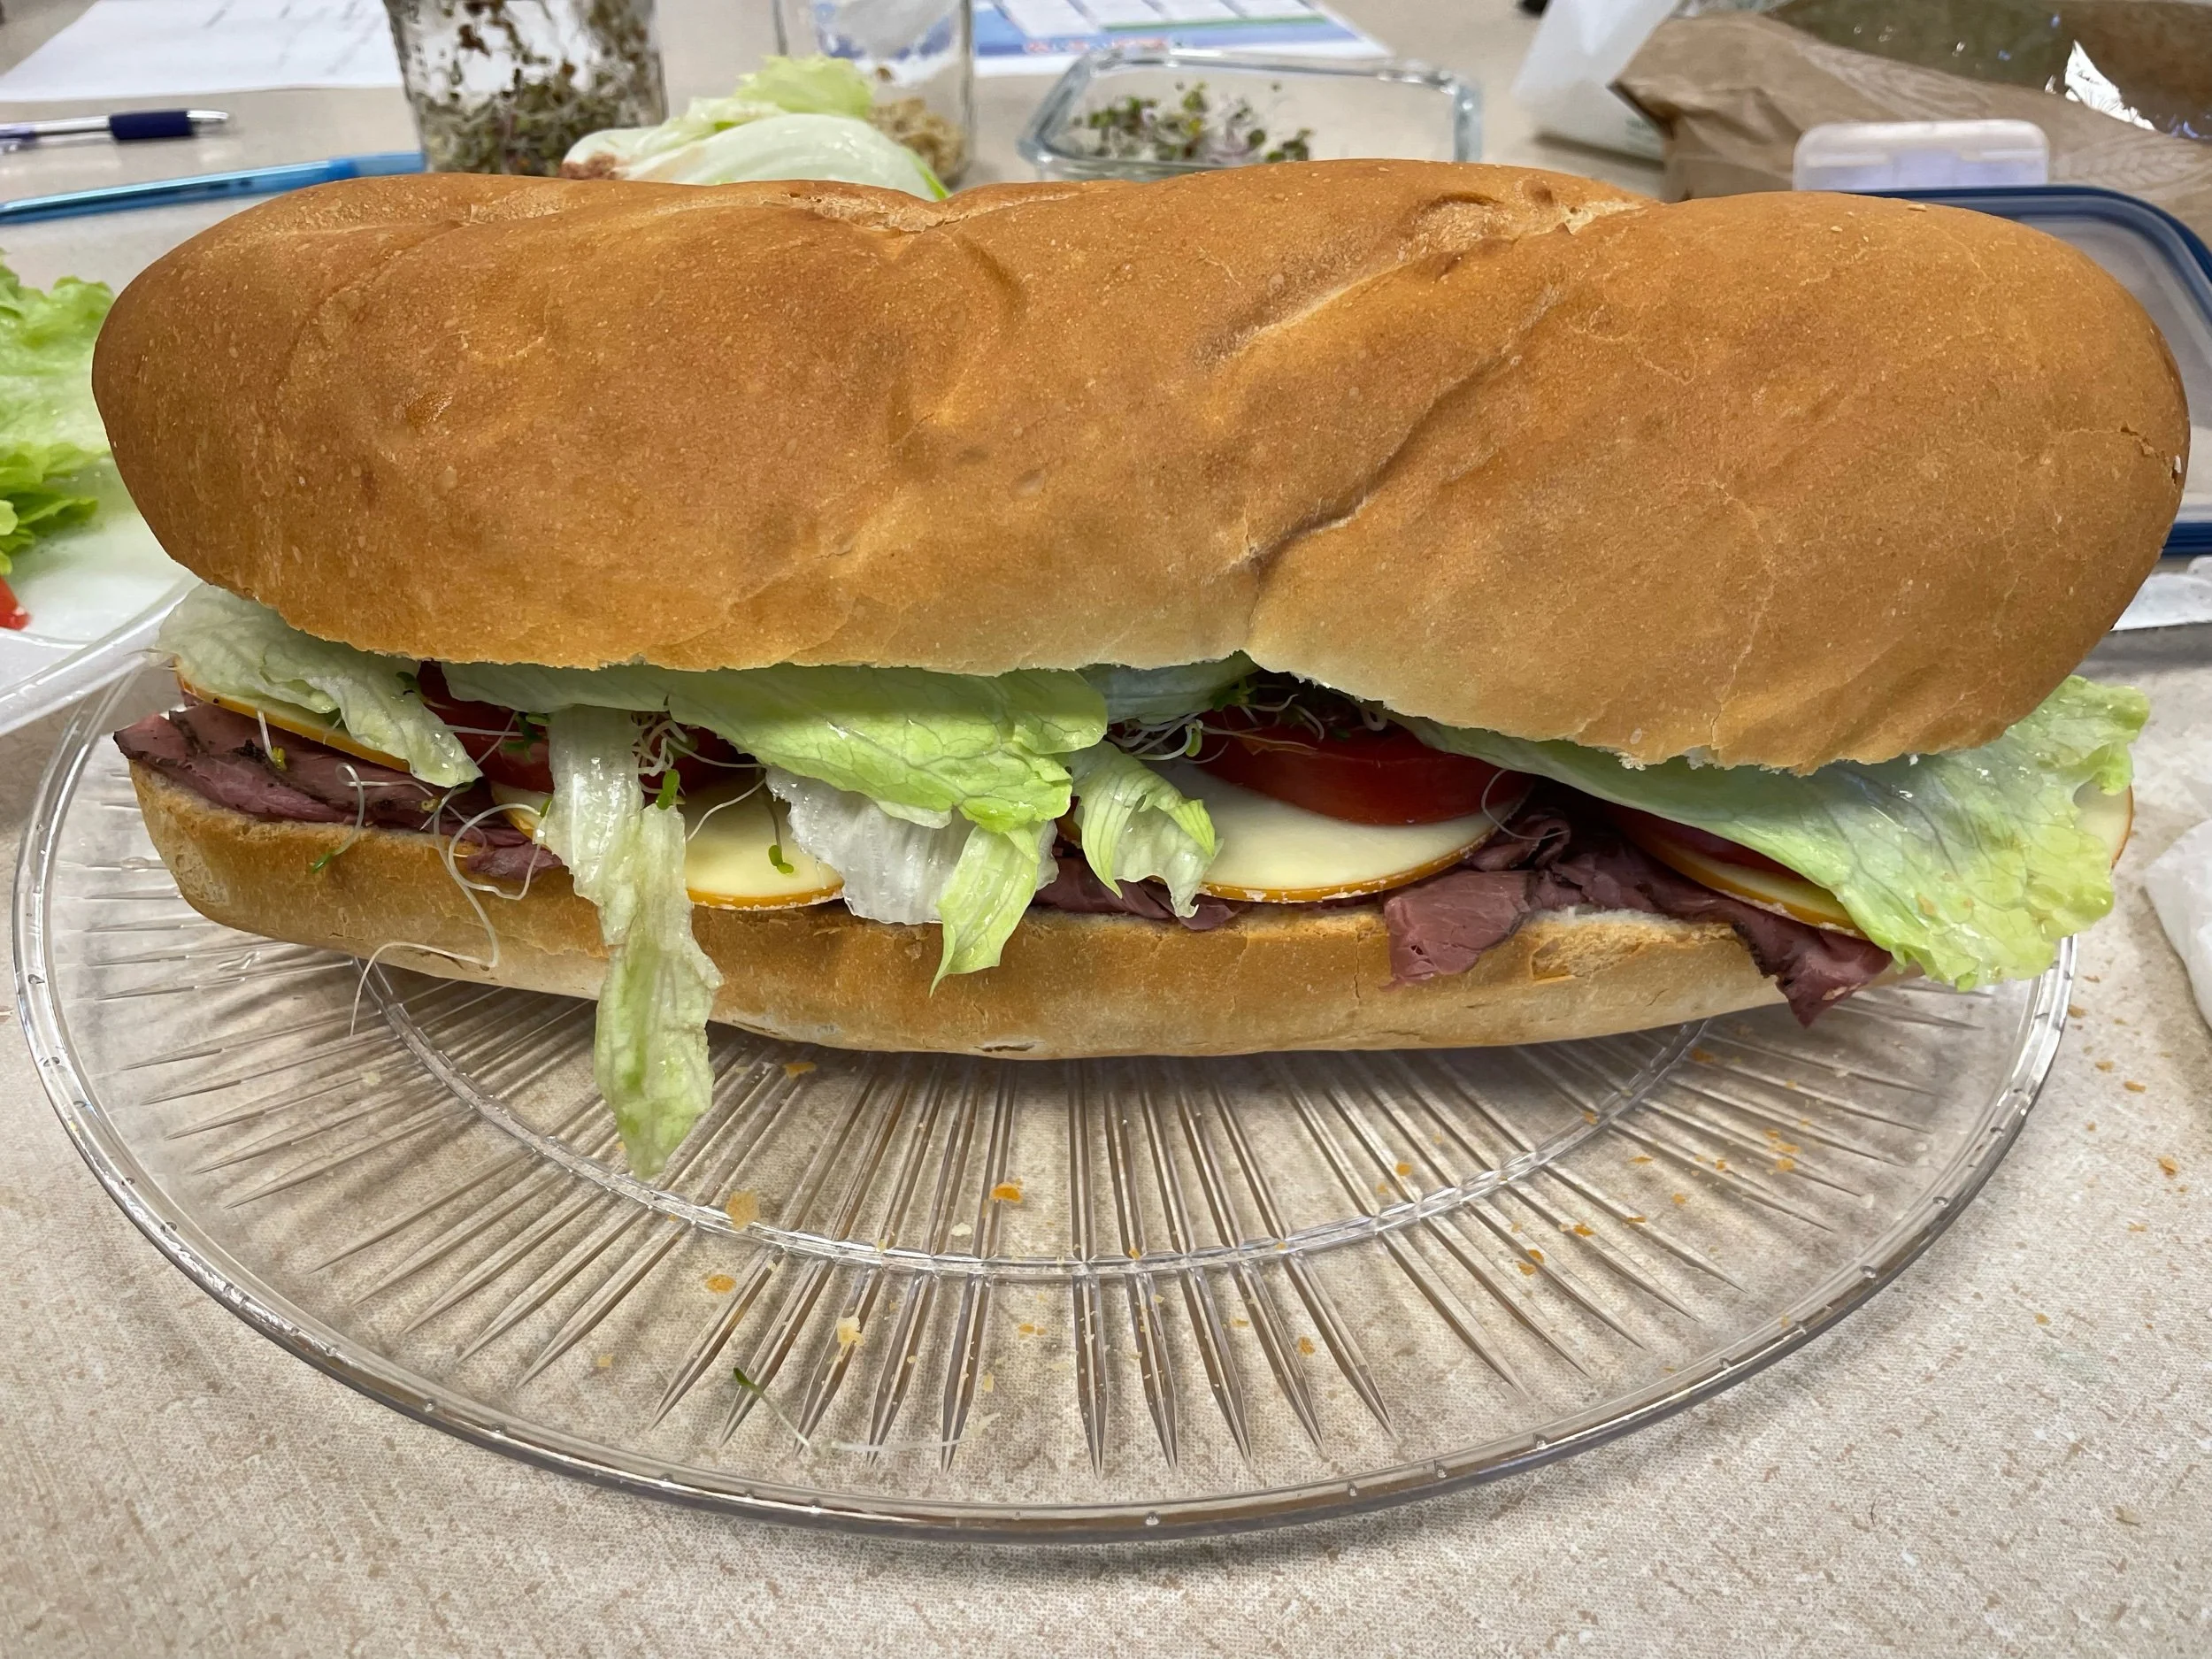
Within three to six days, you'll have sprouts ready to eat. Here are a few pictures and ideas on how to enjoy your homegrown sprouts. I snuck Mung bean sprouts into my kids' morning smoothie, and we also enjoyed them over salads and sandwiches. They pair beautifully with morning omelets as well.
One of my gardening class members suggested eating sprouts on top of tacos, and that is a great idea I haven’t tried yet. If you do, please let me know!
Spring is coming and soon we will be able to grow food outside! In the meantime, I wish you the best time growing sprouts during the cold winter months. If you need assistance in designing your garden for optimal production, click here to schedule a consultation!
Garlic: Your Bullet-Points Guide!
As we dive into the world of growing our own garlic, let’s keep things efficient and practical by using bullet points today.
Balancing the hustle of working at client’s backyards and daily life, I’m sharing this guide with a touch of honesty, fueled by a bit of chocolate indulgence. (ok, it was more than just a bit of chocolate).
So, let's get straight to the point, and enjoy a quick and informative read!
First, you definitely want to plant garlic! It’s easy, delicious, and… did I mention easy? You just need garlic cloves, soil, and the ability to forget about it. (Please read that last part in your best Italian accent).
Choose a variety that fits you (and your cooking!). Hardneck garlic carries a more robust flavor and will tolerate colder climates, yet it comes with the trade-off of a shorter shelf life compared to other varieties. Softneck garlic offers a milder flavor, and you can create neat braids with the garlic—it's pretty cool. Elephant garlic is great especially if you are feeding a huge family like mine and you’re tired of peeling so many garlic cloves. Bam. Done. I got my planting garlic at the farmer’s market this year, so I know it will perform well in my area.
Feed your soil before you plant your garlic. Mix some compost with a bit of manure and you’ll be good to go. I’ll also add a leaf mulch on top of my garlic before the onset of very cold weather.
Dig a hole, about 3 inches deep. Place the garlic with the pointed tip facing upward, ensuring it is oriented correctly.
Water and congratulate yourself—you're now a winter gardener, and that means taking a break. Remember when I said, 'Forget about it'? This is that step. Come spring, watch for the “scape” and snap it off. (It’s the flower bloom that sprouts from the garlic) This encourages the plant to divert energy towards growing more bulbs.
Harvest the garlic when more than half of the plant’s leaves have turned brown. Typically for our region, this will be at the beginning of July. Use either a pitchfork or a trowel to carefully unearth the garlic bulbs from the soil.
Cure the garlic. Allow the garlic to naturally dry in a shaded and well-ventilated area for a couple of weeks.
So that’s that. Enjoy growing garlic! Thanks for reading!
Greetings from a September garden!
Hello gardening friends! I wanted to send you a few words of encouragement on this beautiful September evening.
The garden is still going strong over here. Lots to harvest, lots to still grow and ripen, and lots of bugs to fight off! I will give you a short summary of what I’m currently loving in the garden, what is a challenge in the garden, and what is a “maybe” for next year.
First, there are SO, SO, SO many things I am loving in the garden this year! It’s hard to know where to start! Here are a few, in no particular order:
Marjoram
Swiss chard
All kinds of yellow tomatoes! We grew Champagne Bubble cherry tomatoes, Sun Sugar cherry tomatoes, Jubilee. We have loved all of them, mostly because of their phenomenal flavor and lower acidity.
Figs! I need to write a whole blog about figs. Soon!
Greek oregano.
Red lettuce.
Cilantro, of course.
Celery. Having organic celery at my finger tips has been amazing!
Basil. I planted way too much basil. You may think I’m kidding, but I’m not. It’s coming out of our ears! But it allowed for lots and lots of pesto. So that’s a win.
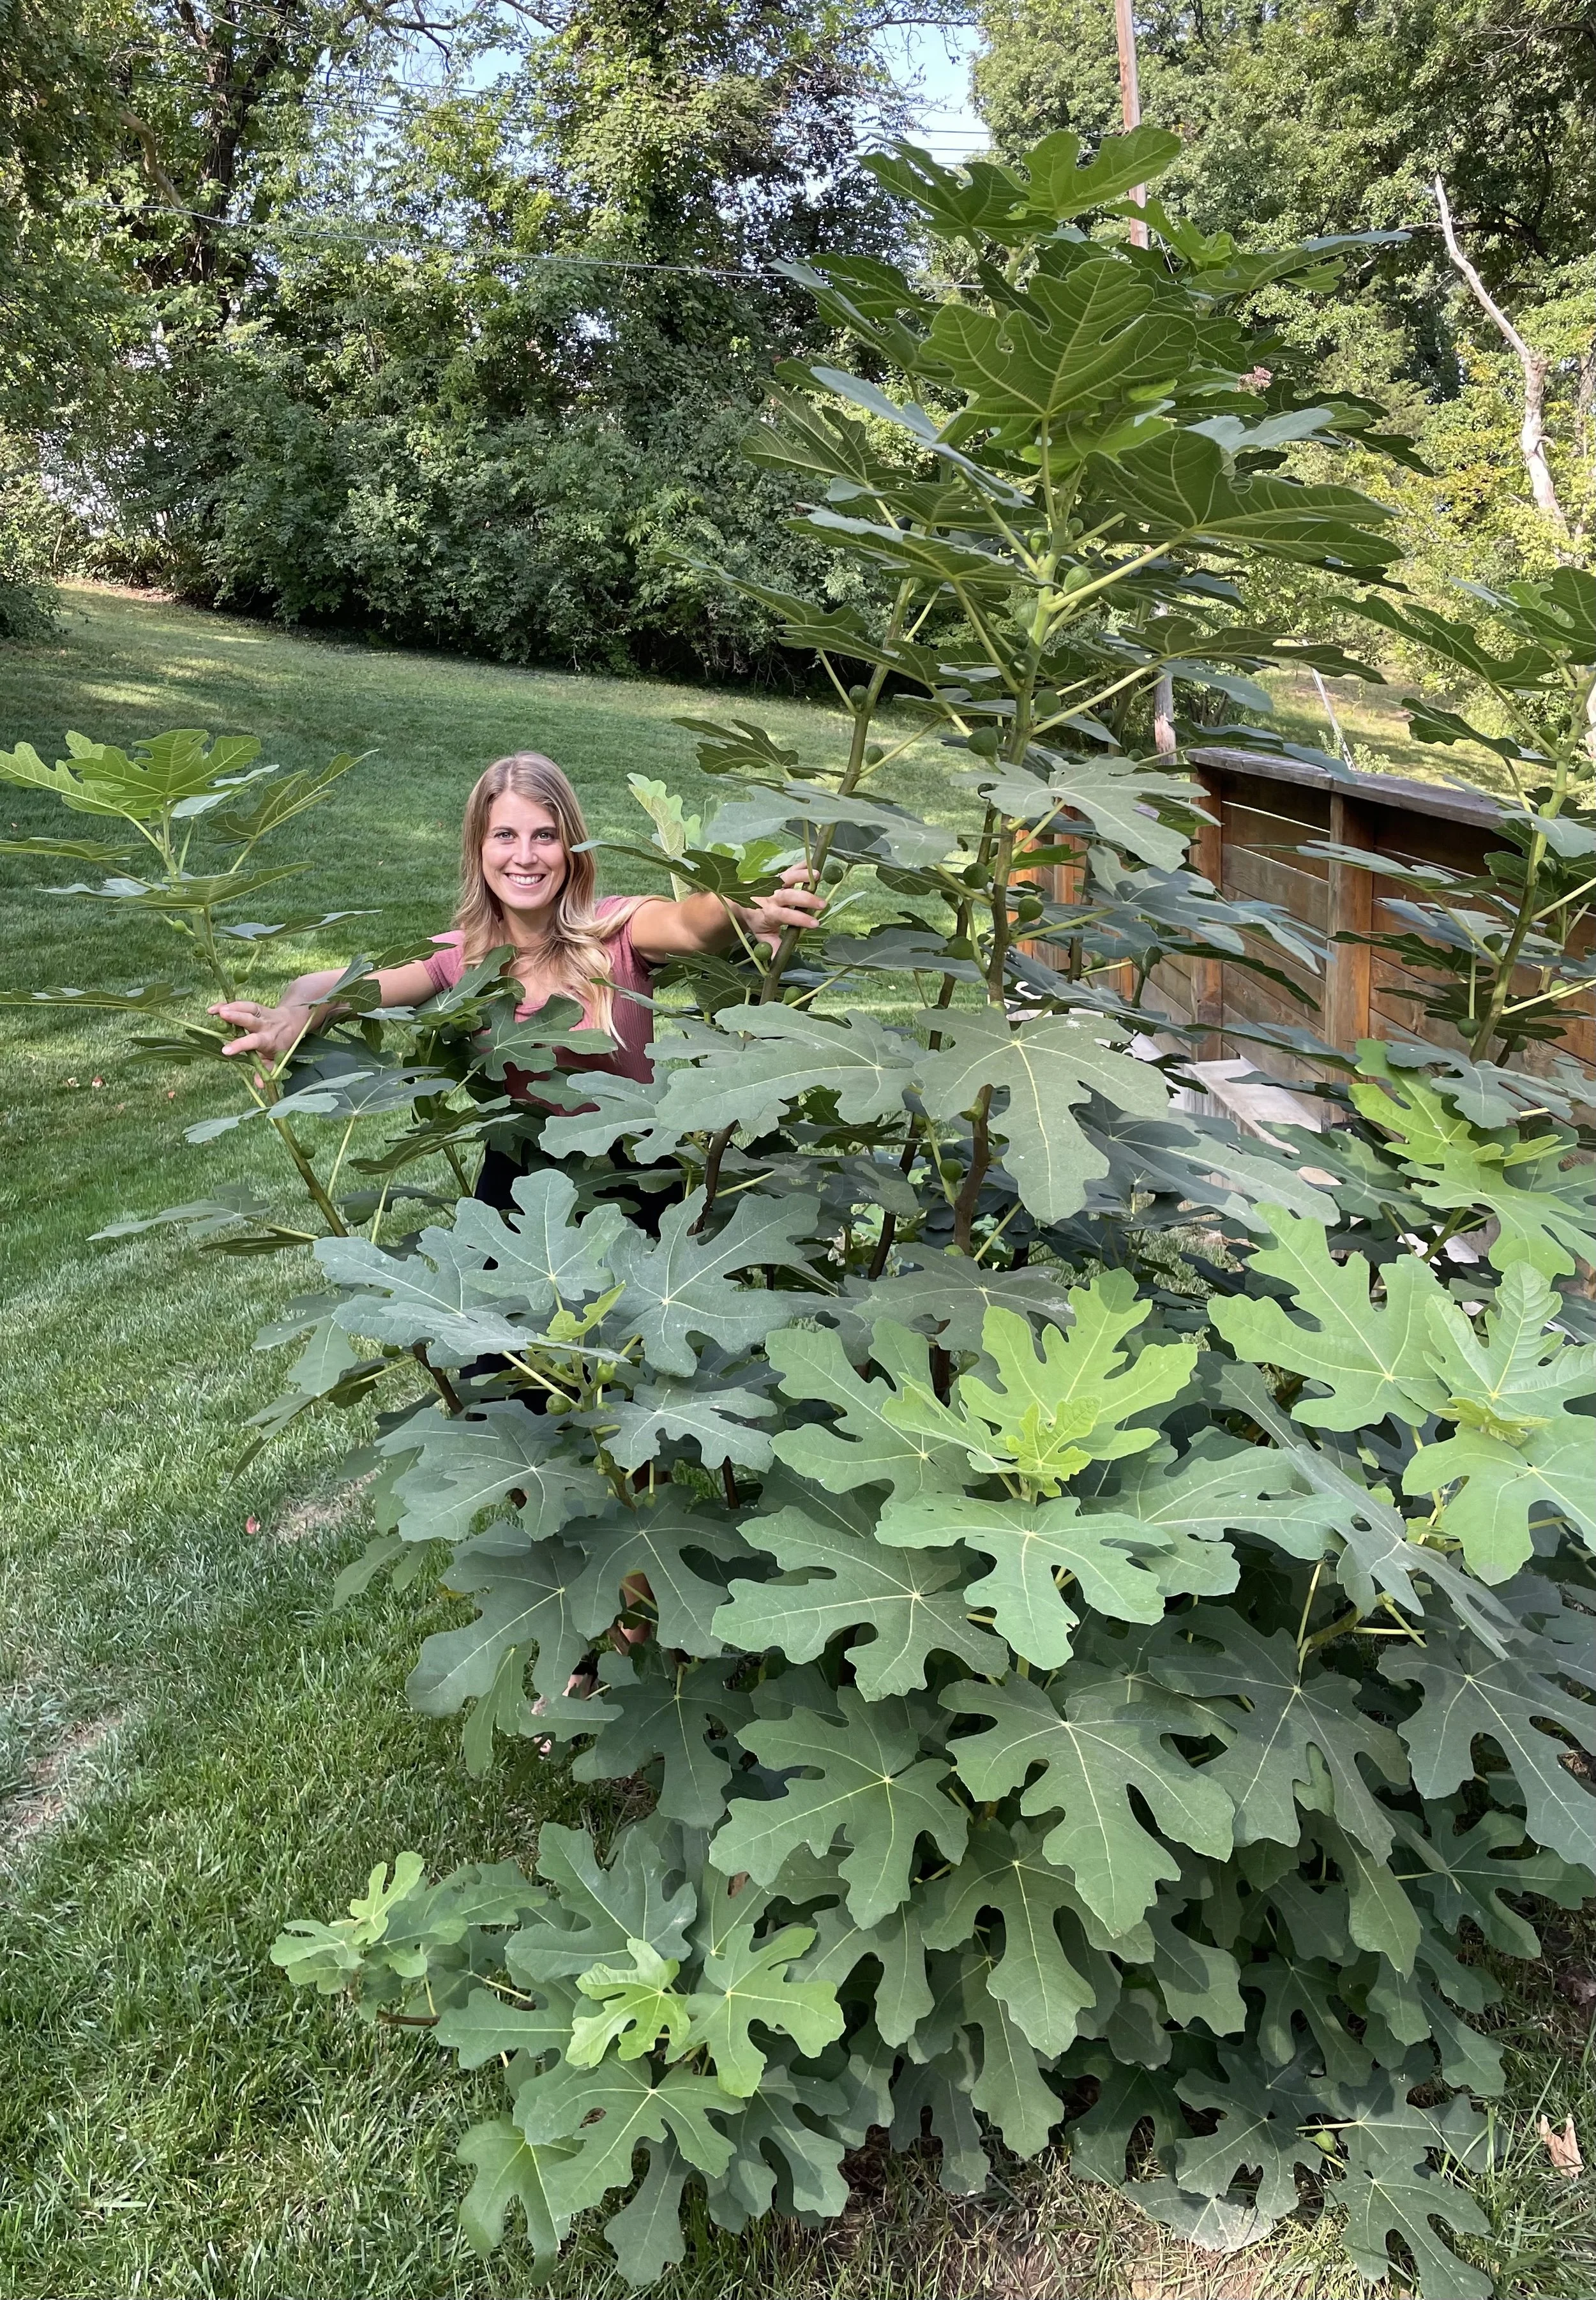
I LOVE my fig tree!!
It popped out of the ground around May and has grown about 8 feet this season. We are finally enjoying the fresh figs!
Here are a few things that have been a challenge lately.
My kale has fallen prey to lots of pests. It was a great crop in the spring, but not so much this fall.
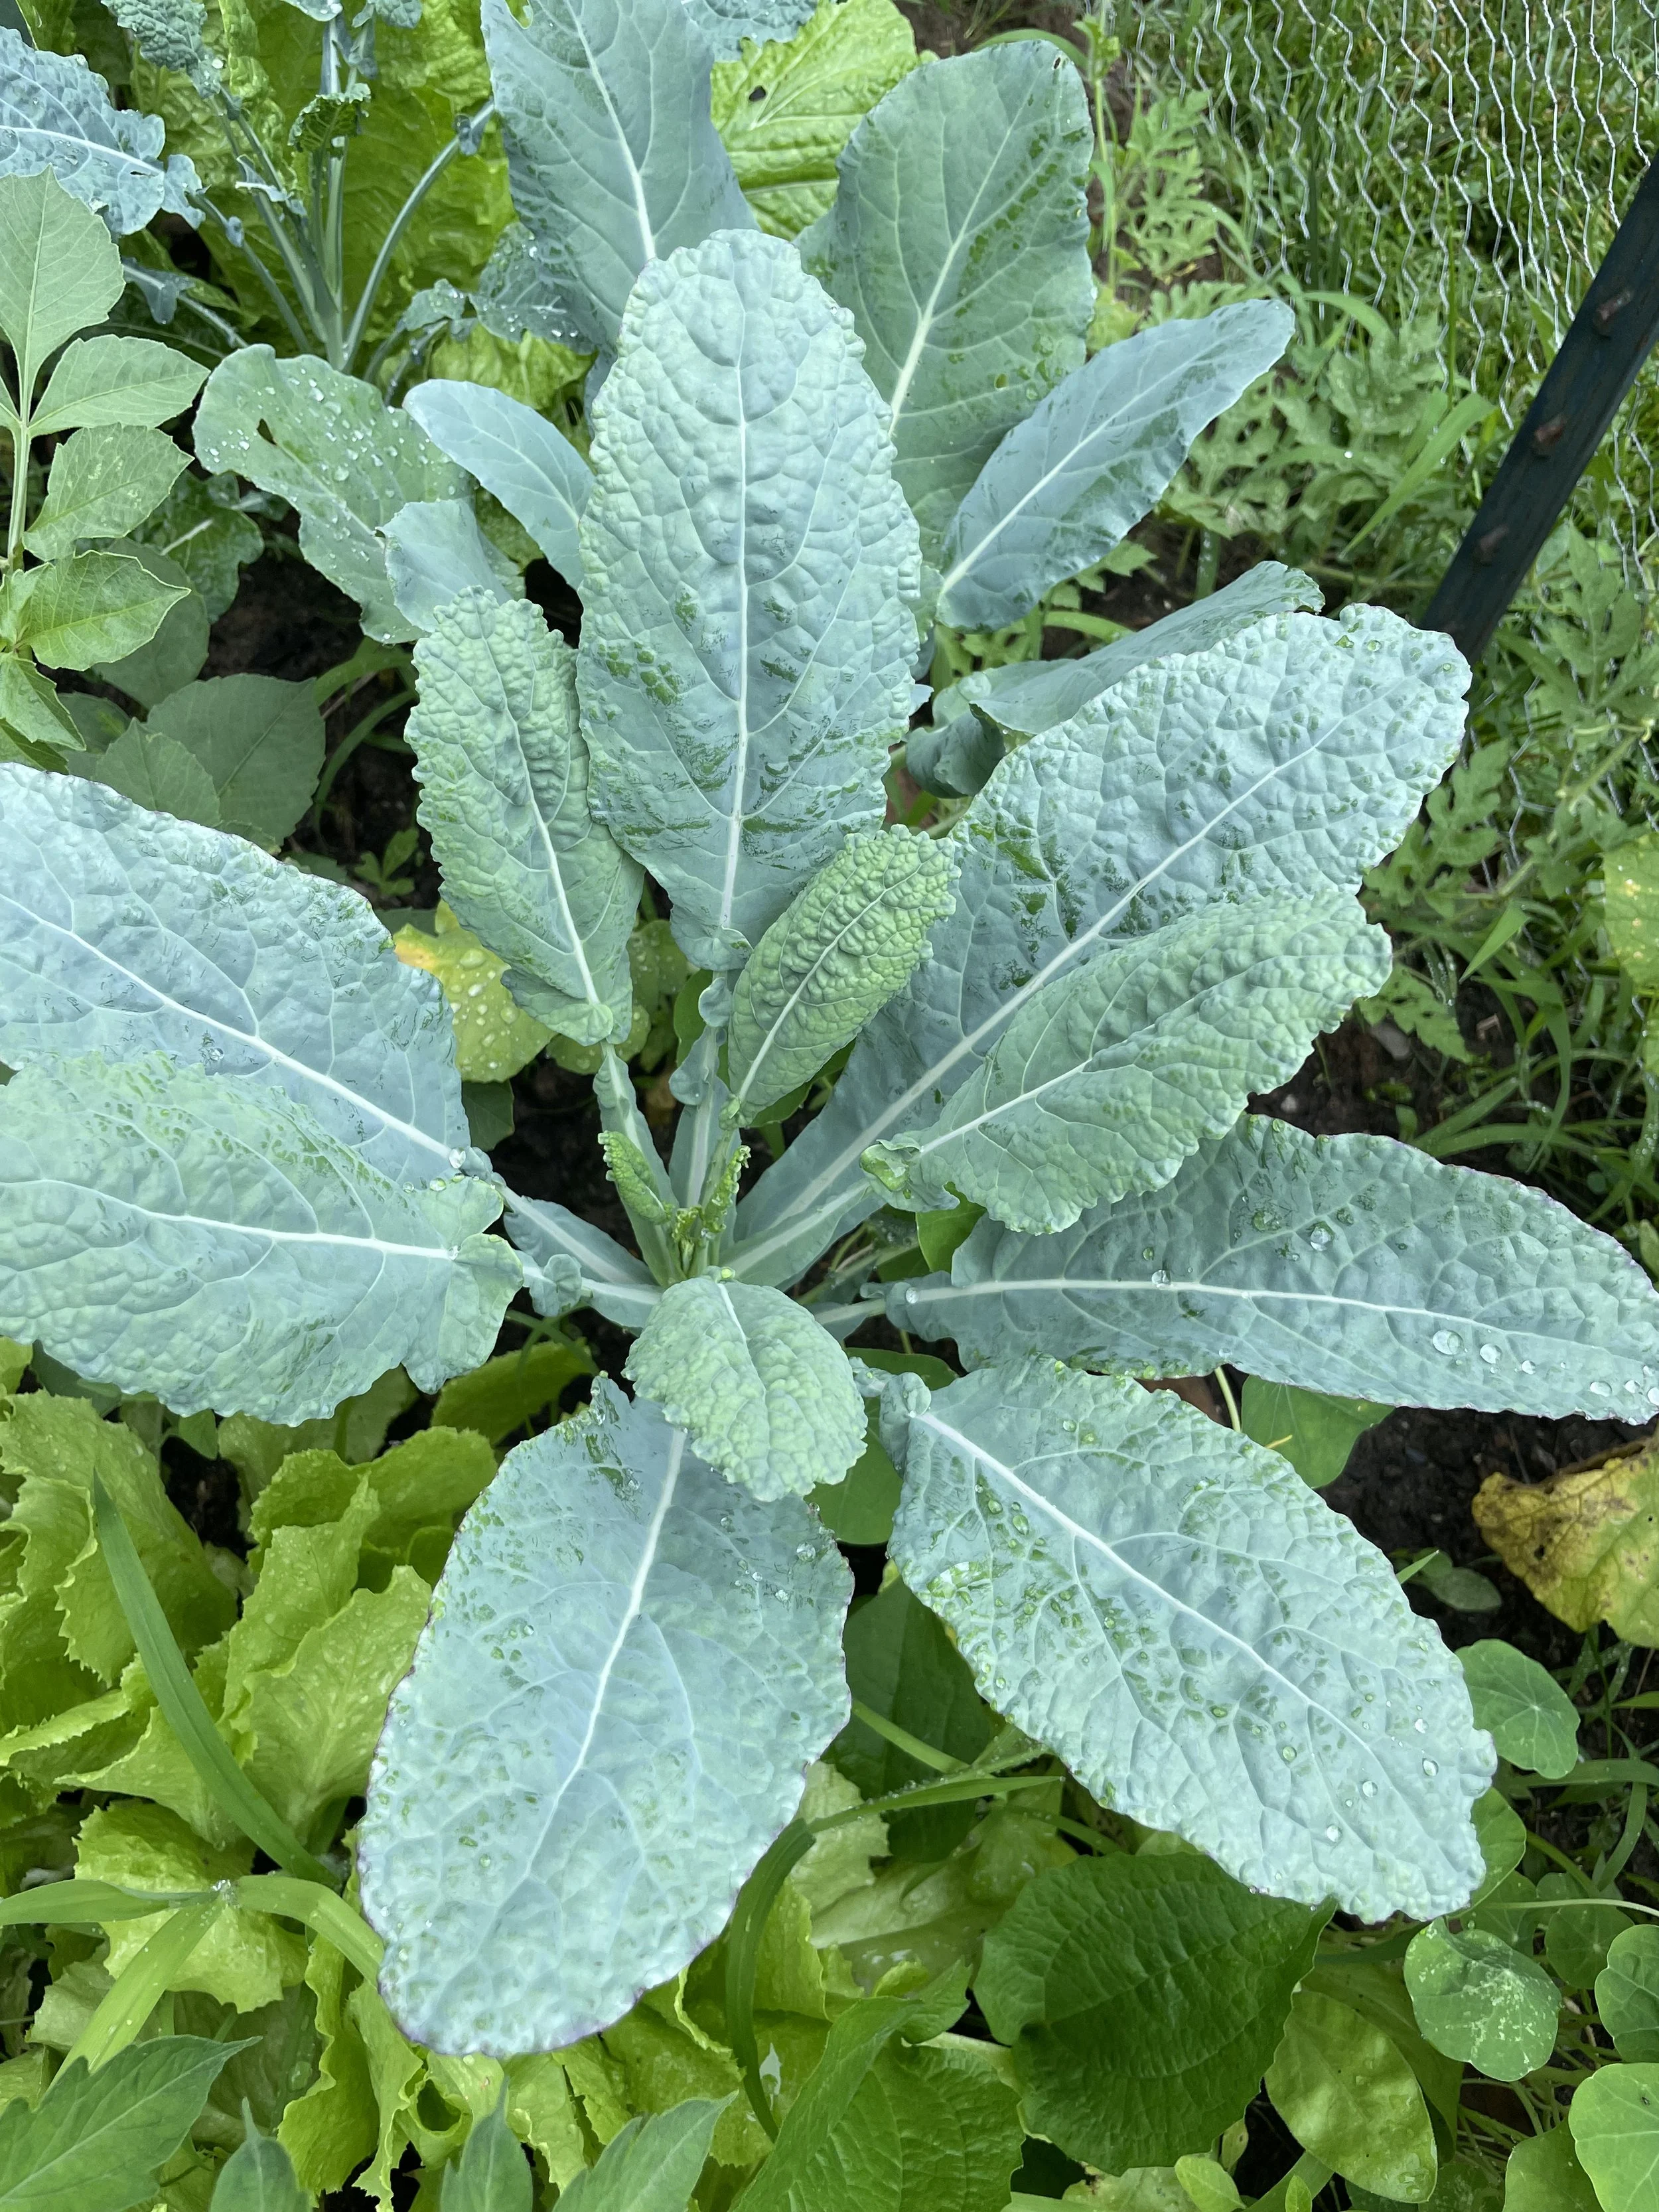
Blue Scotch Kale from the spring season.
The flavor and texture were great. The bugs discovered them and had a feast. If this happens to you, then know that you’re growing really good food!
Beets show up on our favorite veggies list. I love them, our kids love them, and my husband is… slowly “learning to love them.” :) The germination rate for my beets hasn’t been as successful this fall, so there are not as many as I would like. The 100+ temps we had in August probably didn’t help. Next fall, I will plant more varieties and see which ones perform better when planted in August.
Do you have crops that you tried and are not sure you’ll bring back? Here is my “maybe” list for next year:
Eggplants are beautiful and lush… but they take a lot of room in my garden and my family doesn’t love them. I still sneak them in my cooking, but I’d rather grow other things in my space.
Ginger. Pictured on the left. I had a few ginger roots (AKA rhizome) about to rot in my pantry… so I stuck them in the ground. It made for a beautiful, tropical-looking plant! But I use fresh ginger maybe…three times a year. I have a sweet Canadian friend who eats it fresh, on a daily basis. (Ah, it makes me miss her!) Either I need to enlarge my ginger horizon and recipe repertoire, or just not grow it again.
Artichokes. It was a fun experiment. I learned a few things. :) That’s that. :)
Peanuts! I planted those for fun and for my kids. It is a beautiful plant with pretty yellow flowers. They are still currently in the ground, so we will see how we like the harvest.
Lemon basil. It grew beautifully. I think the bees liked it more than we did. So it’s still a win, but not sure I’ll grow it again.
What have you enjoyed growing this year?!? I would love to hear about your favorites!
Growing our gardening skills is a journey! Let’s keep learning.
Why are my tomatoes splitting?
You have been dreaming of picking that fresh, flavorful fruit, and now there is that sad ring all around it. You worked so hard, doing all the right things… Your tomatoes are almost red and they split!?!
First off, don’t grow discouraged. Growing your own food can be a challenge with huge rewards and sometimes setbacks.
Why are your tomatoes splitting? Most likely, it has to do with watering.
If there was a dry spell, followed with heavy rains, it is possible that the inside of the tomato grew faster than its skin and then split.
Ways to avoid it in the future:
1- Water as consistently as possible- try to avoid big fluctuations.
2- Mulch around the roots to keep moisture more evenly. I used a leaf compost this year and I really liked how it performed.
3- (For next year) Plant many different varieties AND sizes of tomatoes! Here are a few varieties that will be more crack resistant: Celebrity, Arkansas Traveler, Rutgers, Beefmaster, Pink Girl, etc. I have found that my Roma tomatoes are the least susceptible to cracking.
Cracked tomatoes can be safe to eat as long as the crack “healed” and does not let disease come in the fruit.
Don’t let setbacks keep you away from the garden! Keep growing!
It’s June! What is growing in my garden right now?
It has been a minute since I sent out a post. Spring is a glorious season, but so full.
I want to show you what is growing in my gardens right now!
Here is a quick list:
Tomatoes!! I decided to grow several varieties this year. I have Granny Cantrells, Rio Grande, Champagne bubble, Sun gold, Golden Jubilee, Brandywine, and Celebrity. Several little tomato seedlings are coming up from the ground from last year, but I won’t be keeping many because of space.
Beets- I’m trying my parent’s favorite beets this year - the Red Ace beets. It’s a hybrid variety and I’m looking forward to enjoying the roots. As they are growing, we are eating some of the greens.
Cucumbers - I typically grow those from seeds, but decided to do both seeds and seedlings this year. Burpless and Marketmore are the two varieties growing in my garden.
Kale- my beautiful Dinosaur kale disappeared because of naughty rabbits. :( But I have some nice Russian kale left to enjoy.
Swiss Chard- I grew that about 10 years ago but our taste buds weren’t quite mature enough then… but now we are enjoying it! I’m harvesting beautiful Rainbow Swiss Chard right now and I’m getting them young and tender, so there is no bitterness in them.
Spinach - The small leaf spinach is almost ready to harvest! I’m trying a Malabar spinach that is new to me. It’s is a vining spinach that can tolerate the heat. Maybe I’ll give a little update at the end of the season!
Lots of different lettuces- We have been eating lettuce for a few weeks now. I LOVE it! My favorite is a blend from a local garden organization. It includes a deep red lettuce and it adds beauty to my row of lettuce!
Green Beans- I planted two different varieties this year: Providence and Blue Lake. They should be blooming in the next week or two. My son cannot wait to eat green beans!
Sugar Snap Peas- They are growing beautiful on our fence - one is over 5 feet tall! We started harvesting sweet peas this week! Those rarely even make it back to our house - the kids eat them as they harvest them.
Peppers- I’m planting lots of them this year. Besides the typical red and yellow peppers, I planted Shishito, Poblano, and Tam Jalapeño peppers.
Eggplant - I planted two eggplant plants (sounds repetitive, doesn’t it!? haha!). I don’t know if we will enjoy the vegetables or that last sentence better.
Cantaloupe- I planted both seedlings and seeds this year. We’ll see which one will produce better.
Watermelon - Planted some sugar baby watermelons. They are smaller in size and so sweet! They are not currently very happy looking in the garden, but I’m going to try to help them.
Zucchini and squash. Those take a lot of room, but I have both black beauty zucchini and yellow squash called super set. My compost pile currently has about 12 plants of yellow squash plants. I might transfer it in the garden because they look so strong and healthy!
ALLLLL the herbs- Beautiful cilantro, basil (sweet basil, Thai basil, lemon basil, dark opal basil, spicy globe basil), marjoram, thyme, oregano, dill, and rosemary.
Flowers: I always plant Zinnias in the garden, for the pollinators and the beauty. I added calendula and marigold flowers also this year.
Phew that’s a long list! Alright, let’s take a quick tour to see most of the above plants.
A quick tour of the garden!
5 questions to consider before starting a garden- How?
Welcome to the 5th and last post of this series. We will discuss the “how” of starting a garden, from choosing a location to the installation.
Let’s be honest. You could grab a shovel, dig a hole in your yard, plant some seeds and call it a garden. And I would cheer you on and hope you truly enjoy it! However, this kind of “set up” (or lack thereof) would be a lot more work to maintain, it would produce less, and it wouldn’t be very aesthetically appealing.
So, how do you start a garden?
You have two main ways to do it: DIY or a turnkey installation.
What are the pros and cons of these two options?
Do It Yourself approach:
Pros:
Saving money by doing all the work yourself.
Satisfaction of learning a new skill and accomplishing a project by yourself.
Cons:
A lot of time spent into the decision-making, the research of materials and vendors, coordinating the purchase and delivery of materials.
Physical labor of the install and construction of the garden area and raised bed.
Possible steps overlooked and having to “undo” the work to get it done correctly.
A turnkey installation is when you choose to hire someone to build your entire garden space from start to finish.
Pros:
It saves you time and lots of decisions. You will still select some of the materials like the color of the rocks and the height of raised beds (with the guidance of your garden coach), but you won’t have the burden of finding vendors or schedule deliveries.
No physical labor or needing to get new tools/machinery.
Cons:
The cost will be greater up front.
Having workers in your space.
Whether you choose a DIY approach or a turnkey installation, I recommend a garden design consultation as the first step. It will help you select the best location for a garden, along with a guide about seasonal planting and other gardening tips.
The set up of your garden will contribute to over 75% of its success.
Some things to consider if you choose a DIY approach:
Sunlight is crucial! If you want your garden to thrive, select a place in your yard that gets 6-8 hours of sunlight per day. If possible, have your garden facing the south, for more sunlight after the summer solstice.
Soil: A soil rich in compost will feed your plants throughout the growing season. You can make your own garden soil blend (1/3 carpenter sand- not play sand, 1/3 top soil, 1/3 compost). If you buy bags of soil, look at the ingredients to make sure there is no synthetic fertilizer. You can add compost and a natural fertilizer to your garden, especially if you have grown more than one or two seasons in your current soil.
Water: The best water option for the garden is rain water, but that might not be all set up in your space. Choose the location of your garden near a water source. It will make watering your plants a lot more convenient.
I recommend growing in a cedar raised bed. You won’t have to amend the soil and you can plant more intensively.
Whichever way you choose to set up your garden, it is a good thing to start! Have a gardening mindset- one that will keep learning and experimenting with new techniques and new plants year after year. As we close this 5 part series, I encourage your to:
Know your “why.”
Don’t wait too long for the perfect circumstances to choose “when” you will start a garden.
Dream about “what” you will grow.
Plan for “how much” time and money you can dedicate to this healthy endeavor.
Consider “how” you will implement it.
Let’s raise gardens all over the place!
5 questions to consider before starting a garden: How Much?
We are answering the 4th question of this blog series: How Much?
How much time do you want to spend in the garden each week?
How much space do you have for your garden?
How much is your budget for this new endeavor?
How much time will you spend in the garden? The answer will vary depending on your wants, set up, and what you planted.
Gardening can be a means to slowing down and spending a few minutes in nature, away from noise and screens. It can be self-care. It is good for my soul, good for my body. I choose to spend a few minutes in the garden almost every morning and a few afternoons every week. Imagine starting your day in the quietness of the garden- the calming effect it will have on you might actually increase your gardening time. (Cue in Brad Paisley here, cup of hot coffee in hand)
The setup you choose will also impact how much time it takes to have a thriving garden. For example, if you have an automatic watering system with a timer and soaker hoses, it will be less time. Gardening in a raised bed will greatly diminish the weeding you will have to do.
What you are growing will also impact your gardening time. Herbs, leafy greens, and root vegetables will not require much tending besides being planted, watered, and harvested. Fruiting vegetables (like tomatoes) and vining plants (like melons or cucumbers) will need more hands on tending and time.
Plan on spending a few hours at the beginning of each growing seasons to prepare the soil and plant your seeds and seedlings. I do that three times a year (spring, summer, fall). After that, 10-30 minutes a day to water, harvest, and implement succession planting should be all you need to have a thriving garden. You can certainly spend more time than that if you want to!
How much space? Please set your expectations when it comes to space. A raised bed is awesome because it allows you to plant the vegetables a lot closer together than in-ground gardening. A 4ft x 8ft raised bed will allow you to have hundreds of dollars worth of fresh herbs, fresh greens, and organic vegetables! Nothing beats fresh-picked produce! However, having 32 square feet of garden will not be the same as having 3 acres of land to farm- thankfully a lot less hard work too!
Decide how big you want your garden to be so you are not overwhelmed but you have enough space to grow your desired amount of food.
Don’t dismiss the space you have. You might not have a huge backyard, but you can still grow food where you are. If your space is limited, a border garden bed or a patio herb planter might work great.
Ok, ready to talk money?! How much does a garden cost?
No one wants to be surprised when it comes to project in and around the house. Determine what is your budget and choose your garden style accordingly. A good set up can definitely add to the beauty of your property. Your budget will impact the amount and variety of food you will grow. I believe everyone can grow some fresh food. If your budget allows for one small container and a few herbs- then start there. If you can go big, then do it!
Though this is approximate, a DIY garden project will be around $50 per square feet of garden space and a turnkey installation will be approximately $150 per square feet of garden space, depending on the materials that you pick. Keep in mind that inflation impacts the cost of lumber and landscape materials. In the image above, the two garden beds provide 64 square feet of growing space.
How much? That’s a good question to ask yourself. Every year I wish for more of the garden, because the garden is a happy place!
5 questions to consider before starting a garden. WHAT?
What do you want? What would you like?
Maybe the question “What” intimidates you or suddenly makes you feel nervous, because you “should know what you want” and yet you don’t. It is definitely NOT my intent to bring you stress. I hope you will read this post and start dreaming of all the fresh food you can harvest in your own backyard.
Here we go, this is a fun gardening question: What do you want to grow?
What herbs and vegetables do you want to have on hand throughout the gardening seasons? If you are not sure, what do you already cook with regularly that you would enjoy growing yourself? What do you want to eat?
(Insert my kids’ voices excitedly saying, “MOM!! What are we gonna EAT!?!?!”)
Grab a cup of coffee and start a list of what you will plant and harvest!
A few consideration:
Herbs will be the easiest to start with. If you have never gardened, starting with herbs might be the road to success for your first year. You can harvest them frequently and the impact on your cooking/drinks will be immediate. Fresh herbs from the grocery store are expensive and short-lived. A lot of herbs are perennials, so they will come back year after year! Here are some of my favorites:
Oregano (perennial, very hardy, delicious)
Mint (perennial, enjoy it fresh or in teas/fresh drinks)
Cilantro (annual - you will have to re-seed it, so flavorful, easy to grow)
Basil (annual - makes the best pesto, easy to grow, lasts quite a while in the garden)
Chives (perennial, easy to grow, adds beauty in the raised bed)
Greens are also easy to produce. Plant the seeds, water them, and watch them grow. You can harvest greens everyday from the garden. You can “hide” them in your dishes or smoothies for increased nutrition. If growing lettuces, you can harvest the whole head of lettuce at once or you can pick the outer leaves so they last longer in the garden. A few ideas for leafy greens:
Lettuces - there are SO many varieties. It will blow your mind! Romaine and red lettuces are a staple in my spring garden! They are a cool weather crop and like to be well watered.
Kale
Turnip greens
Cabbage
Swiss Chard
Root vegetables are in my garden in the spring and fall. Again, they are easy and they don’t require much tending. You plant one seed for one plant, water them, and just watch them grow. For onions, turnips, and beets, you can harvest the greens as well! Beets are my favorite root vegetables. I grow them every year. I typically give the greens away, but the roots are awesome. Potatoes are fun to grow, but will require a lot of space in the garden.
Fruiting plants will require more sunlight and more tending. Some of them will need to be pruned and supported by trellises or stakes. Tomatoes, peppers, eggplant, melons, squash are a greater challenge, but you don’t need to shy away from them! If a disease or pest attack them, you can learn and grow as a gardener. They can be your “experiment” for the warm season. My suggestion is that you don’t ONLY grow fruiting plants, so that you will have herbs and greens to harvest daily and weekly.
This is just the tip of the iceberg on what you can grow. Gardening books and cookbooks are filled with options and ideas on what your could and should cultivate, but the most important opinion is your own!
Consider your space, your current season, and your culinary preferences.
It’s ok to stretch yourself and your family. Your kids hate peas? Maybe. Get them involved in the planting and harvesting. Maybe, just maybe, they will love fresh peas. Most of our peas never make it inside our house - they eat them all in the garden! And even if your kids end up disliking something, it’s ok. It was an experience and you can give them away. That’s what I do with my beet greens.
Spring is coming - what are you going to grow?!?!
5 questions to consider before starting a garden. When?
Remember the 5 questions to ask yourself before you start your first garden? Why, When, What, How, and How much.
We identified our “Why” over here. Now it’s time to consider when we should plan and set up a garden.
“The best time to plant a tree was 20 years ago. The second best time is now”
- Chinese Proverb
Let’s talk about timing. In the Kansas City area, climate zone 6b, there are four planting seasons: cold, cool, warm, and hot. A big part of gardening is to know and work with these four seasons.
When do you want to start gardening?
If you want to have a cool weather crop (think cilantro, spinach, lettuce, etc), you want to have your garden set up by Mid-March. It’s helpful to have a plan several weeks before so you can order your raised bed and get everything installed. Scheduling a consultation is the best way to start! Head over here to fill out the pre-consultation form. You will receive a plan with dimensions, the meeting notes, and a brochure for seasonal planting.
Then, you can DIY or hire someone to install an edge, rocks for under the cedar bed, and the right garden soil.
Planting the right plants in their appropriate season is important for a successful garden! If you try to grow sweet lettuce in late June, you will be bitterly disappointed. (eeeeh, pun intended)
If you missed a planting season, don’t worry and don’t give up! It is not “too late” to get started! In the case of you setting up a garden at the end of spring, you can still plant tomatoes and other warm weather vegetables.
Even if it’s late fall, setting up your garden is not wasteful or unproductive. You will be garden-ready next year for the cool season crops! Some vegetables can stay in the garden and be dormant during the winter (homegrown garlic and sometimes carrots).
I actively garden outdoors 9 months out of the year and I love growing something in every season!
I ran to the garden in December to gather some oregano to propagate the plant. It had survived a couple of frosts already at that point. Who knew this little guy would be so hardy?!
Look ahead and determine when you want to start growing some of your food. Gardening and working with the seasons go hand in hand. Choose what you want to grow and have your garden set up a few weeks before that season starts.
So… spring is coming- are you garden-ready? I can’t wait!
5 questions to consider before starting a garden. Identify your why
If you’re thinking of starting your very first garden, I am pumped! Before you grab a shovel and dig a hole in your yard or spend 14 hours shopping online for a promising garden kit from China, just take a breath and pause.
Let’s start with a few questions: Why, When, What, How, and How much.
The answering these five questions will help you narrow down the garden that will best fit your needs and current reality.
Let’s focus on one question right now: Why?
Why do you want to start a garden?
Do you have memories of gardening with a family member when you were a child? Maybe you have never grown anything, yet you want to give it a try? Maybe you loved your grandmother’s homemade cooking and you want replicate the flavors in your dishes? Maybe you’re telling yourself “I don’t have a green thump" and you want to be done dismissing yourself.
Do you want to grow fresh greens? Do you buy that big plastic tub of salad mix every week, only to trash it when half of it is brown and slimy?
Why do you want to garden? Take a moment and think about it!
Here are a few goals that might fit with your desire to garden:
To experience a wholesome hobby with your family.
To eat healthier and cleaner.
To gain experience growing plants and vegetables.
To have fresh, flavorful herbs and produce at your fingertips.
To make a positive impact on the bees and community.
To increase the beauty of your property.
To help supplement your weekly groceries or be more self-sufficient.
To share food with family and neighbors.
To enjoy being outdoors and take in the wonder of nature. (I feel thrilled EVERY TIME the seeds pop out of the ground!! Just writing this made me smile.)
The list could go on!
One of my “whys” for gardening is having fresh food picked right out of the garden.
It is simply the best to know how your food was grown and that it will benefit your family’s health.
So, what is your why?? I would love to hear it!
The Do’s and Don’ts of Composting
Don’t accidentally compost in the bottom of your purse… and many other good pointers.
Decomposition happens, whether you planned it or not. This part of the life cycle of a plant is often overlooked or ignored, but it’s actually a very cool part of gardening. Plants grow, produce, and eventually die and break down into compost.
Compost enriches your soil with nutrients and diminishes your daily trash. It’s a rockstar in the garden!
That thing was at one point a really good intention.
So the other day, I randomly decided to clean out my purse. Yep, found this beauty. I texted a friend and told her “I’m winning at life!”
My husband and I also had a good laugh about it. Here’s what he wrote about my accidental in-purse composting: "One way to tell if something is wholesome and nutritious for you and your family is to perform the bottom-of-the-purse-rot.”
Joking aside, how can you compost in your own backyard? The four main components of composting are: Green matter, brown matter, air, and water.
Here are a few Do’s:
If it comes from a plant, you can compost it! It might sound “crunchy” or slightly weird, but it doesn’t have to be! Next time you cut up an apple or peel an orange, you have composting material. (Remember the 20 pounds of potatoes you peeled at Thanksgiving? Definitely composting material).
Compost your egg shells! They add calcium to your soil, which your plants will love. Tomato plants that are calcium deficient produce tomatoes with big black spots on them. No bueno.
Coffee, Coffee, Coffee! Throw the old coffee grounds into the compost and they will add nitrogen to the soil. I buy unbleached coffee filters and I throw those in there too!
Composting is a balance of nitrogen and carbon. Think brown and green material. Brown matter: dead leaves, saw dust from untreated wood, brown paper or newspapers cut in strips all add carbon to the mix. Green matter: Grass clippings, kitchen scraps, weeds, etc will add nitrogen.
Keep airflow and moisture going! If you are starting an active composting pile, mix it regularly and water it if it gets really dry. It will heat up and break down faster. This is optional. It’s ok to let nature do its thing, but things will go faster if you give them some attention.
Here are a few don’ts of composting:
No dairy, no meat, no animal product (egg shells are the exception). Pests would be attracted to those. Avoid those and… you’re welcome.
Don’t be “that neighbor.” Be strategic on where you place your compost. As excited as you might be about composting, your neighbor might not be excited to stare at your old carrot peels while he’s sitting on his patio. You can get a composter bin, or simply hide your “pile” with something that looks nice.
Don’t put active compost in your garden while the plants are growing. I throw kitchen scraps directly in my garden during the winter, but not during the gardening season. Compost that is still breaking down can be higher in temperature and you don’t want to add stress to your plants.
The homemade composting bin I built out of recycled pallets.
The opening faces the woods, so no one is actually looking at that.
You can get a composting tumbler if your yard is rather small. Keep in mind that air flow is important to composting! I like on-ground composting, because the worms and other micro-organisms have access to it to work their magic!
With the right balance and set up, what is discarded can be transformed into something rich and useful. From the accidental bottom-of-the-purse rot to the intentional repurposing of the unwanted, we can witness slow miracles.
One of my favorite things to grow: green beans!
Green beans are simple to grow and so delicious
I love that they produce a lot with minimal tending.
So where do we start? You have to start with a good garden set up. The location of your garden, the amount of sunlight per day, the quality of your soil, and water/drainage will all play a crucial part in your gardening success.
Timing is also important! Green beans are a warm weather crop. You might be like me and get excited to plant ALL the things in the spring. However, you want to wait until the chances of frost have past. Your green beans will like a little warmth.
There are two main types of green beans:
Pole beans: a vining plant that will require the support of a trellis or fence so it can grow vertically.
Bush beans: an upright plant that does not need the support of a trellis.
I typically grow bush bean plants because I reserve my vertical growing space for other vining plants like cucumbers and cantaloupe.
There are so many varieties of green beans to grow! The beans pictured above are called “Top Crop Bush Beans.” I also like the white seed variety called “Blue Lake Bush Beans.” I planted them all and didn’t have any to show you! :)
Here’s how to grow and harvest green beans:
Plant your seeds 1 inch deep and about 2-4 inches apart in moist soil. I typically will plant two parallel rows fairly close together to maximize my garden space. You can use two stakes and a piece of twine to help your rows be straight.
Since the seeds are big, I will often let my kids help me with planting green beans.
Gently press down the soil over your seed. Water as needed and then we wait! Green beans typically take 50-60 days from seed to harvest.
As the plants mature, you can bring soil higher around the stems to reinforce them. That is called “hilling.”
When the plants are about 12 inches tall, they will bloom. After a little while, the green beans will form and grow. When they are 4-5 inches long, you harvest them by gently pulling on it! Be careful not to pull too hard and accidentally uproot your whole plant (been there, done that).
Depending on the heat, you want to harvest every few days. Smaller green beans will be more flavorful and tender.
Get ready for some green beans!
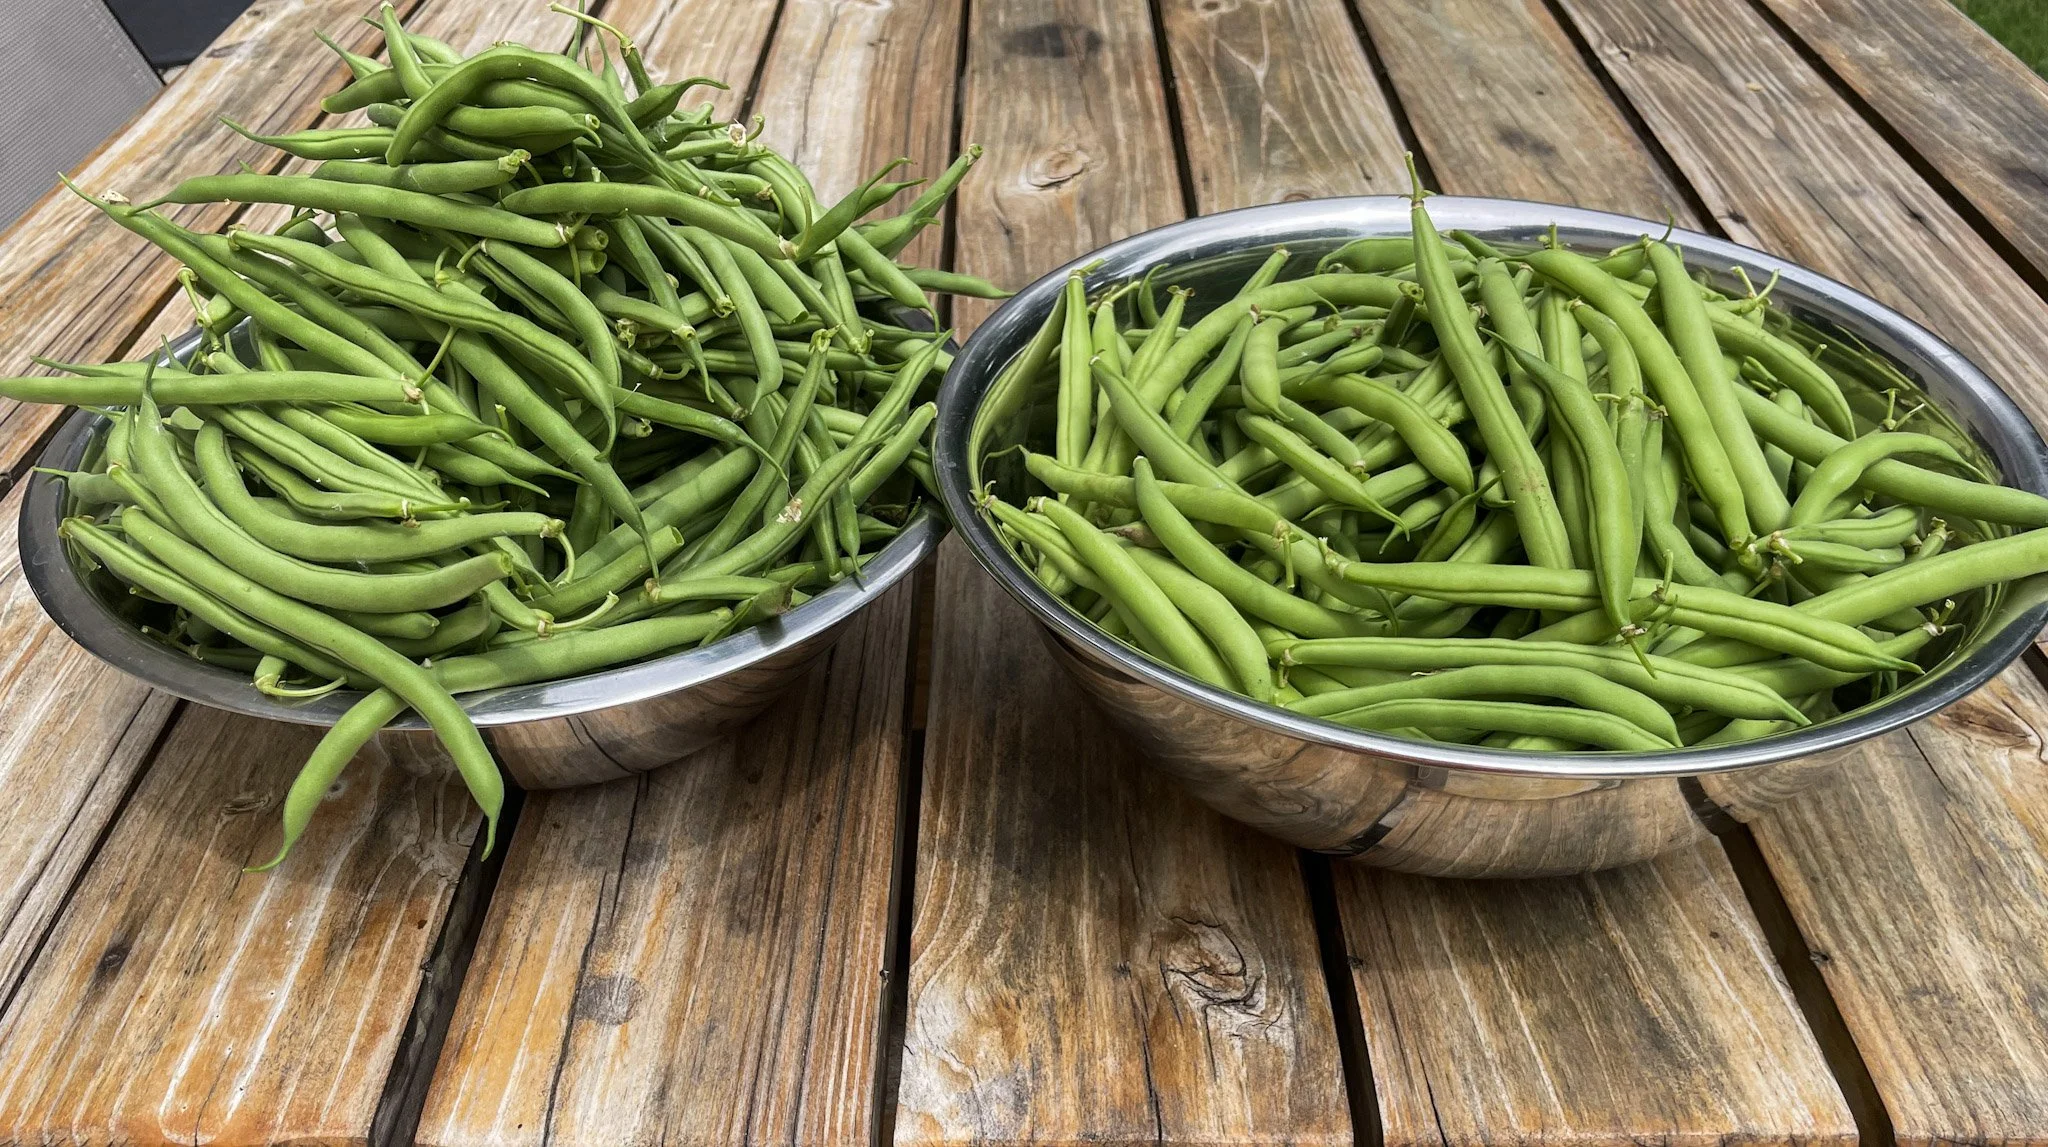
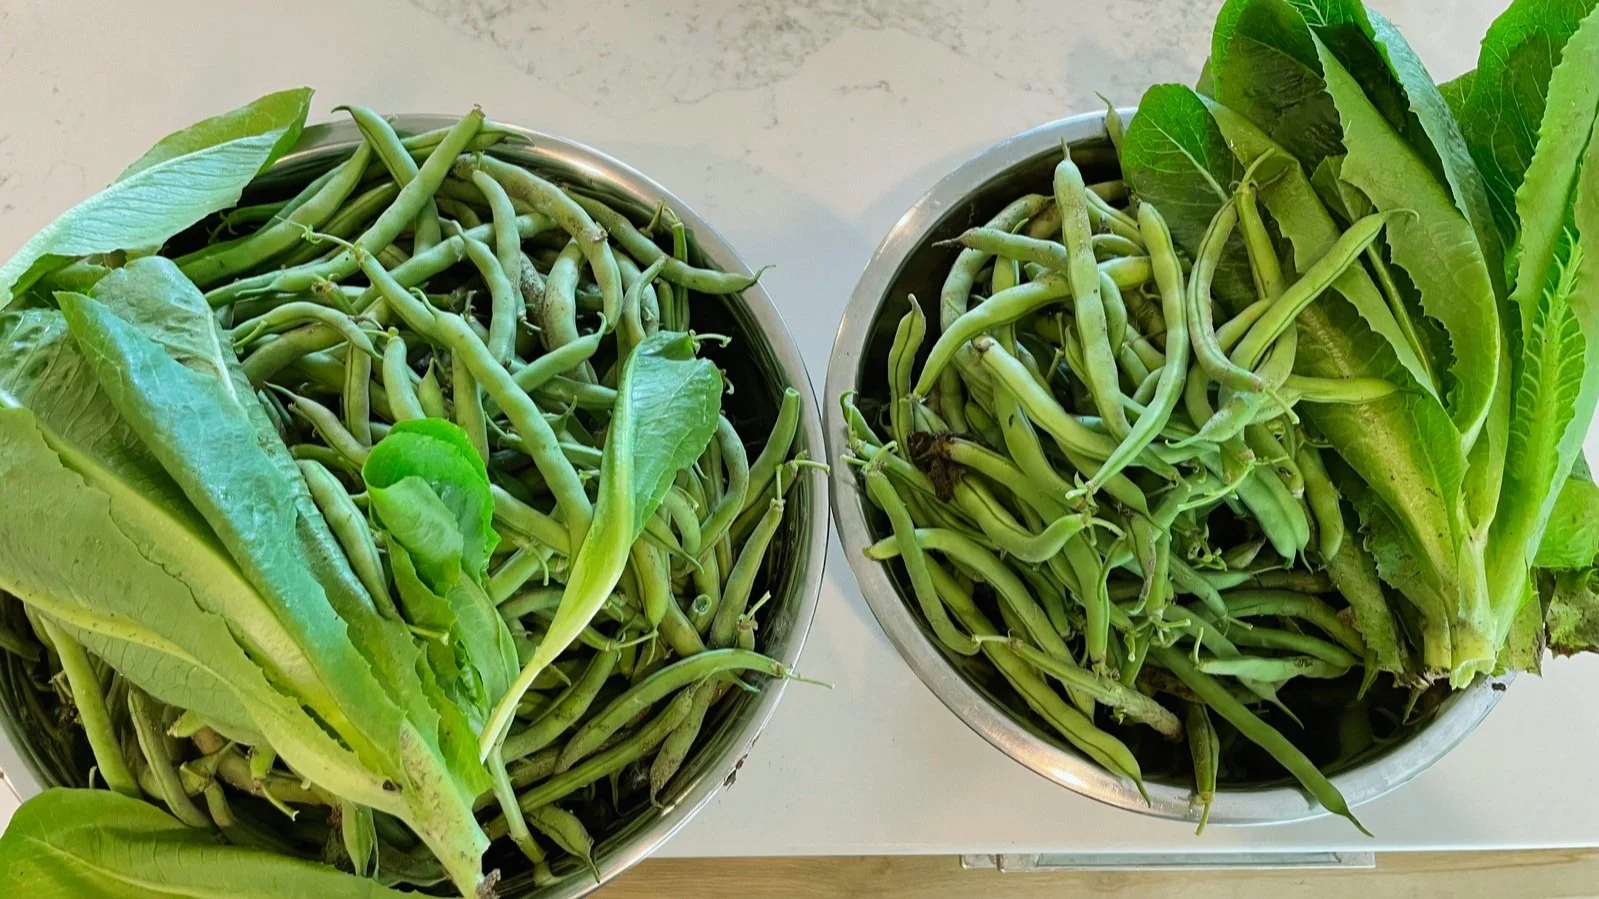
That time, it was two big bowls. The beauty of gardening is that you can share if you grow too much of something!
Our favorite way to eat green beans is to simply steam them and add a little butter and salt. They are also delicious in Minestrone soup or cooked in oil and fresh garlic. Our middle son likes to eat them right out of the garden!
Let’s eat colorful and nutritious food!
Head over here to book a consultation and get started!
Why “Raising” a garden?
Now that my season of stay at home mom is changing a bit, I decided to start this gardening business. Naming this business has been fun and challenging. The kids helped me be creative and drew lots of designs and logos for me. Some of them are truly hilarious.
The word “raising” is special. It makes me think of mothering: the pouring out of hours, energy, nurturing, teaching, physical exhaustion at times. The term “raising” speaks of investing into something of value. It conveys the idea of partnering with God to make something grow.
The Merriam-Webster dictionary defines raising as follow:
to cause or help to rise to a standing position;
to set upright by lifting or building;
to place higher in rank or dignity.
When we raise something, there is an outpouring of ourselves.
The concept of gardening and motherhood go hand in hand in a rather sacred way. When we look back at life, we can often see what was worth investing in and what wasn’t. At times, we were planting seeds without even realizing it. And then we were surprised by grace, the soaking grace that made tiny seeds grow into compassion, discernment, and wisdom.
Let’s be honest- sometimes, the storm hit, the crop failed, and we welcomed bedtime with a heavy-hearted hallelujah. :)
We look back and we learned things the hard way, we failed, we worked, and God made the growth.
Gardening teaches us a lot about life. I feel alive when I garden. I feel free when I garden. I feel fulfilled when I go to the garden and harvest vegetables for dinner.
So I am on a journey to help people raise their gardens. I offer the services and products so they can experience this peace-giving, joy-giving pursuit.
Let’s talk about turnips! - Part 1
It all begins with an idea.
When is the last time you talked about turnips?! It has probably been a while and it might not have been a positive conversation. Haha! Maybe the last time you ate turnips you were a kid (or an adult) and you hated it. :)
I planted turnip seeds in my garden at the beginning of September. To be honest, I don’t normally put those in my garden and I have LOVED it. They were a surprising and trouble-free crop. They were so easy to grow- more on that in the next blog post! I mostly used the greens - I would go grab a handful from the garden and put them in smoothies or soups. They are super nutritious and you can use them in so many dishes.
Here are some nutritional facts:
One cup of raw turnip greens (55g) has high levels of:
Vit A (35% Daily Value)
Vit B6 (9% Daily Value)
Vit. C (37% Daily Value)
Folate (B9) (27% Daily Value)
Vit. K (115% Daily Value)
Copper (21% Daily Value
That is just to name a few - head over here for the specifics on turnip greens! Nutritional value of raw turnip greens.
This past week, I knew there would be a frost at night and for many subsequent nights. I had a garden consultation scheduled that afternoon but rushed to the garden to harvest almost all that was in the garden. The turnips were SO beautiful! Here are the nutritional facts on cooked turnips! Nutritional value of cooked turnip.
Before you dismiss turnips because you didn’t like them as a child, give them a try again! Hide them in your food if you need to (Ha!). And next time you don’t know what to talk about to a random person, maybe you can start with: Did you know turnip greens are amazing? I dare you. :)


